Last updated November 18, 2026


Free written scope consultation - allowances, timeline, and change-order rules on paper before a single trade is scheduled
Home Additions & ADU Troubleshooting: Common Problems and How to Fix Them
Water intrusion at a new addition-to-existing-structure connection point is the single most common post-construction complaint in home additions and ADUs, and it’s almost always a flashing detail that was skipped, not a material failure. That surprise matters because the fix at month two is a morning with a roofer, while the fix at month twenty is rotted sheathing and a drywall tear-out. We’ve walked through enough addition jobs in Burbank to know that the problems showing up now usually started as planning decisions that looked harmless on paper. This guide is about diagnosing what’s already going wrong and getting it resolved, not a list of things that could go wrong someday.
Quick Answer
Most addition and ADU problems fall into five buckets: water intrusion at the tie-in, structural movement versus normal settling, delayed electrical and plumbing failures, open permits and inspection gaps, and HVAC that can’t handle the new square footage. Diagnosis comes before repair in every case. In Burbank, the dry Santa Ana wind cycles, the added heat load on west-facing additions, and the patchwork of Burbank and Los Angeles County permit records all shape which problems you’ll actually see and how quickly they surface.
Styles & brands we work with
- Kitchen remodeling
- Bathroom remodeling
- Home additions & ADU
- Roofing
- Windows & doors
- Driveway & pavers
- Fence
Table of Contents
- Water Intrusion: Why the Addition Tie-In Is the First Place to Look
- Structural Settling vs. Actual Movement: How to Tell the Difference
- Electrical and Plumbing Failures That Show Up Months Late
- Open Permits and Failed Inspections: The Liability You Inherit
- Why the New Room Heats and Cools Poorly (Ducts vs. Equipment)
- Contractor Dispute Resolution: Documentation, Leverage, and Escalation
- Common Mistakes to Avoid
- When to Call a Professional
- Frequently Asked Questions
Water Intrusion: Why the Addition Tie-In Is the First Place to Look
When a homeowner in the Burbank hills calls about a stain spreading across the ceiling of a two-year-old primary suite addition, the conversation goes the same way every time. The roof is usually fine. The walls are usually fine. The problem lives at the seam where the new structure meets the old one, and it’s a flashing detail.
The tie-in is where two roofs, two wall assemblies, and often two different moisture-management strategies collide. Unless the builder integrated a proper step flashing, kick-out flashing, and a continuous water-resistive barrier that laps over the existing wall, water works its way behind the new siding during the first winter rain and gravity does the rest.
How to Diagnose a Tie-In Leak in Order
- Wait for rain, then inspect within 30 minutes. Water intrusion from a tie-in flashing failure shows up fast – it’s not a slow weep. If the stain grows overnight during a dry stretch, the source is plumbing, not the roof.
- Trace the stain upward, not downward. Locate the highest point of discoloration and look uphill from there. The entry point is almost always higher than where the water exits.
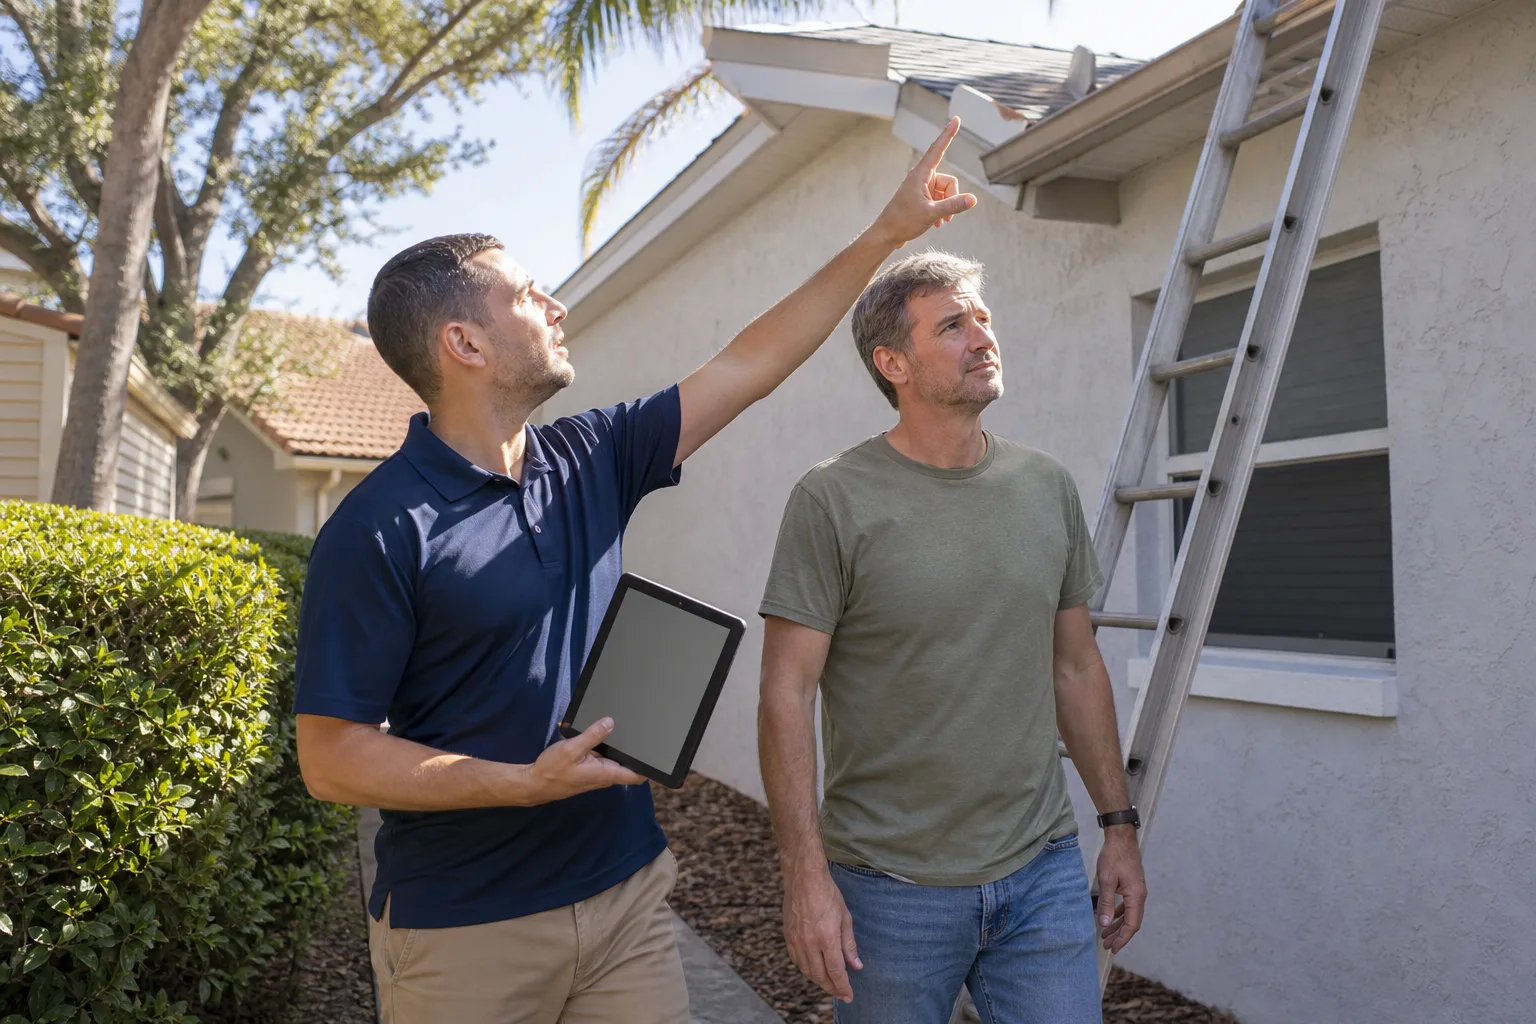
- Check the intersection of wall and roof sheathing from the attic or crawlspace. You’ll see daylight, staining on rafters, or drip marks on the top plate of the existing wall if the tie-in is compromised.
- Look at the outboard side of the wall. Kick-out flashing at the base of a wall where water discharges onto a lower roof should be visible. If it’s missing, that’s the culprit more often than not.
- Test with a hose on a dry day. Aim water at the tie-in for ten minutes and watch the interior. This is the fastest way to confirm the source before opening a wall.
In Burbank, the tie-in trouble window is narrow but predictable: the first significant rain of the season, usually November or December. Homes that got a March 2025 final inspection often don’t discover the flashing gap until that first storm, which is why post-construction window calls cluster in early winter. The fix is a flashing correction, not a re-roof, and it’s far cheaper than water-stained drywall and mold remediation.
If the addition is still in pre-construction planning and you haven’t broken ground, this is the moment to specify the flashing strategy in writing. We build every tie-in into the scope explicitly – if it’s not on the drawing, it doesn’t happen on the roof.
Structural Settling vs. Actual Movement: How to Tell the Difference
Not every crack is a problem. A hairline crack at a drywall seam where a new addition meets the original house is almost always normal settling, and it’s usually cosmetic. A door that latched smoothly in June but won’t close in December is a different conversation.
What’s Normal Settling
- Cracks under 1/16 of an inch at drywall corners, ceilings, and window returns where the addition ties in
- Small cracks that appear in the first 12-18 months and then stop moving
- Minor drywall “nail pops” in a new room
- Doors that stick after the summer heat, then release in cooler weather
- Cracks that run vertically or at a corner, not diagonally
What’s Actual Movement
- Diagonal cracks at corners of doors and windows that keep growing over months
- Cracks wider than 1/8 inch anywhere in the addition
- A visible gap between the new addition and the existing exterior wall
- Doors or windows that are consistently hard to operate (not weather-dependent)
- Floor deflection you can feel when walking across the new-carpet-to-old-hardwood transition
- Cracks that appear on the existing house, not the new addition
The distinction matters because a settling issue resolves itself with a drywall patch and repaint; a movement issue requires an engineer and foundation work. In Burbank, we see genuine movement in additions built on the alluvial soil of the Rancho and parts of the Magnolia Park area where the foundation design didn’t account for the differential between the original 1940s footings and a modern pier system. The old house moves a little; the new addition doesn’t. The connection point takes the strain.
The cheapest diagnostic is a crack-monitoring gauge – a small plastic strip glued across the crack with millimeter markings – checked monthly for six months. If the numbers stay flat, patch and move on. If they climb, get an engineer out before the next dry cycle.
Electrical and Plumbing Failures That Show Up Months Late
An addition or ADU can pass final inspection and still harbor integration problems that don’t surface until the building is living its normal life. The delays are the tell: a plumbing failure in month three isn’t a sudden pipe burst. It’s a fitting that was never fully tightened.
Electrical Symptoms to Watch
- Lights that dim when a hair dryer or microwave kicks on. That’s a shared-neutral or undersized subpanel feed issue, not a bulb problem.
- A breaker that trips repeatedly on the same circuit. Usually a load calculation that ignored the addition’s actual draw (HVAC, electric range, tankless water heater, EV charger).
- Discolored outlet faceplates or a faint hot-plastic smell. Stop using the circuit and call an electrician. Loose terminations at the panel are a fire risk.
- GFCI outlets in the new bathroom that trip every week. Sometimes a shared neutral; sometimes water intrusion at the exterior of the addition.
- No dedicated circuit for a washer, dryer, or EV charger in an ADU. Common shortcut, and it’s a code violation on re-inspection.
Plumbing Symptoms to Watch
- Slow drains that get slower. Often a venting problem – the addition’s plumbing may be sharing the original house’s vent stack incorrectly.
- Minor water stains on the ceiling below a new bathroom, especially at shower pans. Shower pan liners failed to slope, or the pre-slope was skipped.
- A water heater in the addition that runs out after one shower. Usually a supply line length issue or an undersized unit for the added fixture load.
- Sulfur smell from hot water in a new ADU. Anode rod or a neglected water heater, often one installed with the wrong pressure-relief setup.
- Clogged sewer because the new tie-in to the main line wasn’t camera-inspected. Very common in older Burbank homes where the original clay line already had a partial root intrusion.
These all trace back to the same root: corners cut during rough-in that pass a visual inspection but fail in service. If your addition is five or more years old and you’re seeing repeated issues, the fix isn’t individual repairs – it’s a full rough-in review by a licensed electrician and plumber who can trace back through the wiring and piping to find every undocumented decision.
Open Permits and Failed Inspections: The Liability You Inherit
This is the problem that costs homeowners money without any physical defect on the property. A finished ADU or addition can be functionally perfect and still carry an open permit, a failed inspection on record, or a compliance notice that sits dormant until you try to refinance or sell.
How to Check Permit Status in Burbank
- Pull the permit history through the City of Burbank’s online permit portal. Search by address and review every permit issued, including electrical, plumbing, and mechanical sub-permits.
- Look for a “finaled” status. Anything less than “final” or “closed” means an inspection is still outstanding, even if the work is complete.
- Request copies of every inspection card and correction notice. You want to see the actual sign-offs, not just a status line.
- Cross-check the scope of work against the certificate of occupancy. If the certificate says “single-family residence” and the back house is a functioning ADU, the permit never covered it.
- Order a title search and check the planning department too. Some ADU issues live at the planning counter, not the building counter.
- If anything is missing, call a licensed contractor or permit expediter before you buy, refinance, or sell. Clearing a permit retroactively is possible; it’s also sometimes months of work.
Open permits on ADUs are especially common in Burbank because the city’s ADU rules have shifted so many times in recent years. A homeowner who built “by the code at the time” may find that the plans pulled in 2019 don’t satisfy the current review standard, and the completion inspection was never scheduled. When you go to sell, the buyer’s lender sees the open permit and treats it like an unpermitted structure.
If you’re inheriting this situation, the resolution route is a permit re-application with as-built drawings, then a re-inspection. It’s not glamorous, but it protects six figures of real estate value. We always issue a permit history check as step one of any addition or ADU we quote – it’s the difference between a plan that clears the city in weeks and one that gets stuck at plan check for a year.
Why the New Room Heats and Cools Poorly (Ducts vs. Equipment)
Homeowners call us about “the addition no one uses” in July. The new primary suite is 6 degrees warmer than the rest of the house, the treadmill room sees 90°F on a hot Burbank afternoon, and the instinct is to replace the HVAC system. That instinct is usually wrong.
A new room is poorly conditioned for one of four reasons, and only one of them requires new equipment.
The Four Causes, in Order of Frequency
- Duct design was sized for the original house. The most common cause. The furnace and condenser were correct at the time they were installed, but the contractor ran one or two small duct runs to the new room instead of rebalancing the whole system. The new room gets 40% of the airflow it needs, even though the equipment is doing its job.
- Return air is missing or undersized. The new room has a supply vent but no return, so it pressurizes and can’t circulate. This is a $400 duct fix, not a $10,000 equipment replacement.
- Duct runs go through unconditioned attic. In Burbank, an attic over a wood-frame addition runs 130°F in August. Uninsulated or under-insulated duct in that space heats the air before it reaches the room.
- Equipment is actually undersized. Rare, but happens on ADU builds where the load calculation was done for the ADU as if it were a garage conversion, not a full living space with its own kitchen and laundry.
Diagnosis is straightforward if you’re willing to look: a load calculation (Manual J) for the whole house, then a duct design review (Manual D) for the system. Ask the HVAC contractor to show you their numbers. If they can’t produce a Manual J and Manual D, they’re guessing.
The fix order that matters: rebalance the existing system and add duct capacity first; only then consider a mini-split dedicated to the addition; only after that replace the central unit. In our experience, nine out of ten “new room is hot” complaints get solved with duct work and balancing, at a fraction of the equipment replacement pitch.
Contractor Dispute Resolution: Documentation, Leverage, and Escalation
When a homeowner calls us to intervene in a dispute with a different contractor, the first question is always the same: what’s in writing? Not what was said. Not what was promised on a handshake. What’s in the contract, the change orders, and the text thread?
The Documentation You Need Before Escalating
- The signed contract, including scope, schedule, payment terms, and warranty language
- Every change order, signed and dated. Verbal change orders are the #1 source of disputes
- Photos of the work, dated, with context – not just close-ups, but wide shots showing the room and stage
- Text and email threads with the contractor’s project manager – export them, don’t rely on your phone
- Invoices, receipts, and proof of payment for every draw
- Inspection cards and any correction notices from the city
- An independent written assessment from a licensed contractor or engineer describing what’s wrong (this is where a second-opinion walk-through pays for itself)
Whether to Negotiate or Escalate
Most disputes resolve in negotiation when the paperwork is clean. You have leverage because the contractor wants to avoid a licensing complaint and a bad review, and you both want the punch list closed. Offer a specific, written resolution: a dollar amount, a timeline, a scope of remaining work. Put it in writing, dated, and give a deadline.
Escalate when the contractor has stopped responding, work is unsafe, or the total damages likely exceed what negotiation could realistically recover. The escalation ladder is straightforward:
- Demand letter citing the contract, the specific defect, and the resolution you want
- Complaint to the Contractors State License Board (CSLB in California) – a licensing complaint is a serious trigger for most contractors and often brings someone to the table
- Mediation or arbitration if the contract specifies them (many do)
- Small claims court for claims under the county limit, no lawyer required
- Civil suit only for substantial damages – the legal cost has to justify the claim
Our view, having watched hundreds of these: the best resolution is the one that’s on paper before work begins. That’s why we lead every project with written scope, written schedule, written change order policy, and a workmanship guarantee – the Groundwork Construction Co. of Burbank home outlines our 730-Day Done Right Promise because disputes that never happen are the only kind you can guarantee.
Common Mistakes to Avoid
- Skipping a camera inspection on the sewer tie-in. Older Burbank homes often have clay laterals with root intrusion. If the addition’s plumbing ties into a compromised main without a look, you’ll be re-plumbing the connection in year three.
- Treating the addition as a separate house for HVAC purposes. A new room isn’t a separate system. It’s part of the original house’s load. Contractors who quote a dedicated mini-split without sizing the whole house are patching, not solving.
- Choosing the “closest to the original house” location for the ADU without a solar study. In Burbank’s foothill lots, west-facing additions pick up hours of afternoon heat load that a load calculation sometimes underestimates. Orient first, then design.
- Not requesting a permit history before buying a home with an ADU. This is the most expensive mistake on the list, because it’s the one that surfaces at escrow. Pull the portal records before you sign anything.
- Accepting verbal change orders during the build. Every change gets signed, dated, and priced before the crew moves. This protects both sides and prevents the “I never agreed to that” fight six months later.
- Hiring on price alone for a foundation or structural scope. The three lowest bids on structural work are the ones most likely to include an engineer’s stamp you end up paying for twice.
- Waiting for water stains to “dry out” on their own. Tie-in leaks don’t self-heal. They wick, spread, and turn into a mold remediation and drywall replacement in six weeks.
When to Call a Professional
Some issues are DIY-adjacent; the ones in this guide mostly aren’t. Call a professional when water is entering anywhere on the addition and you can’t isolate the source in a single afternoon, when you’re seeing movement rather than settling, when a permit shows as open or any inspection as failed, or when the dispute with your contractor has gone past one unanswered email. If the addition is in pre-construction and you haven’t broken ground, the most valuable call is the one you make before you sign – a written scope, a permit review, and a load calculation up front pay for themselves many times over.
Groundwork Construction Co. of Burbank offers free estimates in Burbank – call (844) 797-7958 to schedule a walk-through. Our technicians have up to 12 years of experience, calls are answered by a live person 24/7, and every project is backed by our 730-Day Done Right Promise. No-hassle upfront pricing means the number you see is the number you pay, and we offer 0% financing for 18 months plus $1,000 off projects over $10,000.
If the discussion touches on exterior scope alongside the addition – a new driveway, a privacy fence, patio, or the site work around the new structure – we cover that too. Take a look at our Driveway & Pavers in Burbank work, our Fence Installation in Burbank projects, and the full scope on our Home Additions & ADU in Burbank page. Every scope runs on the same promise and the same upfront pricing.
Frequently Asked Questions
Most tie-in flashing corrections run $850-$2,800 depending on how much siding and drywall has to come off to access the failure. A full tie-in rebuild (removing and reinstalling the flashing system) runs higher, and if water has reached interior finishes, add $1,500-$6,000 for drywall, paint, and mold treatment. The key variable is time – the sooner you address it, the cheaper the fix. Call (844) 797-7958 for a free walk-through and written quote; estimates are free.
Burbank’s online permit portal lets you search by address. Any permit whose status is not “finaled” or “closed” is open, regardless of whether the work looks complete. Pull the inspection card history and look for any correction notices. If anything shows open, resolve it before you refinance, sell, or rent out the ADU. Call (844) 797-7958 if you want help pulling the history and interpreting it.
Yes, if it’s a hairline crack under 1/16 inch at a drywall seam and it stops growing after the first year. No, if it’s diagonal at a door or window corner, wider than 1/8 inch, or still growing after 18 months – that’s movement and warrants an engineer’s assessment. We recommend a crack-monitoring gauge for six months before deciding. Call (844) 797-7958 for a second opinion if you’re unsure which category you’re in.
Almost always a duct issue, not an equipment issue. The new duct runs are undersized, the return air is missing, or the duct passes through an unconditioned attic in a Burbank summer. Ask any HVAC contractor for their Manual J load calculation and Manual D duct design before you sign an equipment replacement quote. A duct fix typically runs $800-$3,200; an equipment replacement runs $6,000-$14,000. Call (844) 797-7958 to have the addition diagnosed properly.
Not with us. Every project starts with a written, line-item scope, and any change is documented on a signed change order with the price before the crew moves. If something is uncovered that wasn’t in the original scope (rotted sheathing behind siding, for example), we stop, document it, quote it, and you decide. The number you see is the number you pay. Call (844) 797-7958 to schedule the free estimate and design consult.
Yes. Every addition, ADU, and structural repair we take on is permitted and inspected through the City of Burbank, and we walk the project through final inspection with you. If you’re dealing with an open permit that predates us, we can quote the permitting and resolution along with the physical repair. Call (844) 797-7958 to get the permit history checked and a free estimate scheduled.
The Bottom Line
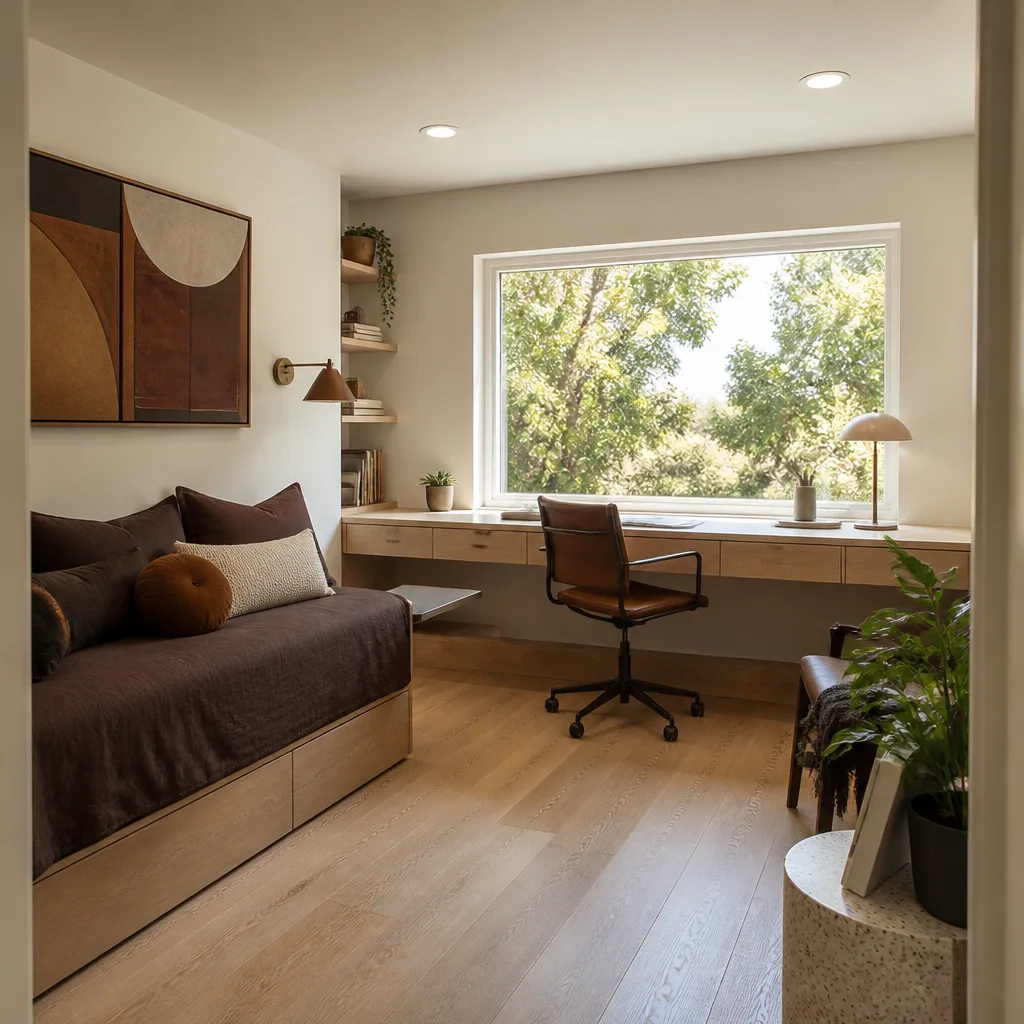
Nearly every problem in this guide traces back to a planning-phase decision: the flashing detail that got value-engineered out, the load calculation nobody ran, the permit that got left open, the change order nobody wrote down. Diagnosis comes before repair, and the fixes are usually smaller than the fear that brought you here – a flashing correction, a duct rebalance, a permit resolution. What you want is a paper trail, a written scope, and someone who picks up the phone. That’s the standard we hold ourselves to on every Burbank addition and ADU, and it’s the reason the 730-Day Done Right Promise exists. If something isn’t done right, we make it right. Call (844) 797-7958 for a free estimate and design consult.
Written by the team at Groundwork Construction Co. of Burbank.
See the difference
 Before
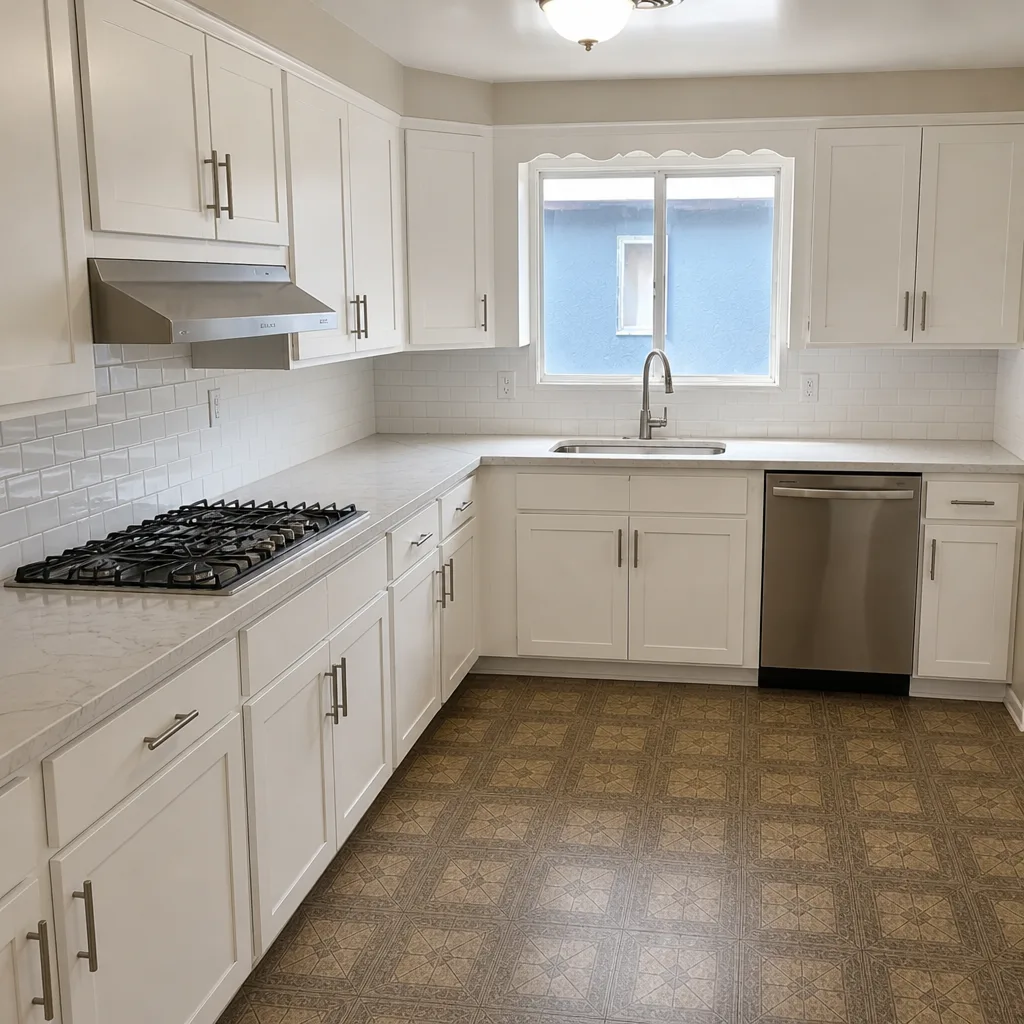 After
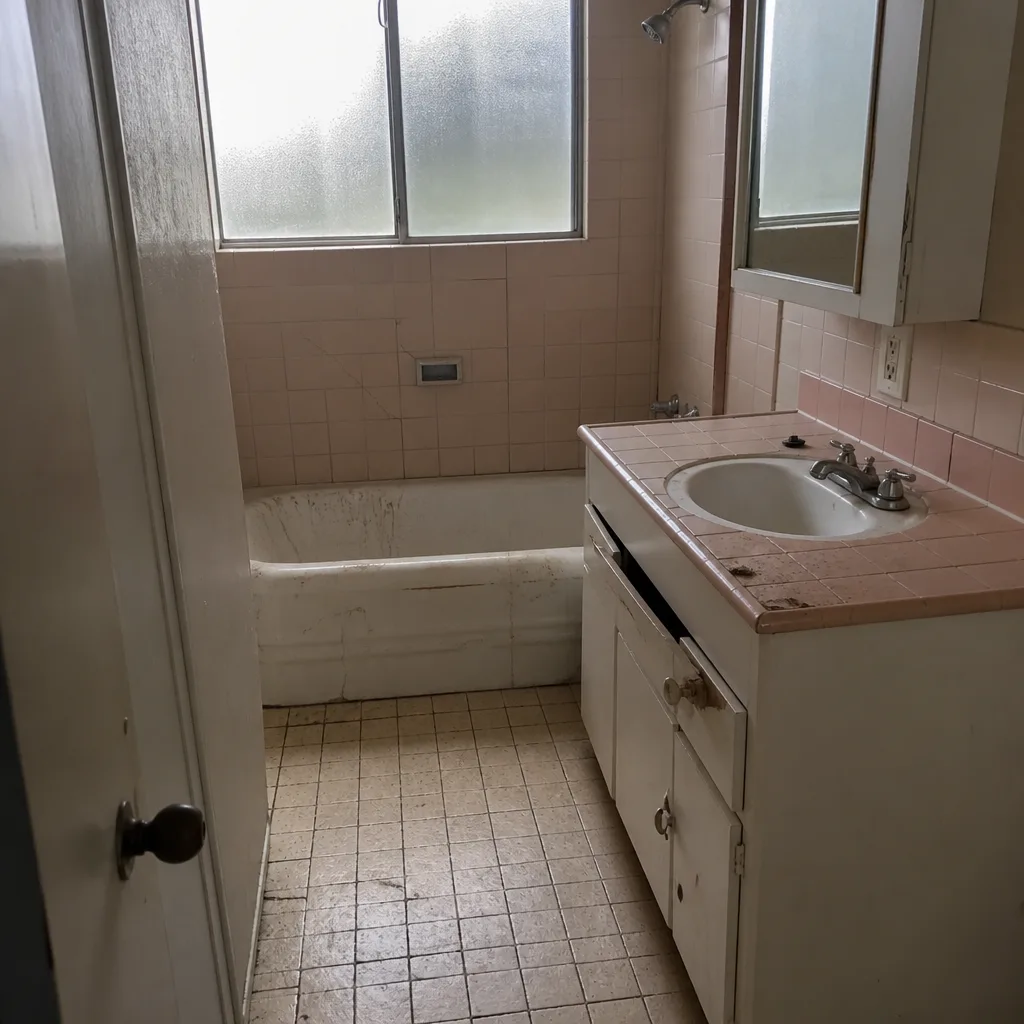 Before
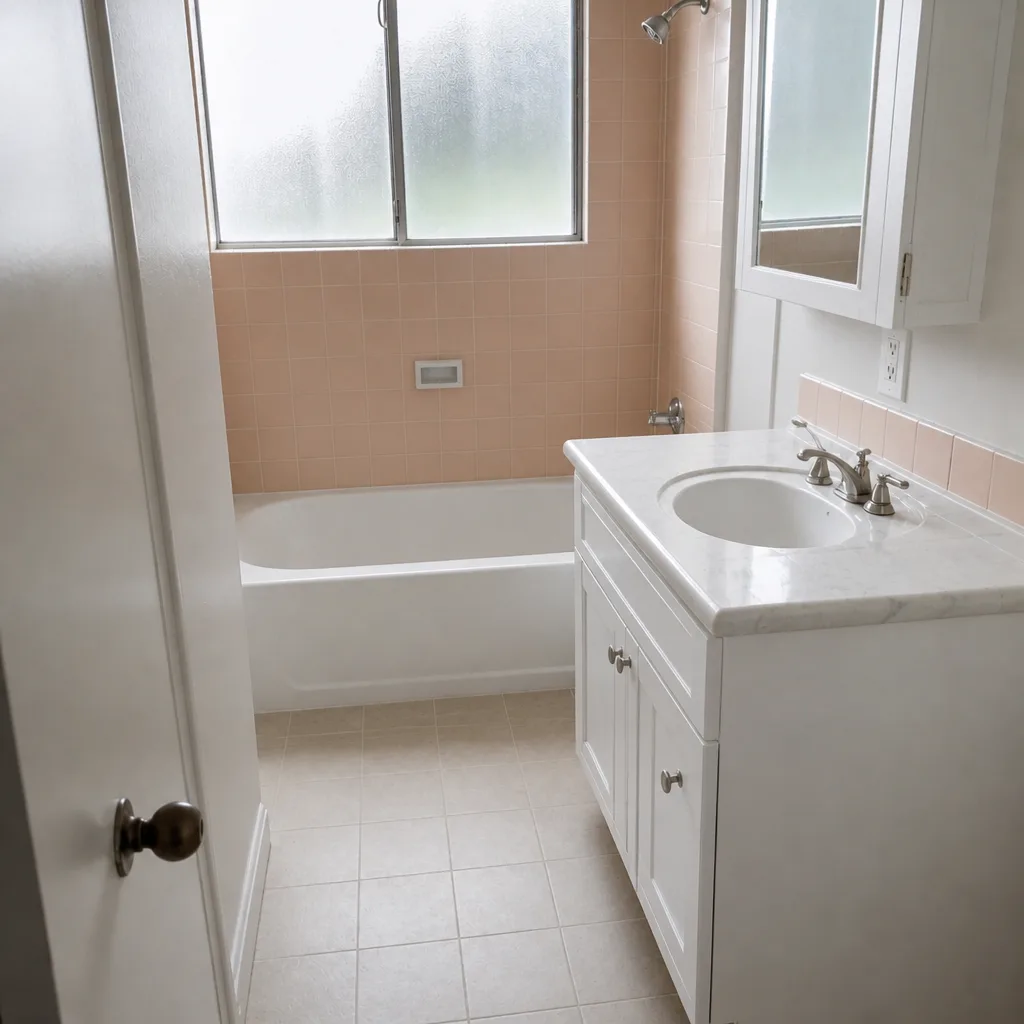 After
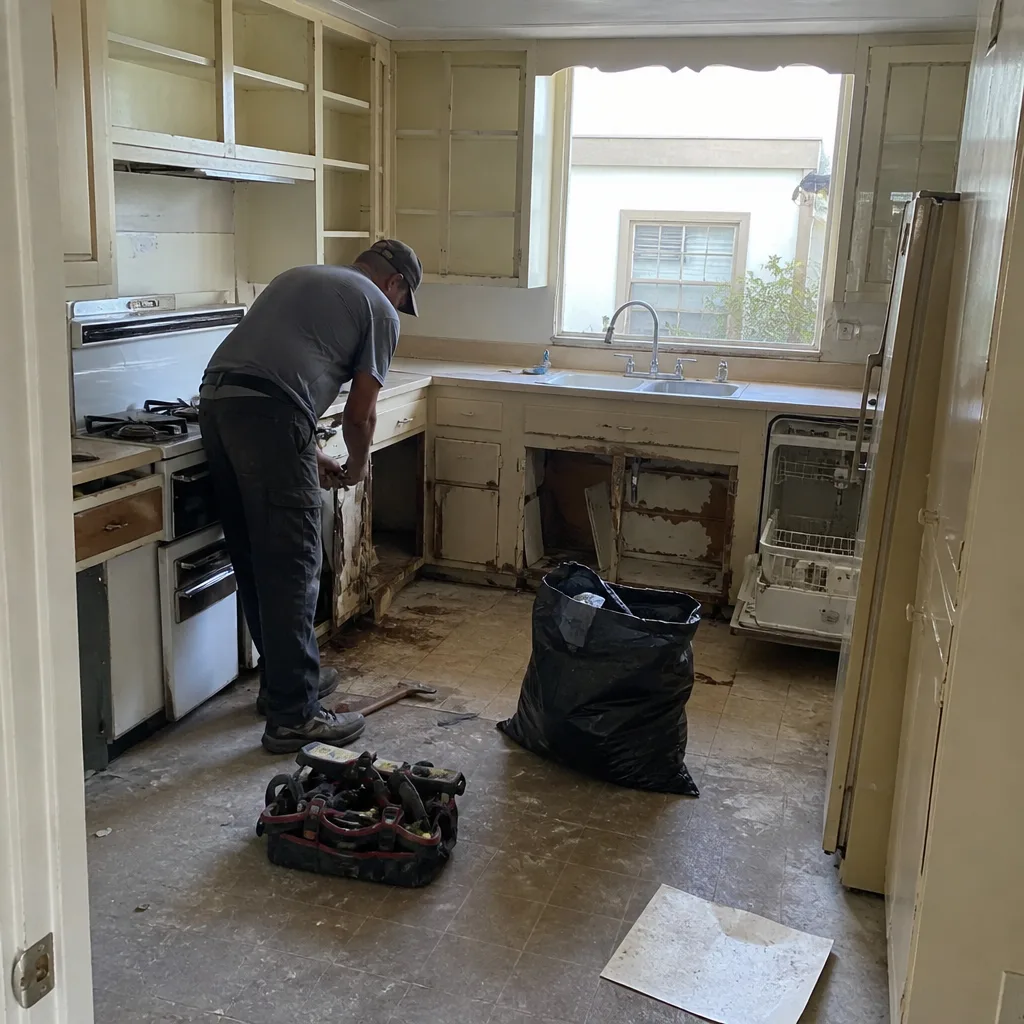 Before
 After