Last updated November 18, 2026





Free written scope consultation - allowances, timeline, and change-order rules on paper before a single trade is scheduled
Bathroom Remodeling Troubleshooting: Common Problems and How to Fix Them
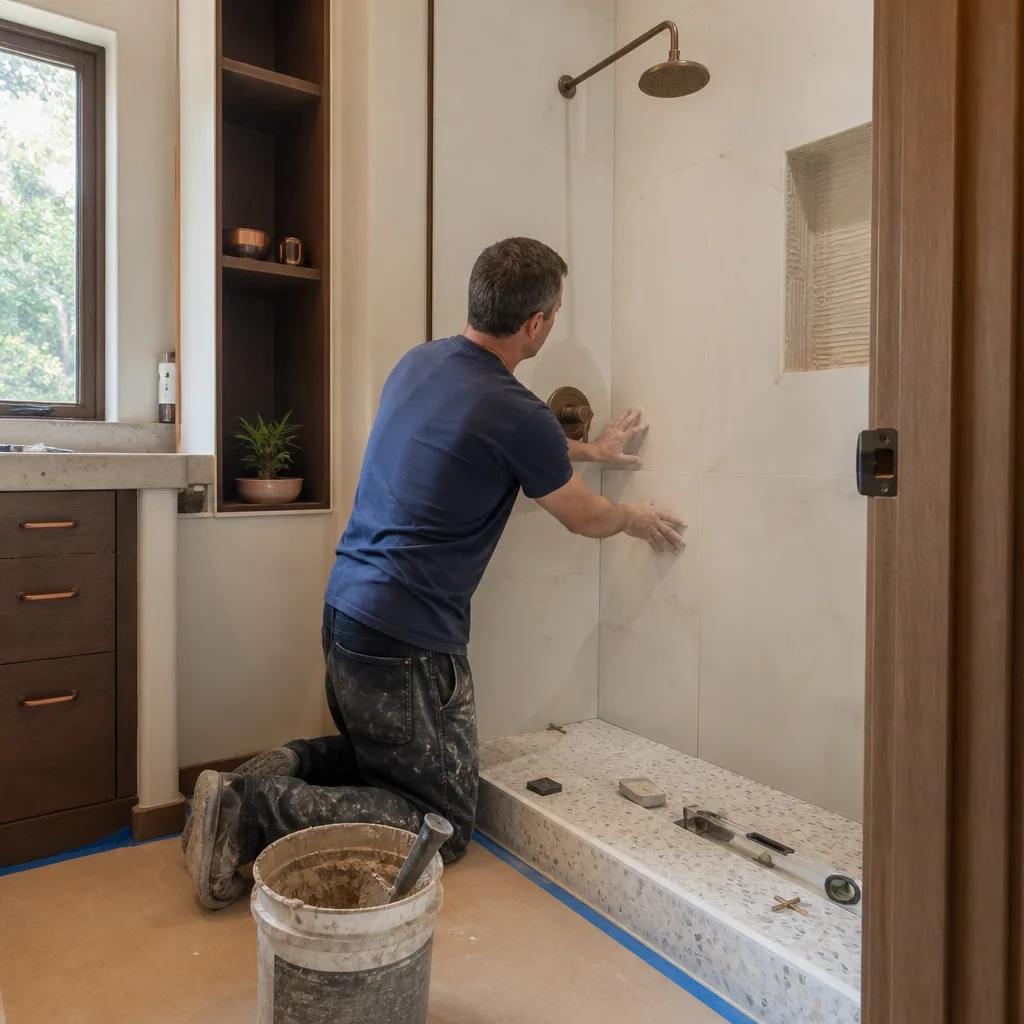
Grout cracking along the seam where tile meets your tub, or where tile meets the floor, within the first year isn’t a grout problem. It’s a movement joint problem, and it means water has likely been finding its way into your subfloor since installation day. That one detail explains why so many Burbank bathroom remodels look perfect at the final walkthrough and start failing by the following spring. The failures that hurt most aren’t the ones you catch during the project. They’re the ones that surface six months later, after the last payment cleared, traceable to a 20-minute installation decision nobody documented. This guide walks through how to diagnose what’s actually going wrong, how to test it without tearing out your walls, and how to press a warranty claim while you still have leverage.
Quick Answer
Most post-remodel bathroom problems fall into four buckets: tile and grout failures from missing movement joints or bad substrate prep, shower leaks from improper waterproofing, ventilation that can’t move enough air for the room, and plumbing finish issues that were either installation errors or pre-existing conditions the contractor should have disclosed. Diagnosis starts with observation and a controlled flood test, not demolition. Document everything in writing and photos, then hold the contractor to their workmanship warranty before the coverage window closes.
Styles & brands we work with
- Kitchen remodeling
- Bathroom remodeling
- Home additions & ADU
- Roofing
- Windows & doors
- Driveway & pavers
- Fence
Table of Contents
- Diagnosing Tile Failures: Surface Cracks, Lippage, and Hollow Tile
- How to Find a Shower Leak Without Tearing Out Tile
- Ventilation Failures That Cause Mold: Is Your Fan Actually Moving Air?
- Plumbing Finish Problems That Show Up After Remodel
- Waterproofing Mistakes You Can Still Detect
- How to Document and Present a Warranty Claim
- Burbank-Specific Issues: Climate, Code, and Older Housing Stock
Diagnosing Tile Failures: Surface Cracks, Lippage, and Hollow Tile
Not all tile failures are the same, and telling them apart is the first real diagnostic step. Three distinct symptoms point to three different root causes and three different fixes. If you call a contractor saying “my tile is broken,” you’ll get a vague answer. If you can describe what you’re seeing precisely, you’ll get a real conversation.
Surface cracking
Hairline cracks running through the glaze or the tile body, especially concentrated along edges, corners, or transitions, usually mean movement. The substrate is flexing under the tile, or the tile was installed tight to a wall or fixture with no room to expand. In Burbank’s older homes, this often shows up where a remodel tied new tile into a wall that was never brought to flat. The fix depends on whether the cracks are cosmetic or structural. Isolated hairline cracks can sometimes be sealed and monitored. Cracks that grow, or that follow a straight line across multiple tiles, mean the substrate has to be addressed.
Lippage
Lippage is when one tile edge sits higher than its neighbor, creating a lip you can catch a fingernail on. A little lippage on large-format tile is normal and within tolerance. Lippage that appears or worsens months after installation is a warning sign. Either the thinset wasn’t spread evenly, the substrate wasn’t level, or the tile is debonding. Run your hand flat across the floor or wall. If you feel ridges in a pattern, note where they are.
Hollow-sounding tile
This is the one most homeowners miss. Tap each tile gently with a plastic utensil handle or a coin. A properly bonded tile sounds solid and dull. A tile with poor thinset coverage or a debonded tile sounds hollow, almost like tapping a drum. Mark each hollow tile with a small piece of painter’s tape. If more than a handful of tiles in a shower or wet area are hollow, that’s a serious coverage problem, and water is getting behind them.
In our experience across Burbank bathrooms, hollow tile in a shower almost always pairs with a failing flood test, which is the next thing to check. When a bathroom in a 1920s bungalow near Magnolia Park shows hollow tile and cracked grout at the drain, the substrate prep was likely skipped.
How to Find a Shower Leak Without Tearing Out Tile
You do not need to demolish your shower to prove it’s leaking. A controlled flood test tells you whether the waterproofing membrane is holding, and the result is documentation you can hand to your contractor. Here’s the method, and it’s the same one a tile setter uses before grouting.
- Plug the drain. A test plug or a plumber’s bladder inflated in the drain line works. You want a watertight seal at the drain.
- Mark a starting water level. Fill the shower pan with water to just below the curb height. Use a pencil to mark the waterline on the tile or a piece of tape on the wall.
- Wait 24 hours. Don’t use the shower during the test. Check the waterline at the 12-hour and 24-hour marks.
- Look for loss. If the level drops more than about 1/8 inch in 24 hours, water is leaving the pan. Some loss from evaporation is normal in Burbank’s dry air, so a small drop matters less than a big one.
- Check the rooms below and around. Look at the ceiling of the room beneath the shower, the baseboard behind the shower wall, and the adjacent flooring for dark spots, soft spots, or efflorescence (white mineral staining).
The flood test proves one thing: whether the pan and lower walls hold water. It does not prove the shower valve or supply lines are leak-free. If the flood test passes but you still see moisture, the leak is likely in the plumbing behind the wall, and that needs a different diagnostic step. If the flood test fails, you have the clearest possible evidence that the waterproofing was compromised, and you now have a result to report in writing.
Ventilation Failures That Cause Mold: Is Your Fan Actually Moving Air?
A bathroom exhaust fan that runs but doesn’t move enough air is worse than no fan at all, because you think the problem is handled while moisture quietly builds up in the walls. The fix starts with a number: the fan’s CFM rating versus the room’s cubic footage.
The rule of thumb most building codes and manufacturers use: the fan should exchange the room’s air at least eight times per hour. Divide the bathroom’s cubic feet (length × width × height) by 60 to find the minimum CFM. A bathroom that’s 8 feet by 10 feet with an 8-foot ceiling is 640 cubic feet. Divide by 60 and you need a fan rated at roughly 11 CFM minimum. In practice, most pros size up from there, and the Home Ventilating Institute recommends at least 1 CFM per square foot of floor area, so that same 80-square-foot bathroom should have a fan rated 80 CFM or higher.
How to check yours
- Read the fan label. Remove the grille (usually a friction fit or two screws) and look for the model number. Look up the CFM rating on the manufacturer’s site.
- The tissue test. Hold a single square of toilet paper near the grille while the fan runs. If it drops away, the fan is barely moving air. If it clings, the fan is pulling. A clinging square isn’t proof the CFM is adequate for your room, but a falling square is proof it isn’t.
- Listen for a whistling sound. A starved fan often whistles because the duct is undersized or kinked. A 4-inch duct is standard, but a run longer than about 10 feet or with too many elbows can choke the flow.
- Check where the duct terminates. It must vent outdoors through a wall or roof cap, never into the attic. In Burbank’s older homes, especially around the Rancho Equestrian area, we’ve found fans ducted straight into attic space more than once.
If the fan is undersized or the duct is wrong, the repair is replace-and-re-duct, and it’s one of the more affordable post-remodel fixes. If you’re already seeing mold on the ceiling or grout, the ventilation issue has been present for a while, and it may need remediation alongside the fan replacement.
Plumbing Finish Problems That Show Up After Remodel
Post-remodel plumbing gripes tend to cluster around three symptoms: a toilet that runs intermittently, weak shower pressure, and drains that gurgle or empty slowly. The key question is whether each was an installation issue or a pre-existing condition the contractor should have flagged before starting.
The running toilet
A flapper that doesn’t seal, a fill valve set too high, or a chain that catches on the flush valve. All three are installation or adjustment issues, and all three should have been caught at the final punch walk. If the toilet is brand new and running, that’s on the contractor. If it’s an older toilet that was reset in place, it may have been a pre-existing condition the contractor should have disclosed and offered to replace.
Weak shower pressure
Two common culprits. First, the shower cartridge or the pressure-balance valve may be installed backward or partially clogged with debris from the water line. Second, high-efficiency showerheads flow at 1.8 to 2.0 gallons per minute versus the 2.5 gpm on older heads, which a homeowner feels immediately. The second one is a specification issue, not a defect, but a good contractor explains it during the material selection process. If the drop happened suddenly after the remodel and the head is unchanged, look at the cartridge and the valve.
Slow drains
A drain that runs slow after a remodel that relocated the drain line can be a slope issue. Building code requires drain lines to fall at a specific pitch (typically 1/4 inch per foot for lines 2 inches and under). If the new drain run wasn’t pitched correctly, it will clog repeatedly. A drain that runs slow but was slow before the remodel is a pre-existing condition. This is why documenting the pre-existing state before work starts matters, and it’s one of the reasons a written scope matters.
If your remodel was done in Burbank by another contractor and you’re now living with these symptoms, call us at (844) 797-7958 and we’ll walk through the diagnosis with you, free of charge. An exact answer starts with an accurate description of what you’re seeing.
Waterproofing Mistakes You Can Still Detect After the Remodel
Some waterproofing failures are only visible during the project. Others leave clues you can still read afterward. The shower flood test from the earlier section is the primary diagnostic tool. But there are other signs worth knowing:
- Efflorescence. That white, chalky mineral staining that appears on grout, baseboard, or the exterior wall of the shower is water pushing salts through masonry. It almost always means moisture is passing through from behind.
- Grout that keeps darkening. If grout on the shower floor looks wet hours after use and won’t dry out, water is trapped beneath. Good drainage and a properly sloped pan allow the surface to dry.
- Mold that keeps returning. Even with good cleaning, mold returning to the same grout lines or caulk seams month after month means the substrate is wet.
- Soft drywall or bubbling paint on the adjacent wall. The wall behind or beside the shower can show water damage long before the shower interior does.
- Musty smell that doesn’t clear with ventilation. If the smell persists even with the fan running and windows open, moisture is trapped somewhere the airflow doesn’t reach.
Waterproofing on a shower has to include a continuous membrane behind the tile, with a proper slope at the pan, a pre-formed curb, and correctly lapped seams. In Burbank bathrooms that have been remodeled by other contractors, we’ve seen the membrane skipped entirely when the installer relied on cement board and thinset to do the waterproofing job. Cement board is not waterproof. It’s water-resistant at best, and it does not substitute for a membrane behind the tile.
How to Document and Present a Warranty Claim
A warranty claim succeeds or fails on the quality of your documentation, and the quality of your documentation is highest in the first days after you notice a problem. The difference between a contractor who stands behind their work and one who stalls until you give up often comes down to whether you presented them with clear evidence or a vague complaint.
- Photograph everything. Wide shots for context and close-ups for detail. Include a ruler or a coin in your photos for scale. Take new photos each time the problem recurs.
- Write a timeline. Note when you first noticed the problem, what you were doing, and what’s changed since. Keep it factual. Skip the adjectives.
- Save your contract and the original scope. The workmanship warranty lives in the contract. If it’s vague on coverage, that’s the area to address in your written claim.
- Put it in writing. Email or certified letter, not a phone call. State the problem, attach the photos, reference the date work was completed, and identify the warranty provision you’re invoking.
- Ask for a specific next step and a date. “I’d like a site visit within two weeks” is a real request. “Please call me to discuss” is not.
- Keep records of every communication. Save emails, texts, and notes from phone calls with date, time, and what was said.
Most workmanship warranties cover installation defects for one to two years. If the warranty language promises more than that, read it carefully to confirm what’s actually covered and for how long. At Groundwork Construction Co. of Burbank, every project is covered by our 730-Day Done Right Promise. If it’s not done right, we make it right, and we put it in writing because that’s the only way a warranty means anything.
Burbank-Specific Issues: Climate, Code, and Older Housing Stock
Bathroom remodel problems in Burbank have local flavor. The city’s dry summers and mild winters mean moisture problems indoors don’t dry out as quickly as you’d expect, especially during the winter rainy season when humidity climbs and the exhaust fan has to do more work. The older housing stock in neighborhoods like Magnolia Park, the Rancho Equestrian area, and the streets leading up toward the Verdugo foothills compounds this. A lot of Burbank homes were built before 1960, and their bathroom venting and framing don’t always match what a modern remodel assumes.
Building permits and inspections
Bathroom remodels that move plumbing, add electrical, or change the room’s footprint require building permits through the City of Burbank. The permit process includes inspections at rough-in and at final. A contractor who pulled permits and passed inspections leaves a paper trail you can rely on. A contractor who didn’t may have skipped steps you can’t see from the outside. Before hiring anyone for a bathroom project in Burbank, ask for the permit number and confirm it with the city. It’s a two-minute check that tells you about the rest of the job’s documentation.
The rainy season factor
Burbank’s wet season runs roughly from November through March. Bathrooms that passed a summer flood test can show leaks during the first rainy season, and that’s exactly when homeowners notice them. If your remodel was completed in the dry months, the first winter is when the waterproofing gets its real test. Watch the shower pan, the baseboard behind the toilet, and the ceiling below the bathroom during and after the first heavy storm.
Hard water and finish wear
Much of Burbank’s water supply is on the harder side, which shows up as scale on showerheads, faucets, and glass. Modern finishes, including those from Kohler, hold up well but still need occasional descaling. If your fixtures are showing heavy scale within a year of install, a whole-home softener is a real solution, and it’ll extend the life of your finishes. A showerhead cartridge that clogs within the first year is often a scale problem, not a defective cartridge.
Where Burbank bathrooms and the surrounding work come together, a whole-house approach pays off. If your bathroom shares a wall with a section of fencing that’s rotting, or if you’re planning a project that touches other parts of the property, our team handles the whole scope from first call through cleanup, and our pages on Fence Installation in Burbank and Driveway & Pavers in Burbank are useful complements if you’re coordinating more than one project.
Common Mistakes to Avoid
- Sealing a movement joint with grout. The seam where tile meets the tub, shower pan, or floor needs flexible caulk, not grout. Grout has no give, and the constant micro-movement from a tub or floor will crack it every time. If your contractor grouted that joint, the crack isn’t a defect in the grout, it’s a defect in the choice.
- Assuming the fan is adequate because it runs. A fan that sounds fine but moves 30 CFM in a 100 CFM room is a mold problem in waiting. Check the CFM rating, check the duct run, and make sure it terminates outdoors.
- Choosing a showerhead on looks alone. A 1.8 gpm head looks the same on the shelf as a 2.5 gpm head, and one will feel like a pressure problem forever. Read the spec sheet before you buy, and ask whether the pressure-balance valve matches the head’s demand.
- Skipping the permit because the project is “small.” A Burbank bathroom that adds a niche, moves a toilet, or reroutes a drain line trigger permit requirements. The cost of a small permit is far less than the cost of an unpermitted project showing up on a buyer’s inspection report later.
- Assuming the contractor’s material partner brands are the same as yours. A material brand the contractor recommends isn’t the same as a manufacturer-backed warranty. If your shower pan fails, the question is who’s responsible. The answer is in the contract, not the product box.
- Choosing the cheapest bid without checking what’s excluded. The lowest bid for a Burbank bathroom remodel usually had to cut something. Waterproofing, substrate prep, and permit costs are the three most common cuts. Ask each bid to state in writing what’s included and what’s not.
- Not checking the warranty terms before signing. “Lifetime warranty” without a written definition of “lifetime” and what’s covered is marketing, not coverage. A 730-Day Done Right Promise is a specific, written commitment. Anything vaguer than that in a competing bid deserves a question.
The full-scope approach makes a difference here. When you’re dealing with multiple trades in one project, the risk of finger-pointing between contractors goes up. If you’re remodeling the bathroom and your kitchen is next on the list, our Groundwork Construction Co. of Burbank home page shows how we handle multiple trades under one contract, with one point of contact and one warranty covering the whole job.
See the difference
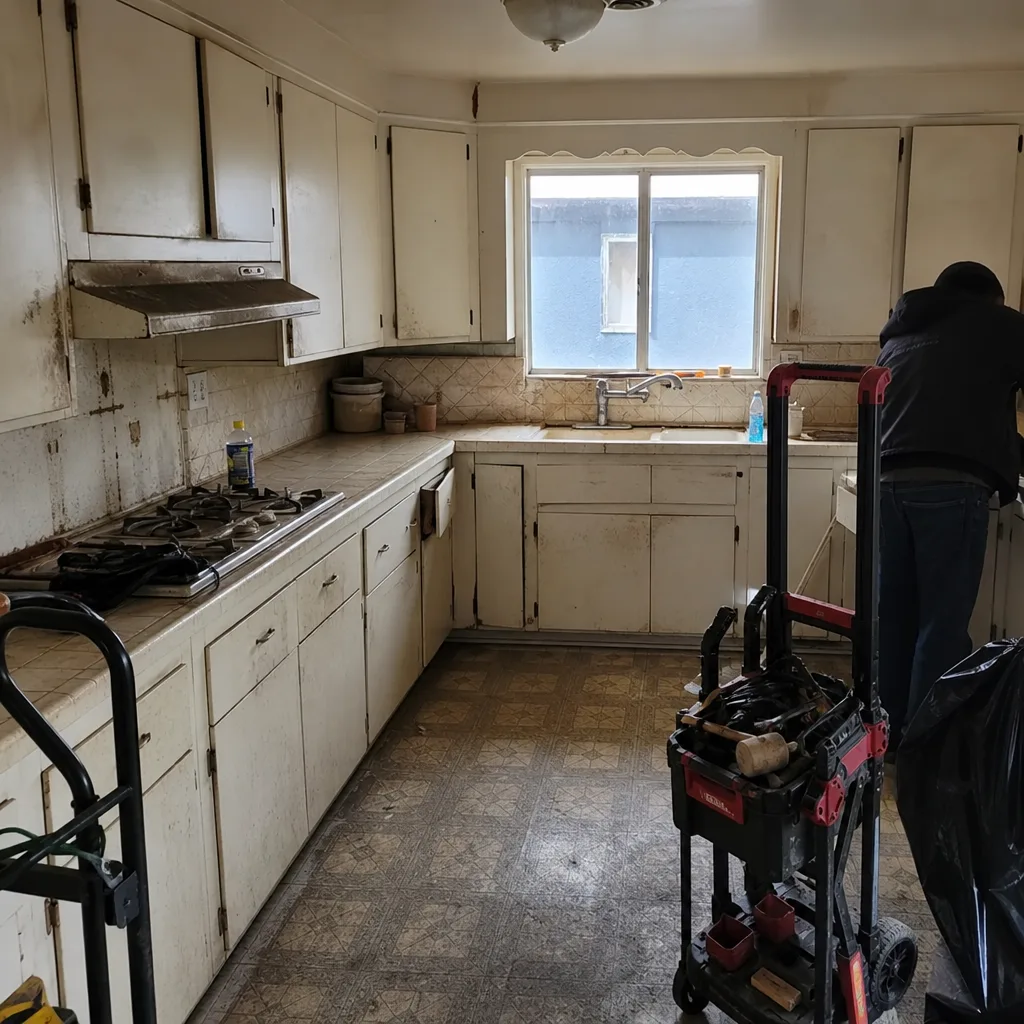 Before
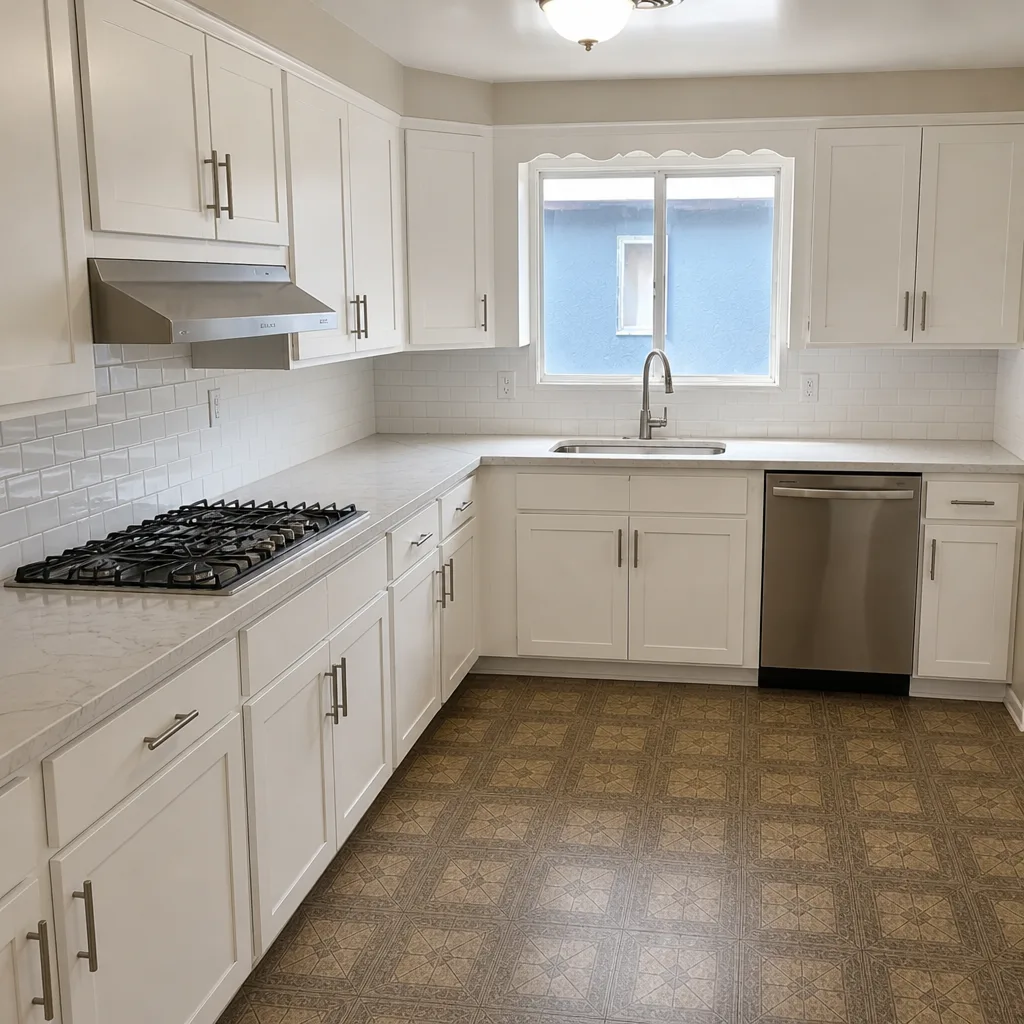 After
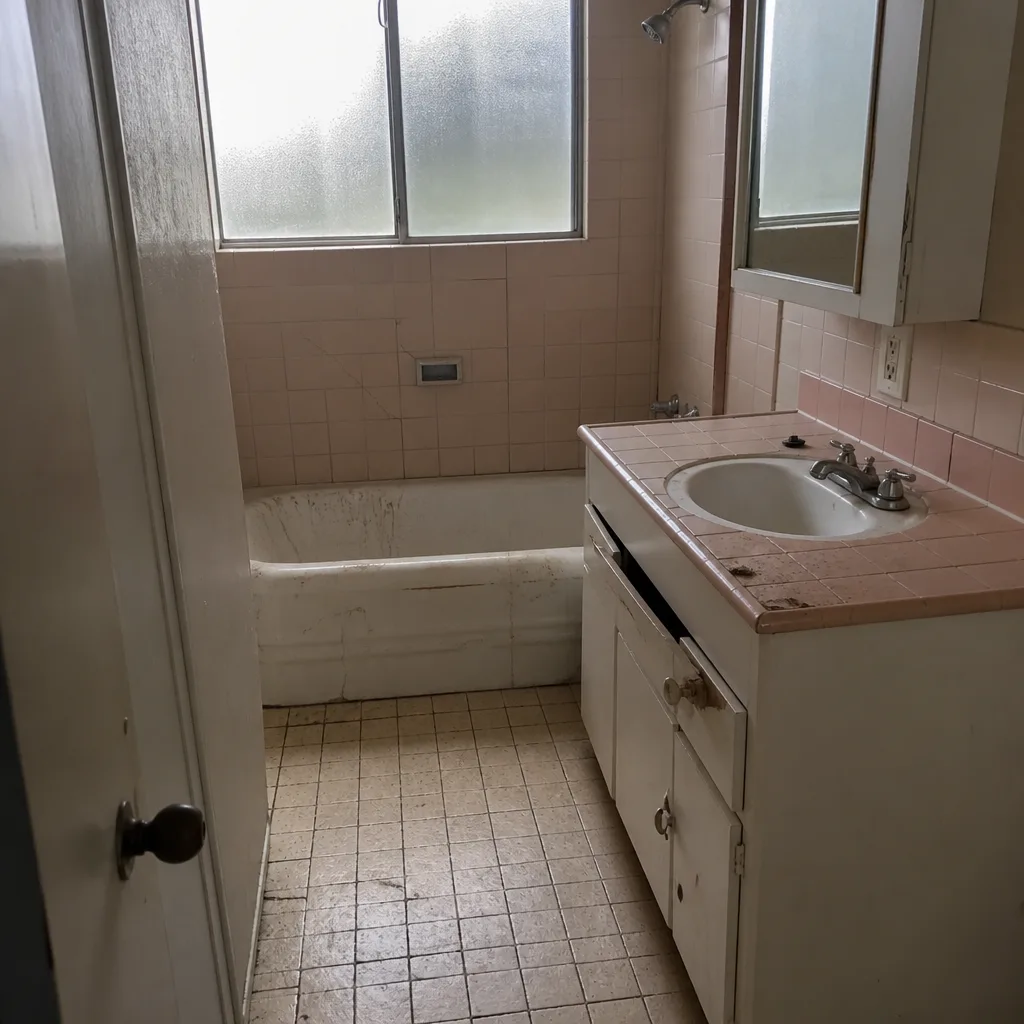 Before
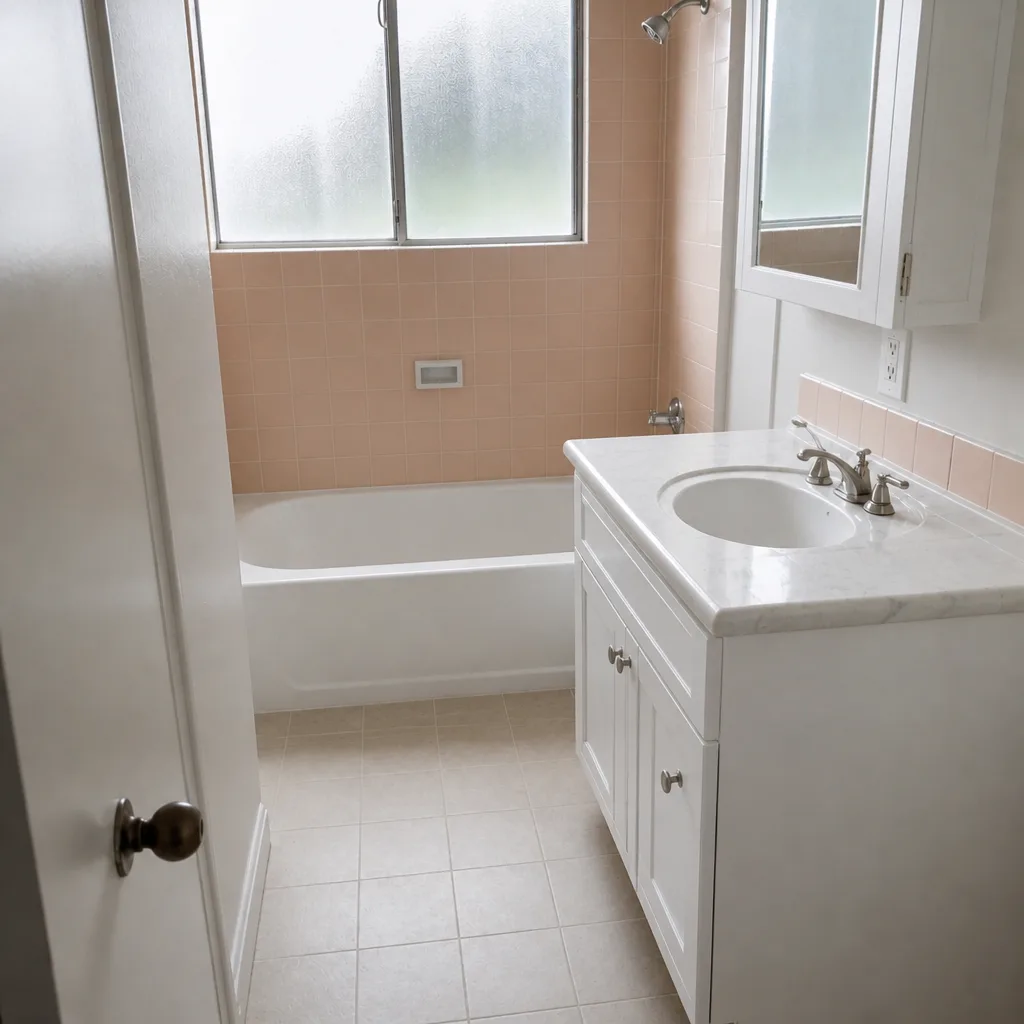 After
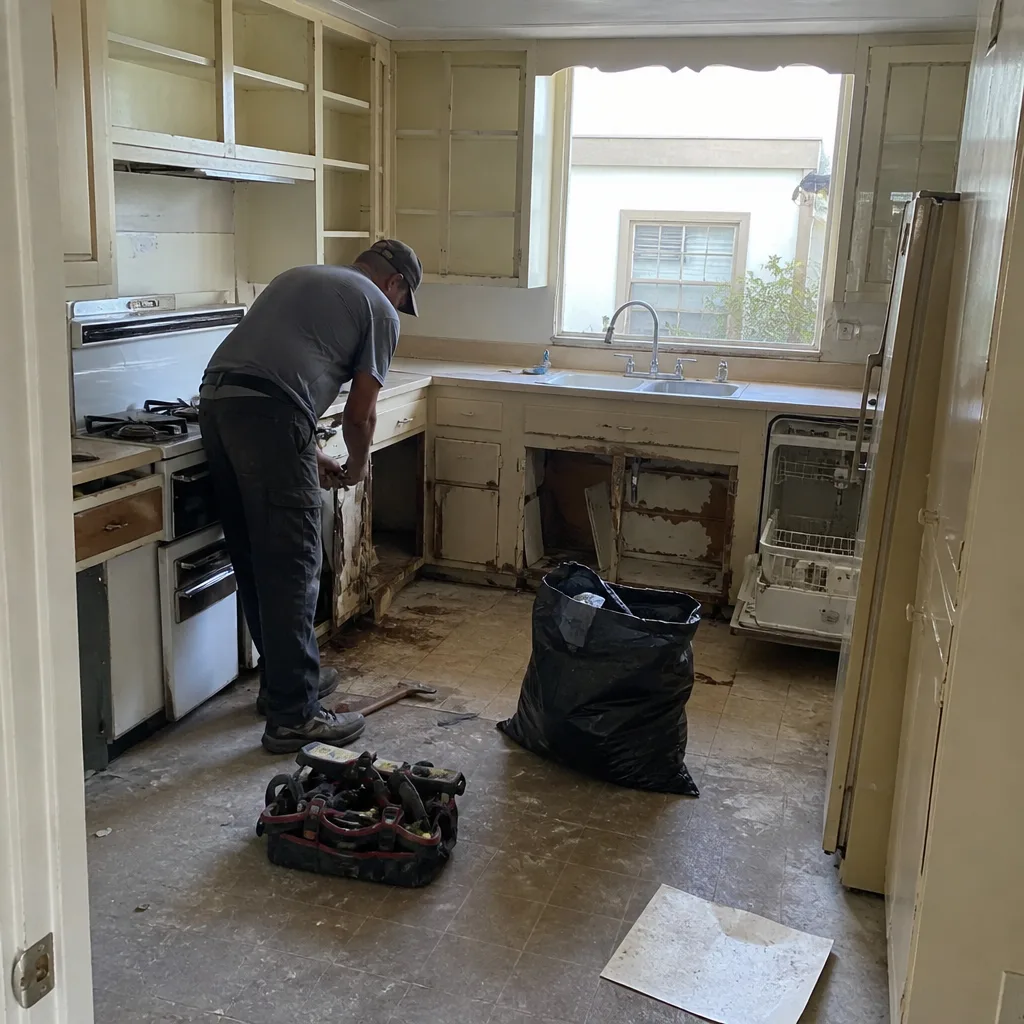 Before
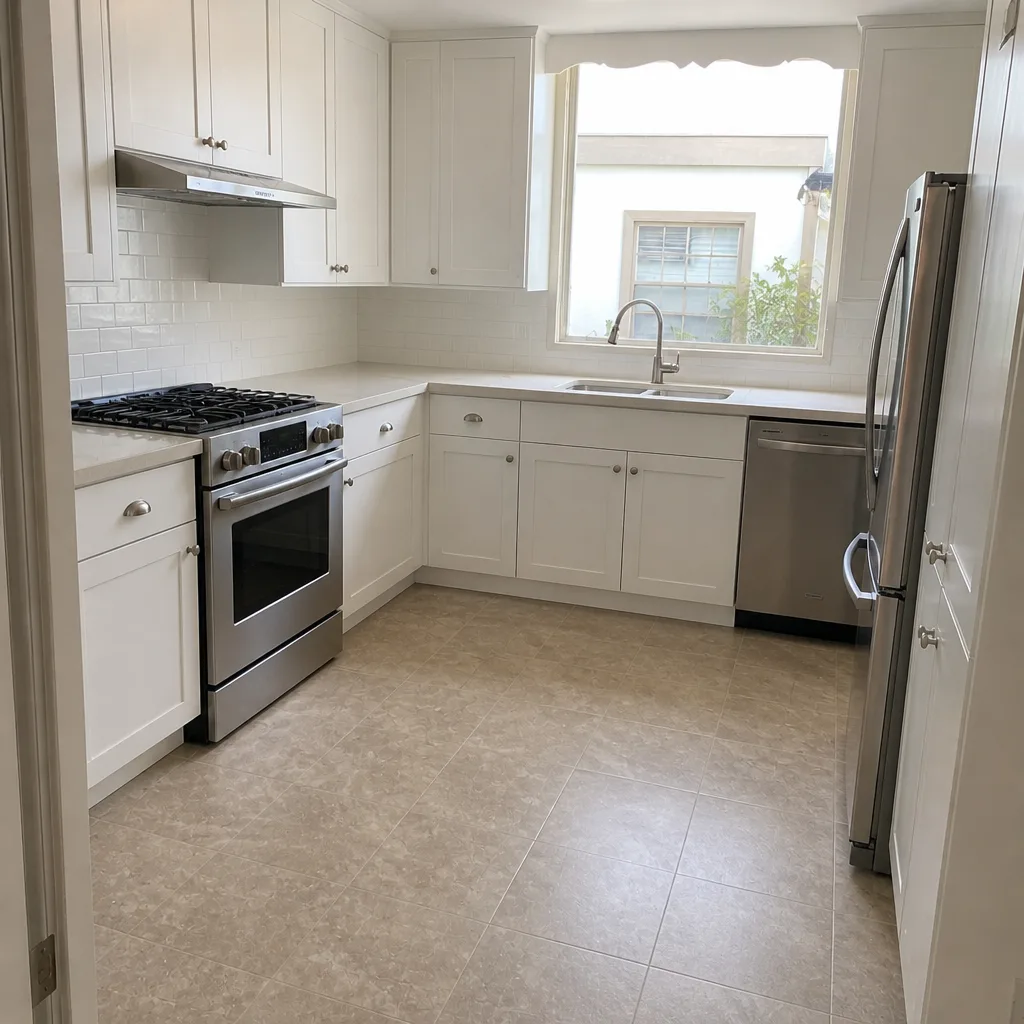 After
When to Call a Professional
Some problems are worth diagnosing yourself. Others cross the line into professional territory the moment you suspect them. Call a pro if you see the following:
- Water staining below the bathroom or in an adjacent room. Ceiling stains, soft drywall, or a musty smell that won’t clear. You need a leak diagnosis and, likely, an actual fix.
- A shower flood test that loses water. Confirmed waterproofing failure is a rip-out, regardless of how the shower looks. Cosmetic fixes will not hold.
- Mold that keeps returning to the same place. Surface mold is a symptom. The cause is moisture, and moisture has a source.
- A running toilet with new parts. If the flapper and fill valve have both been replaced and it still runs, the flush valve seat is a likely culprit, and it may need a professional diagnostic before you throw more parts at it.
- A hollow-sounding tile pattern across a shower wall. That’s a coverage problem, and it means the wall is holding water.
Groundwork Construction Co. of Burbank offers free estimates in Burbank and answers calls with a live person, 24/7, at (844) 797-7958. We pull permits, schedule inspections, and back every job with our 730-Day Done Right Promise. If you’re living with a post-remodel issue and the original contractor has gone quiet, call us and we’ll walk through what’s happening and what’s involved in fixing it.
Frequently Asked Questions
Fixing a failed shower pan or waterproofing typically costs between $2,500 and $8,000 in Burbank, depending on whether the shower is salvaged or fully rebuilt. A flood test and a diagnostic visit usually run $150 to $350, and the results tell you which direction the repair goes. Call (844) 797-7958 for a free estimate – the number you see is the number you pay.
Not on a Groundwork job. We use upfront pricing, so the number on the written estimate is the number you pay. Change orders are only issued if you request a scope change yourself. Some contractors bid low and find “surprises” once the wall is open; that’s a pricing choice, not a construction necessity.
Yes, on every Burbank bathroom project that requires one. Permits go through the City of Burbank and include rough-in and final inspections. We walk every inspection and leave the signed-off documentation with you at the end of the job. If a contractor tells you a permit isn’t needed, that’s worth a second opinion.
A single shower rebuild with new waterproofing and tile typically takes 2 to 3 weeks once the tear-out starts. A full bathroom remodel runs 4 to 6 weeks. Schedule matters more than start date, so we plan the sequence and communicate the milestones before any demolition begins.
Yes. We handle repairs on failed remodels from other contractors regularly. We document what we find, photograph the tear-out, and present the repair scope in writing. If the original contractor’s warranty is still valid, we’ll work alongside the warranty claim. If it isn’t, we’ll fix it under our 730-Day Done Right Promise from that point forward.
Send one more written notice by email and certified letter, then contact the Contractors State License Board to confirm the license is current and to file a complaint if needed. Keep every communication in a folder. After that, get a diagnostic and a written scope from a different contractor so you have a comparison. Call (844) 797-7958 and we’ll walk through your options – the estimate is free.
The Bottom Line
Bathroom remodel problems are almost always diagnosable months after the job is finished, and the first clues are already in your hands if you know where to look. Hollow-sounding tile, a failed flood test, a fan that can’t move the room’s air, and grout cracking at movement joints are each a specific diagnosis pointing to a specific cause. Document what you find. Put your claim in writing. Compare warranty language carefully. And remember the standard to hold every contractor to: 730-Day Done Right Promise, live person 24/7, upfront pricing, background-checked technicians on every job. Burbank homeowners deserve that standard. Our team at Home Additions & ADU in Burbank and across every service we run builds to it, and we’re happy to talk through your specific bathroom situation by phone whenever it’s convenient.
Call Groundwork Construction Co. of Burbank for Your Bathroom Project

If you’re living with a bathroom problem that showed up after the remodel or you’re planning a replacement and want a contractor who puts the details in writing, call (844) 797-7958 for a free estimate. We’ll show up on time, walk through the diagnosis with you, and hand you a written scope with upfront pricing. No voicemail. No surprises. Just an answer.
Written by the team at Groundwork Construction Co. of Burbank.