Last updated November 18, 2026
Free written scope consultation - allowances, timeline, and change-order rules on paper before a single trade is scheduled
DIY vs Professional Driveway & Pavers: What’s Safe to Do Yourself
Two homeowners lay the same Belgard pavers in the same month. A year later, one driveway still looks new, and the other is a field of rocking, sinking stones that’s getting torn out. The materials were identical. The difference happened three inches below the surface, in the base. That’s the whole story of DIY versus professional pavers, and it’s why this guide draws a hard line at a specific point in the project rather than telling you it’s all fine or all impossible. You’ll learn which paver tasks are genuinely safe to tackle yourself, where DIY most reliably fails, and what a failed base actually costs to fix. If you’re a Burbank homeowner staring at a cracked or bare driveway, the answer is more useful than a blanket “hire a pro.”
Quick Answer
Surface-level paver work is DIY-safe: joint sand replenishment, sealing, swapping a cracked paver on a stable base, and resetting a minor edge restraint. Base excavation, grading, and compaction are where DIY driveway pavers reliably fail, because even rented plate compactors can’t replicate the lift depth and compaction technique a professional crew uses. The line isn’t skill, it’s phase: touch the top and you’re fine, dig below and the clock starts ticking on an expensive failure.
Styles & brands we work with
- Kitchen remodeling
- Bathroom remodeling
- Home additions & ADU
- Roofing
- Windows & doors
- Driveway & pavers
- Fence
Table of Contents
- The Paver DIY Decision Is About Phase, Not Skill
- Tasks That Are Genuinely Safe to DIY
- Why Base Prep Is Where DIY Pavers Fail
- The Real Cost of a Failed DIY Base
- How to Tell If Your Existing Base Is Sound
- Telling a Contractor You Want to DIY Part of the Work
- Burbank-Specific Paver Considerations
- Common Mistakes to Avoid
The Paver DIY Decision Is About Phase, Not Skill
Homeowners tend to ask “am I handy enough to do my own pavers?” That’s the wrong question. A careful, capable homeowner with a garage full of tools can still wreck a paver installation, and a total beginner can do a flawless job sealing a patio. The variable that actually predicts success is which phase of the project you’re touching. A paver driveway has three lives: the base (what’s underground), the setting bed (the layer the pavers sit on), and the surface (the pavers and joints themselves).
Surface work is forgiving. Get it slightly wrong and you’ll know in a season, and the fix is a Saturday, not a demolition. Base work is not forgiving. Mistakes hide until the first heavy rain, then the first hot week, then the first winter, and by the time you see the problem the only remedy is to remove everything and start again. In our experience working paver drives across Burbank, the jobs that fail fast fail at the surface, and the jobs that fail expensively fail in the base.
So the useful way to think about DIY driveway pavers is a boundary. Draw it at the top of the base layer. Above the base, you’re a homeowner doing maintenance. Below it, you’re doing structural work that needs equipment you don’t own and technique you can’t rent. We’ll walk you through both sides of that line.
Tasks That Are Genuinely Safe to DIY
These are the jobs we’d hand a motivated homeowner without hesitation. They don’t disturb the base, don’t require heavy equipment, and if you make a mistake the correction is small and cheap.
- Joint sand replenishment. Sand washes out over time, especially on slopes, and refilling the joints keeps pavers from shifting. It’s a broom, a hose, and a bag of polymeric sand. Do it on a dry day when no rain is expected for 24 hours.
- Sealing. A penetrating or film-forming sealer every two to three years slows fading, blocks weed growth in the joints, and makes cleaning easier. Apply it in the morning so it cures before nightfall.
- Replacing a single cracked or stained paver. If the surrounding pavers don’t rock when you step on them, you can lift one out with two flat bars, swap it, and reset it in bedding sand. The base stays untouched.
- Minor edge resets. If an edge paver or a short run of plastic edge restraint has lifted, and the base under it is still firm, you can reset it. If the edge has heaved because the base eroded, that’s not a DIY task anymore.
- Weed and stain cleanup. Pulling weeds, treating moss, and scrubbing rust or oil stains keeps a driveway looking sharp without touching anything structural.
Notice the pattern: every one of these leaves the base and setting bed alone. That’s what makes them safe. Your materials list runs to sand, sealer, a couple of hand tools, and maybe one replacement paver. No rentals, no hauling.
Why Base Prep Is Where DIY Pavers Fail
Base prep is the phase that looks easy from a Youtube video and isn’t. It’s excavating the right depth, laying and grading a compacted aggregate base in the right number of lifts, running a laser or string line for slope, and getting the compaction density right so the pavers never move. The failure mode is always the same: the base looks solid to the naked eye, but it’s only compacted at the surface, and the deep layer stays loose. Under traffic and weather, that loose layer settles, voids open up, and the pavers above start to rock.
Here’s the part most DIY guides skip. A rented plate compactor can’t fix a compaction technique problem. A plate compactor delivers its force from the top surface down, so on a thick lift it compacts the top inch or two and leaves the rest loose. Professionals build a base in multiple thin lifts, compacting each one before the next goes down, often with a heavier plate or a jumping jack compactor and a wet-down schedule that brings fines to the surface and locks the aggregate together. You can rent the machine. You can’t rent the technique easily, and the failure is invisible until it isn’t.
Slope is the other silent killer. Pavers have to drain, which means a consistent fall of about one to two percent away from the house or garage. Get it wrong and water pools on the driveway, finds the low corner, and softens the base from underneath. In Burbank’s heat, a poor base also means paver movement from seasonal soil shrink and swell, not just rain. Base excavation, grading, and compaction are the three things we’d never recommend a homeowner try to shortcut.
The Real Cost of a Failed DIY Base
The cruel math of DIY pavers is that the failure cost isn’t the difference between DIY and pro. It’s the DIY cost plus the full professional cost plus the demolition. A failed base doesn’t hand you a discount on the rebuild. It adds a line item for tearing out everything you just paid for.
When we walk a homeowner through a failed DIY paver driveway in Burbank, the quote to correct it typically includes these cost buckets:
- Demolition and paver removal, including lifting and stacking salvageable pavers or disposing of them.
- Haul-away of the old base, broken pavers, and debris, which on a full driveway is several truckloads.
- New base material, since the failed base usually gets replaced, not patched.
- New bedding sand and possibly new edge restraints.
- Re-install labor plus re-cutting at the edges, which is where most of the cost sits.
That stack of line items often lands in the same range as a fresh professional installation, and you’ve lost the material cost and weekend labor you already spent. The pro install you passed on, done once with a compacted base and a written workmanship guarantee, was the cheaper option. Upfront pricing that doesn’t move, paired with the 730-Day Done Right Promise, is the reason pro installation stops being a gamble.
How to Tell If Your Existing Base Is Sound
Before you DIY a surface repair, you need to know whether the base under the pavers you’re touching is solid. If the base is good, a repair is a weekend job. If it isn’t, you’d be patching over a problem that’s already spreading. Here’s a practical check you can run yourself, no equipment needed:
- The rock test. Walk the whole driveway and step firmly on each paver. Any paver that rocks or clicks means the material under it has loosened. One isolated rocker with firm neighbors is often just a bedding sand issue; a field of rockers is a base problem.
- The water test. Run a hose on the driveway and watch the flow. Water should drain toward the street or yard, not pool in low spots or run back toward the garage. Standing water is your base telling you it has settled.
- The gap check. Look at the joints. Widening gaps, sand that keeps washing out in the same place, or a joint that’s noticeably wider than its neighbors all point to movement below.
- The settle check. Lay a straight 2×4 across a few pavers and see if the pavers sit flat against it. A 2×4 that rocks on high and low pavers is showing you uneven settling.
- The edge check. Push the edge restraint with your foot. If it gives, the base behind it has likely eroded, and that’s a base repair, not a surface one.
If all five pass, you’re cleared to do surface work. If two or more fail, the base is moving and you’re looking at a pro repair. That’s the line in practice.
Telling a Contractor You Want to DIY Part of the Work
You don’t have to choose “do it all myself” or “do nothing.” Some homeowners want to handle the surface work (sand, sealing, a paver swap) and have a pro do the base. That can work, and it can also backfire, because the co-ordination is where the risk lives. A compacted base that then gets rained on, walked on, or sits too long before the pavers go down can lose the compaction you paid for.
Here’s how to approach it. Tell the contractor up front which phase you want to own, and ask if they’ll quote the rest. Good contractors will often handle the base, bedding, and setting, and let you take over once the pavers are laid, because their workmanship exposure is highest in the base. What they usually won’t do, and shouldn’t, is install pavers over a base they didn’t build, or warranty a surface repair performed by the homeowner. That flat refusal isn’t arrogance. A paver installation is a system, and the warranty is only as strong as its weakest link. If we can’t stand behind the base, we can’t stand behind the pavers on top of it.
If you’re scoping out a contractor for a drive or patio in Burbank, ask these three things: who builds the base, how many lifts it goes down in, and whether the workmanship guarantee covers settling and movement, not just the paver surface. The contractor who can answer all three in writing is the one to work with. See our Driveway & Pavers in Burbank page for what a full-scope installation looks like.
Burbank-Specific Paver Considerations
Paver work in Burbank has a few things working on it that generic DIY advice doesn’t account for. Burbank sits in a basin ringed by hills, so a lot of properties have graded driveways with a noticeable fall, and the drainage plan matters more than on a flat lot. A paver driveway that drains toward a garage door is a problem the first winter; a driveway with the right fall drains off and dries clean.
Burbank’s clay-heavy soils expand and contract with the seasonal wet-dry cycle, which is exactly why compaction depth matters. A shallowly compacted base in clay soil moves, and pavers on a moving base shift. Neighborhoods like Magnolia Park and the hillside streets above the valley floor see this most, and Burbank heat snaps add to the movement.
Permits are also worth checking locally. A paver overlay on an existing solid driveway usually doesn’t require a permit, but a new driveway, a driveway that changes the approach to the street or sidewalk, or work that alters drainage toward a public right-of-way often does. The City of Burbank’s public works and building departments can tell you what applies to your lot before you dig. As with any construction work in Burbank, the pro you hire should be licensed and pull the permits as the state requires. We walk every homeowner through that step before we break ground.
Burbank has a lot of mid-century homes with driveways that share a curb cut with a neighbor, and edge restraint work that touches that shared line needs to be done right so the two slabs don’t fight each other. That’s a detail a pro will catch and a DIYer often won’t. If you’re also planning a fence or a new boundary structure, our Fence Installation in Burbank page covers how those tie into the same property line.
Common Mistakes to Avoid
- Compacting a thick base in one pass. It looks flat and feels firm, so it seems done, but the bottom is loose and the whole system settles. Build the base in thin lifts, compacting each one before adding the next.
- Ignoring slope because the ground “looks level.” A driveway with no designed fall pools water and attacks its own base. Check the fall with a string line before laying any base, not after.
- Paving over a failing base to save time. On top of a settling driveway, new pavers just amplify the movement. If the rock test fails in several spots, no new surface fixes it.
- Skipping the edge restraint. Pavers without a firm edge creep outward under traffic. The edge is structural, not decorative, and it’s the first thing that fails on a DIY job.
- Using the wrong joint sand in Burbank’s heat. Cheap sand washes out fast here. Polymeric sand, applied correctly on a dry day, holds the joints through the wet season and the dry one.
- Not checking the permit picture before the approach changes. A new driveway approach that changes drainage toward the curb can trigger a Burbank permit review. Finding out after demolition is a costly surprise.
- Assuming a rented compactor makes you a pro. The machine does what the technique behind it lets it do. Without proper lift depths, moisture, and passes, it compacts the surface and not much else.
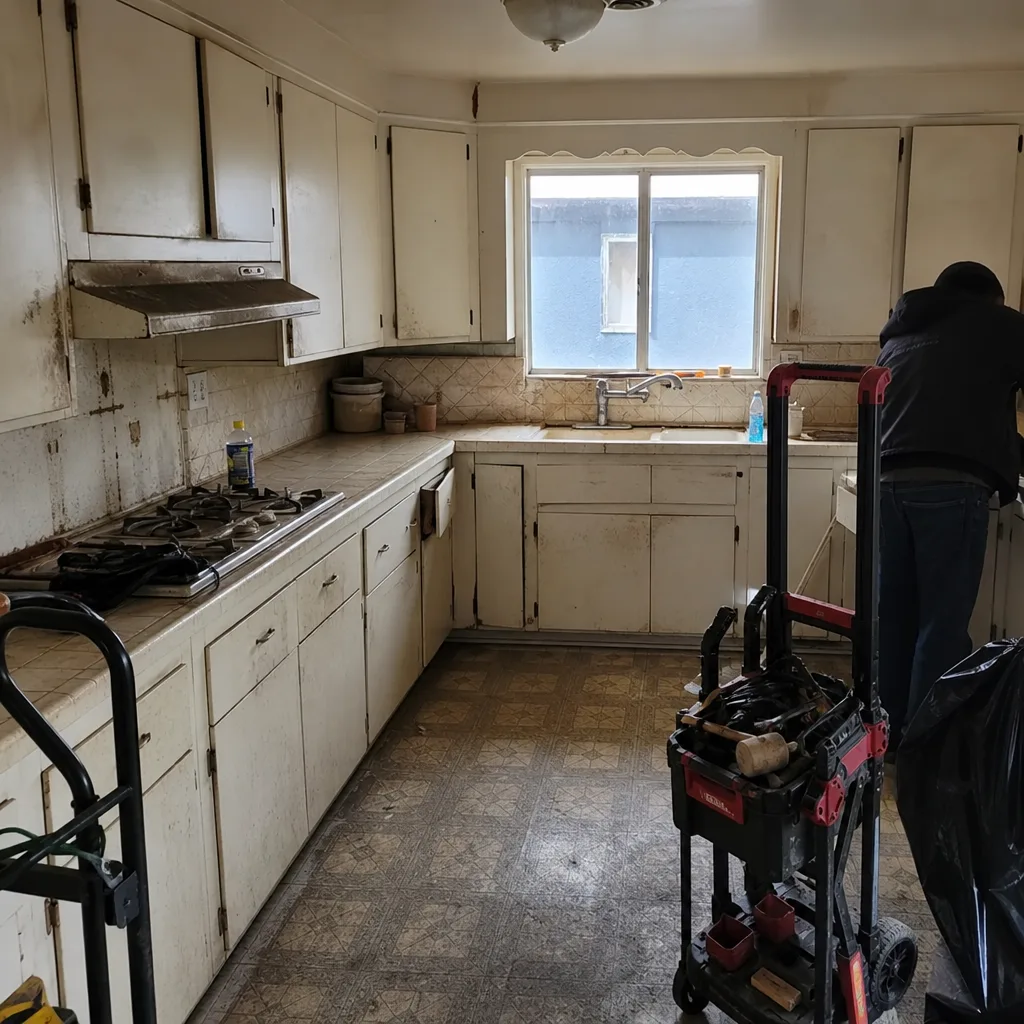
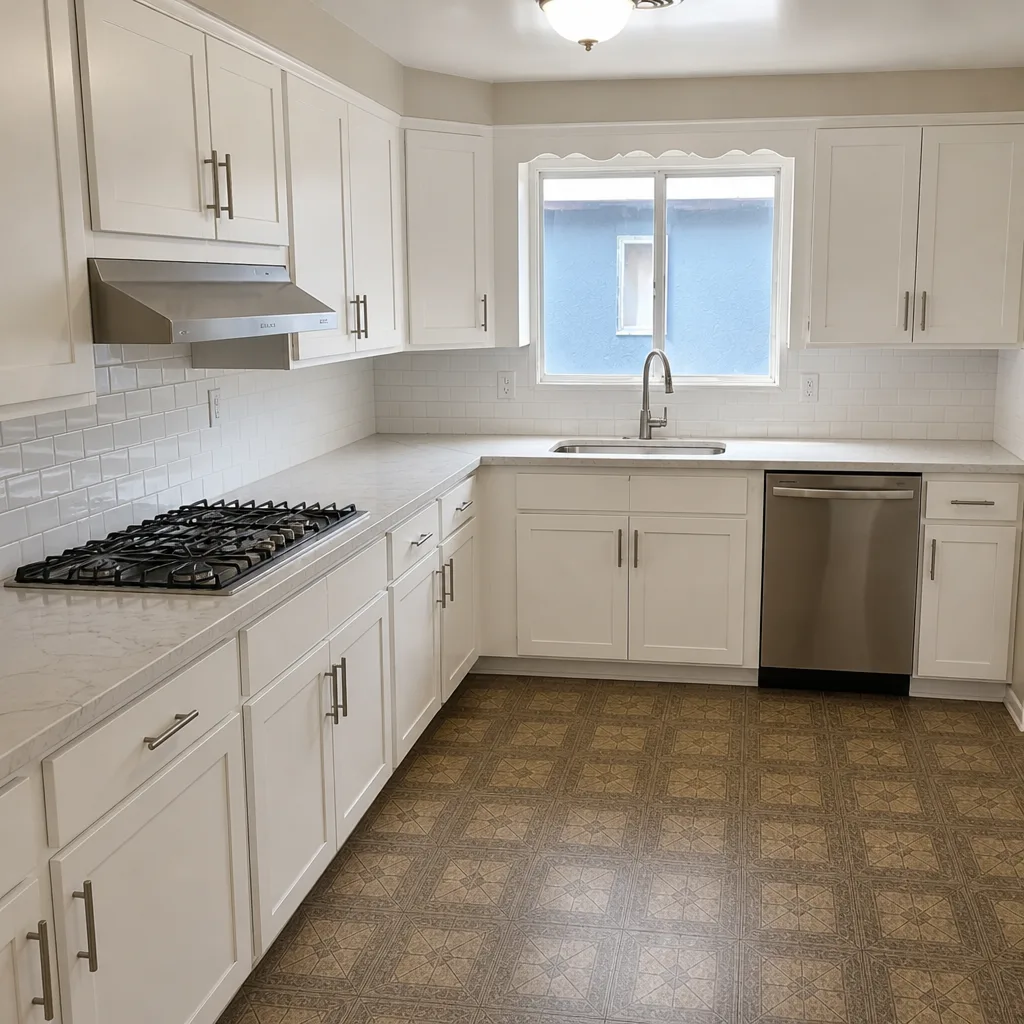
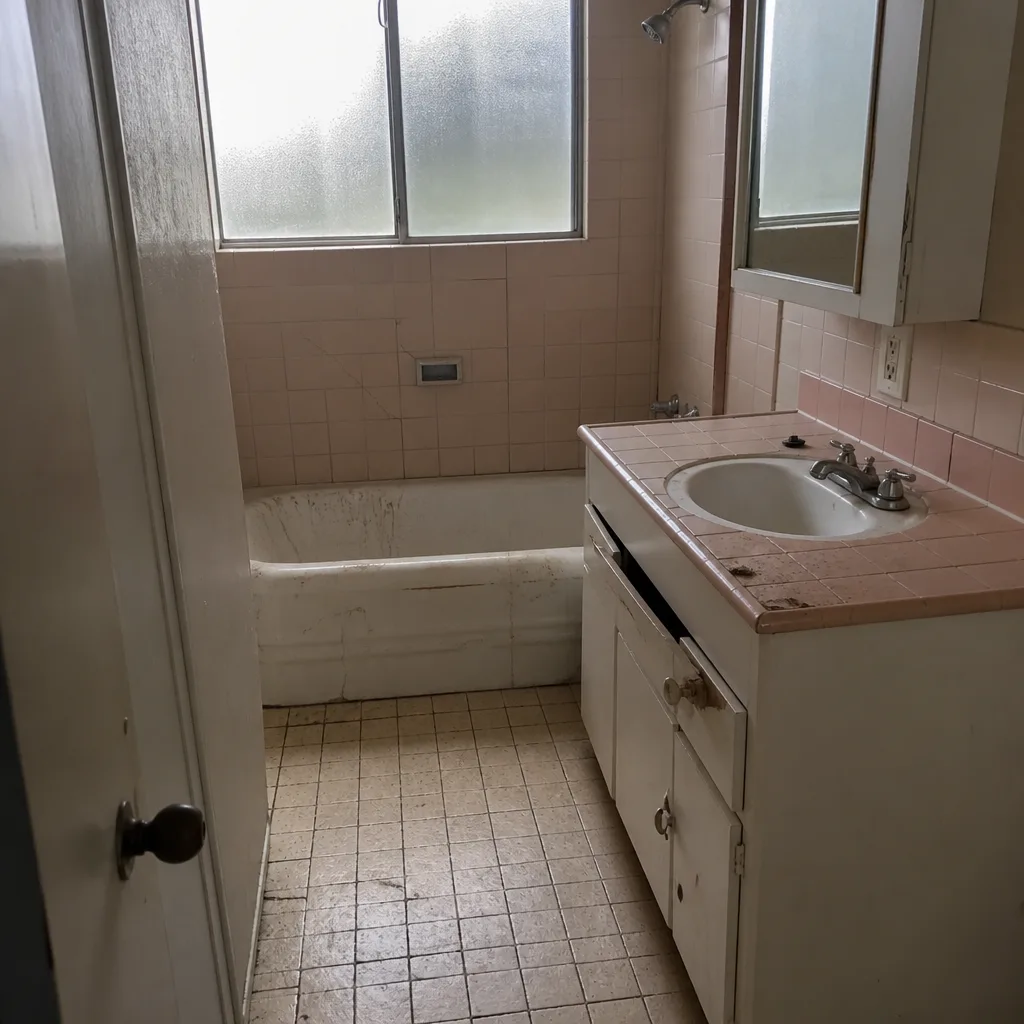
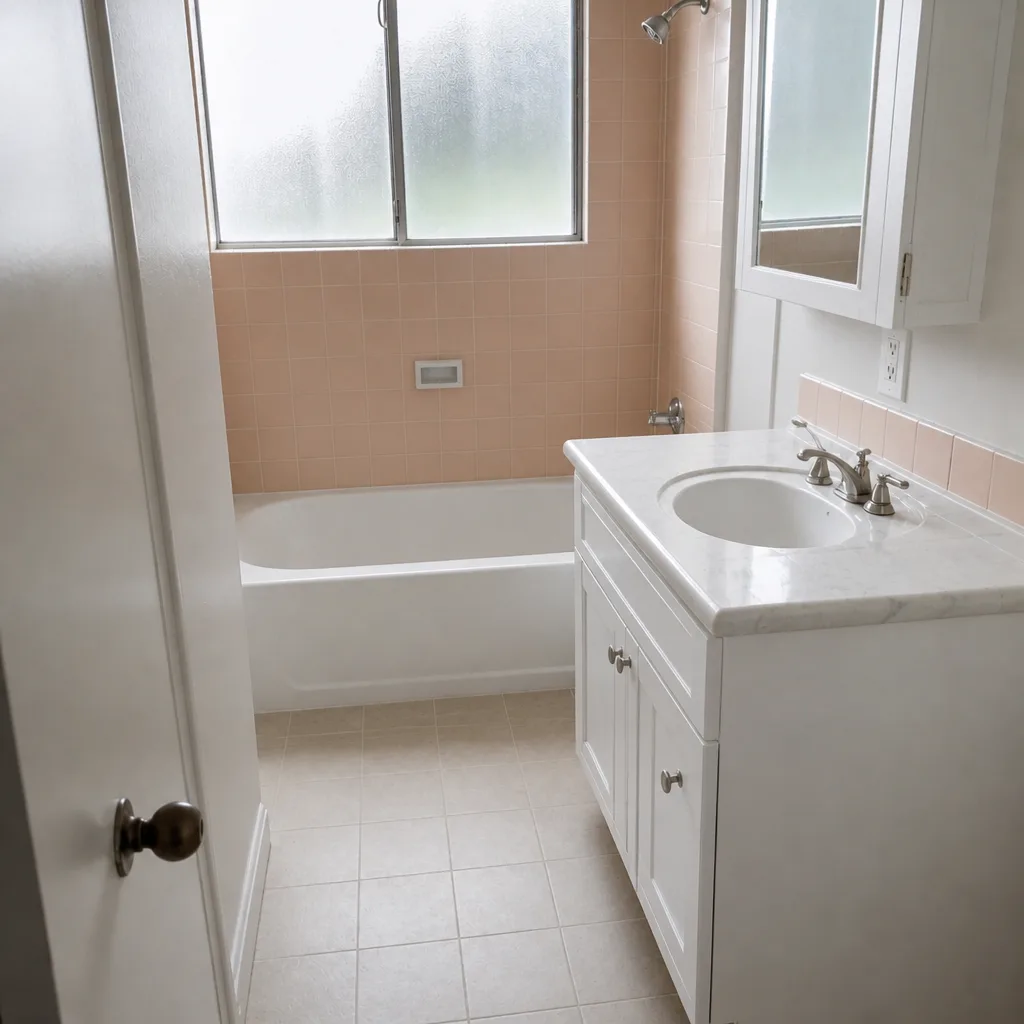
See the difference
 Before
 After
 Before
 After
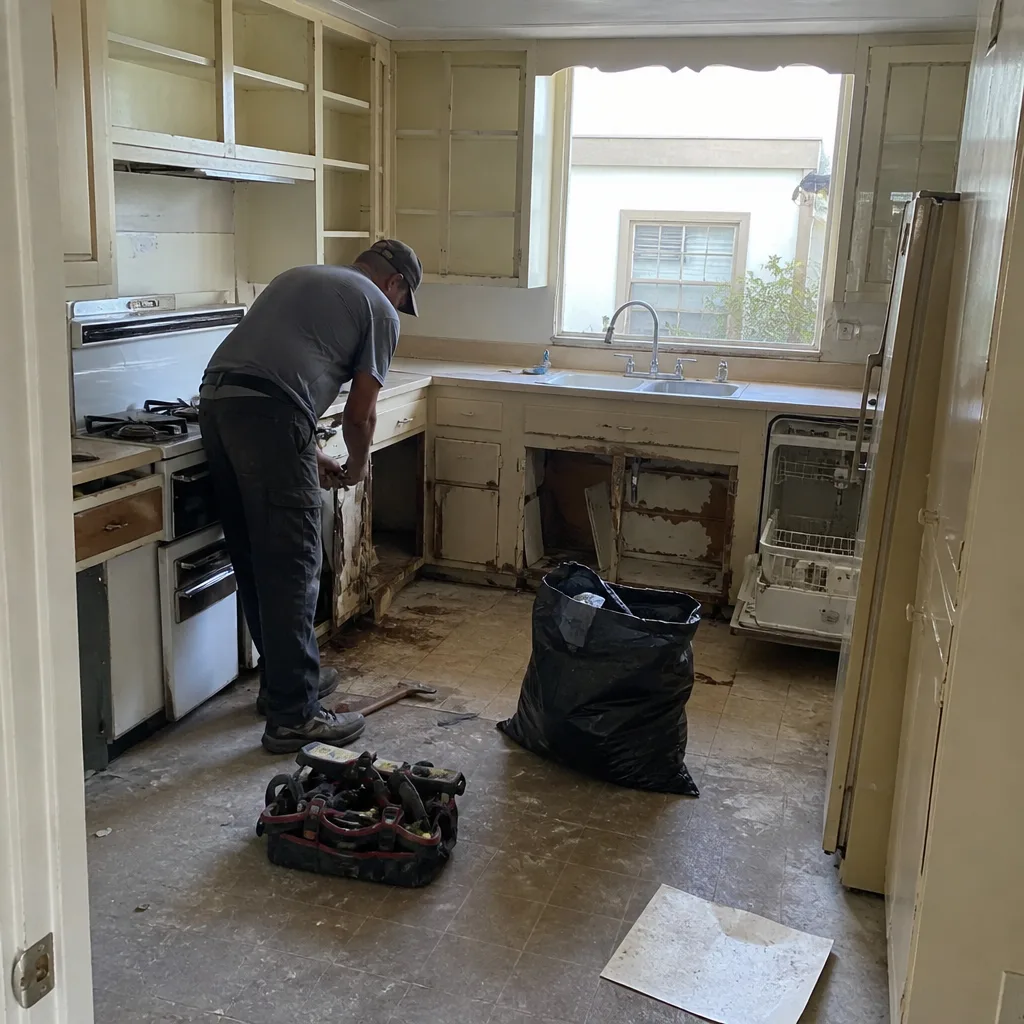 Before
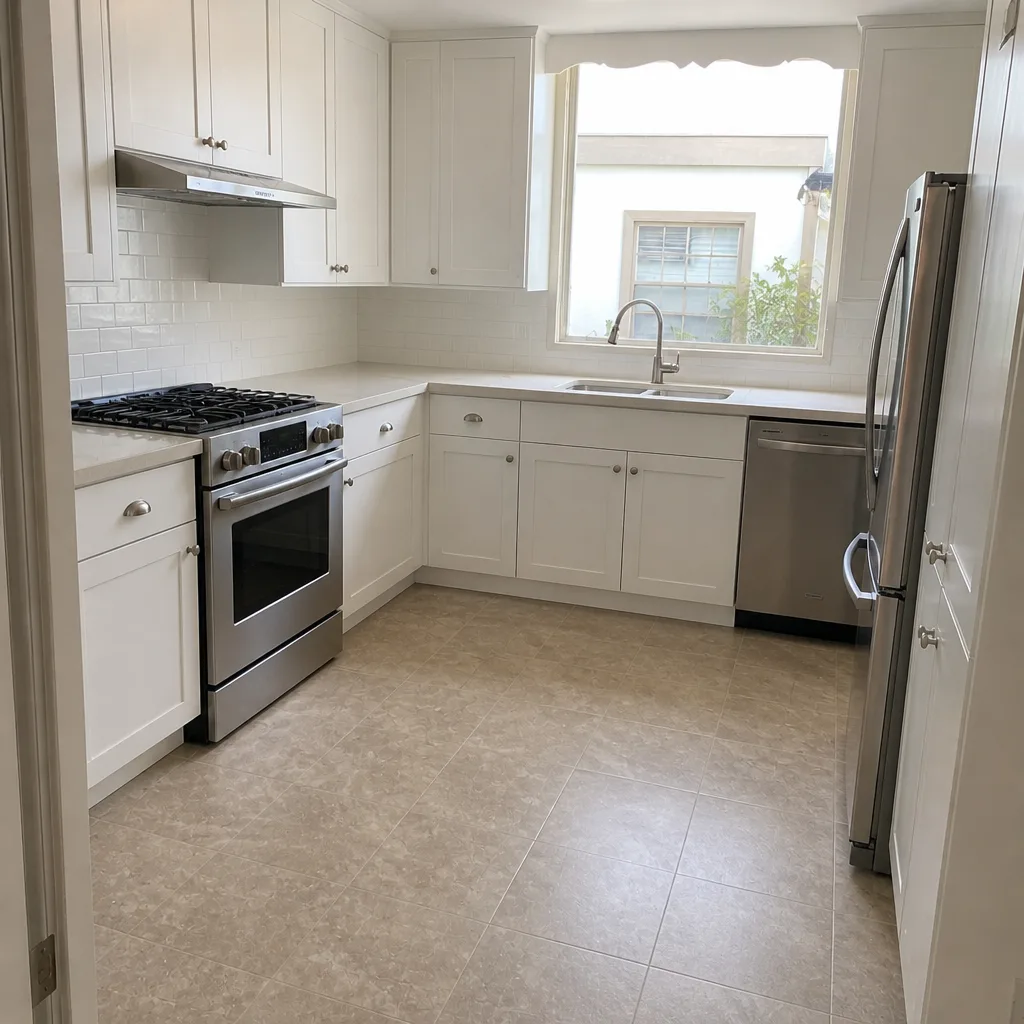 After
When to Call a Professional
Call a professional when the project crosses the base line. That means a new driveway, a full driveway replacement, a base that’s failing the rock and settle tests in multiple spots, a drainage fix that requires excavation, or any work that changes the driveway approach or slope toward a public right-of-way. In those cases the failure cost is real and you don’t want to learn compaction the hard way. Surface work on a sound base (sand, sealing, a paver swap, an edge reset) is yours to handle. Groundwork Construction Co. of Burbank offers free estimates in Burbank, and we’ll tell you honestly which side of the line your project falls on. If it’s a surface job, we’ll say so. If it’s base work, you’ll get upfront pricing, the permits pulled as required, and the 730-Day Done Right Promise in writing. Call (844) 797-7958 to schedule your free estimate.
Frequently Asked Questions
You can, and it’s the single most common way homeowners lose money on pavers, because the base phase is where DIY fails. A base compacted in thick lifts or graded without proper slope won’t show problems until the first season of weather, and by then the fix is demolition plus a full re-install. Surface work (sand, sealing, a paver swap) is a genuine savings. Base work usually isn’t. Call (844) 797-7958 for a free estimate if you want a straight read on your driveway.
Fixing a failed base typically costs as much as a fresh professional installation, because it includes demolition of the pavers you already paid for, haul-away of the old base, new base material, new bedding sand, and re-install labor. In practice that puts you well above the original pro quote you passed on. The number you see on a Groundwork quote is the number you pay, and the install is backed by the 730-Day Done Right Promise. Call (844) 797-7958 for exact pricing on your project.
Joint sand replenishment, sealing, replacing a single cracked paver on a stable base, resetting a minor edge restraint, and routine weed and stain cleanup are all safe for a careful homeowner. None of those disturb the base, and a mistake is cheap to correct. If your driveway has multiple rocking pavers or pooling water, that’s a base issue and needs a pro. Call (844) 797-7958 and we’ll tell you which side of the line you’re on.
Yes. A paver overlay on a solid existing driveway often doesn’t need a permit, but a new driveway or one that changes the approach or drainage toward a public right-of-way usually does, and the local pro pulls the permits as the state requires and follows local code. Groundwork’s installs are done to Burbank’s requirements, inspected where required, and backed in writing. Call (844) 797-7958 to schedule a free estimate and we’ll walk through the permit picture for your lot.
It depends on which phase you touch. If a contractor builds the base and installs the pavers, and you take over sanding and sealing afterward, the workmanship guarantee on the base and installation usually still stands. If you install pavers over a base you built yourself, no contractor can warranty the system, because they can’t stand behind a base they didn’t compact and grade. That’s why we’re clear up front about what we’ll cover and what we won’t. Call (844) 797-7958 to talk through your project.
Most residential paver driveways in Burbank take several days, depending on size, base depth, and weather, with base prep and compaction taking the majority of the time. A surface repair (a paver swap or edge reset) is often a single visit. We don’t quote same-day work on a full install; the base has to be built and compacted correctly, and rushing it is how failures start. Call (844) 797-7958 for a free estimate with a realistic timeline for your driveway.
The Bottom Line
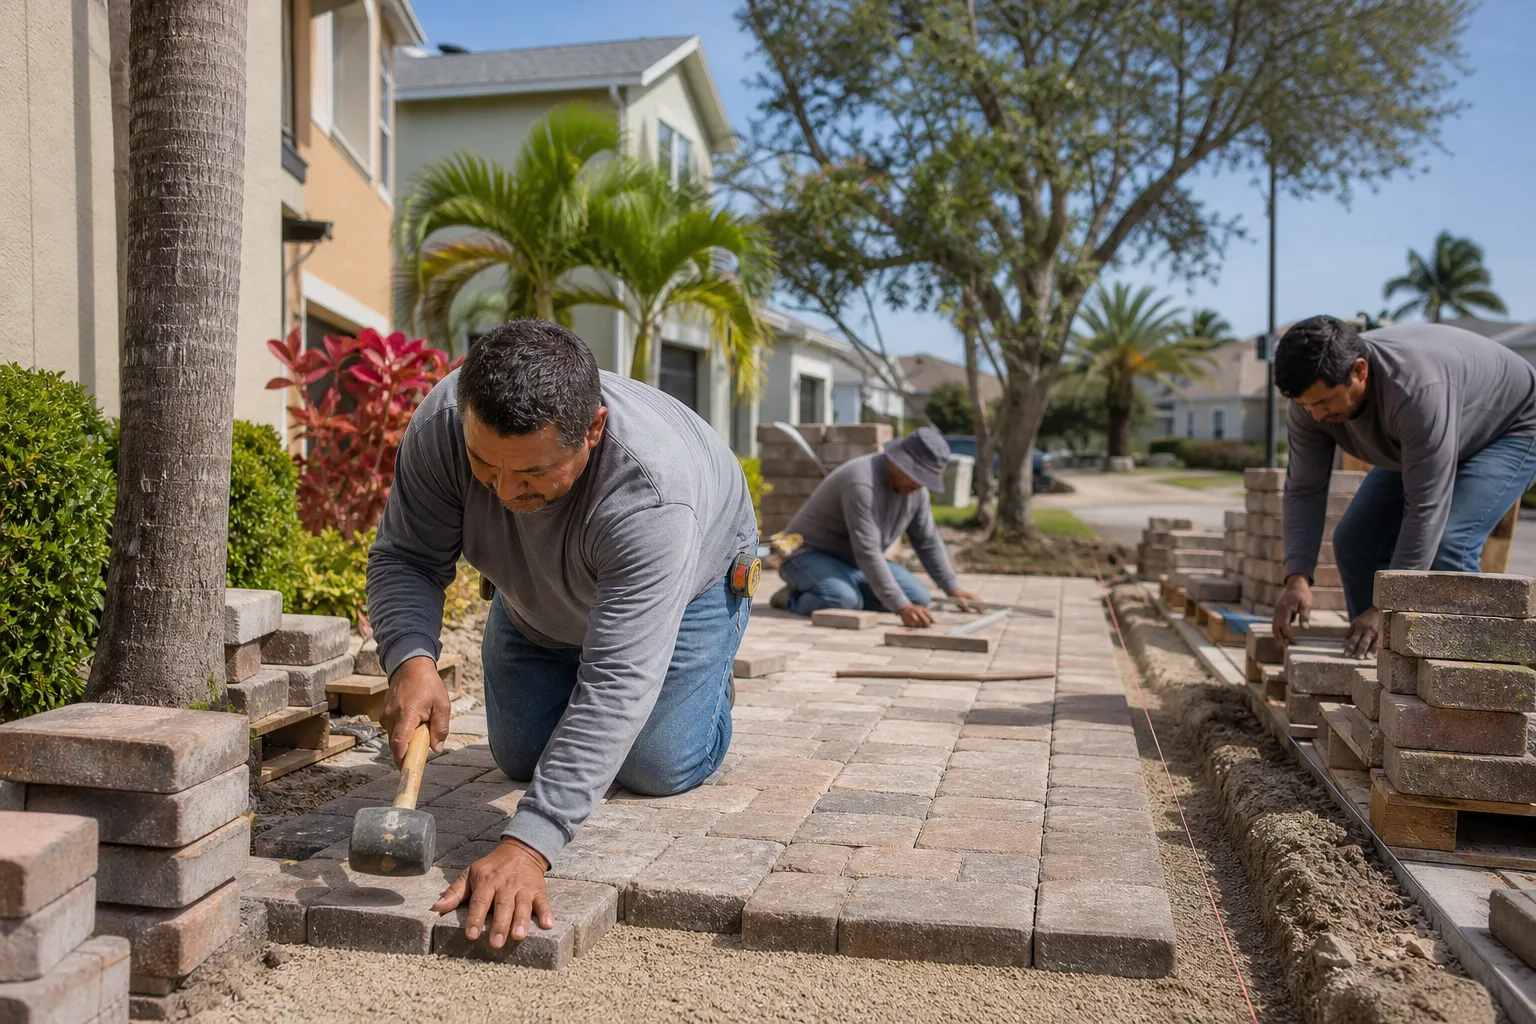
The DIY paver question isn’t about your skill, it’s about your phase. Draw the line at the top of the base. Above it (joint sand, sealing, a paver swap, a minor edge reset) you’re a homeowner doing smart maintenance on a sound base, and the savings are real. Below it (excavation, grading, compaction) the technique gap is wider than the equipment gap, and the failure cost is a demo, a re-install, and the money you already spent. Check your existing base with the rock, water, and settle tests before you touch anything. If it passes, grab a broom and a bag of sand. If it doesn’t, that’s a base job, and a written workmanship guarantee is worth more than a rented compactor. If you’re in Burbank, we offer free estimates and we won’t sell you a full install you don’t need. You can learn more about Groundwork Construction Co. of Burbank home and the full scope of our work, including Home Additions & ADU in Burbank if your driveway project ties into a bigger plan. Call (844) 797-7958 to schedule your free estimate.
Written by the team at Groundwork Construction Co. of Burbank.