Last updated November 18, 2026

Free written scope consultation - allowances, timeline, and change-order rules on paper before a single trade is scheduled
Driveway & Pavers Troubleshooting: Common Problems and How to Fix Them
If your pavers keep sinking in the same spot after every repair, you don’t have a paver problem – you have a base compaction problem that no amount of re-sanding will solve. That’s the part most guides skip. They hand you a tube of polymeric sand and send you back out to the driveway. Then three months later, the same dip is back and a little wider. In our experience across Burbank, the paver failures that come back again and again aren’t random wear and tear. They’re fingerprints. Each symptom – edge creep, center sinking, random displacement, sand washout, white haze – points to a specific installation mistake made before the first paver was ever laid. This guide teaches you to read those fingerprints, so you stop patching the symptom and start understanding the cause. By the end, you’ll know which problems you can honestly fix from the surface and which ones only a real excavation will solve.
Quick Answer
Most driveway paver problems trace back to one of four root causes: an under-compacted or too-thin base, failed polymeric sand joints, poor edge restraint, or trapped water with nowhere to drain. Sinking that returns to the same spot almost always means base failure and needs excavation down to the subgrade. Weed and ant problems usually mean the joint sand has failed and needs a full tear-out and re-sand, not a patch. Efflorescence is often cosmetic and surface-only, but persistent re-blooming can signal moisture traveling through the slab beneath. Diagnosing the cause before you touch a single paver is the difference between a fix that lasts and a repair you’ll repeat next spring.
Styles & brands we work with
- Kitchen remodeling
- Bathroom remodeling
- Home additions & ADU
- Roofing
- Windows & doors
- Driveway & pavers
- Fence
Table of Contents
- How to Read Your Paver Problem Like a Diagnostic
- Edge Creep: Why Pavers Walk Away From the Border
- Center Sinking: The Deep Base Failure
- Random Displacement and Rocking Pavers
- Polymeric Sand Failure: The Root of 80% of Weed Complaints
- Efflorescence: Cosmetic Haze or Structural Warning?
- The DIY Repairs That Make the Professional Fix Cost More
- Burbank Climate and Soil: Why Local Driveways Fail Differently
How to Read Your Paver Problem Like a Diagnostic
Before you diagnose anything, walk the driveway with fresh eyes and a notepad. Where exactly is the failure? Is it along the perimeter, in the middle, or scattered in a random pattern? Does water pool there after rain, or does the spot stay dry while water runs off somewhere else? These details matter more than the paver itself. A paver is a surface material. Almost everything that goes wrong underneath happens for one of a handful of reasons, and the location of the symptom tells you which one.
Here’s the pattern-matching framework we use when we assess a failing driveway in Burbank:
- Edge creep (pavers spreading or tilting outward along the border) points to a failed or missing edge restraint. The pavers have nothing holding them laterally, so they walk.
- Center sinking (a bowl or dip in the middle) points to base compaction failure or a soft subgrade pocket under the field, and it needs excavation.
- Random displacement or rocking (individual pavers tilting or popping up) usually points to bedding sand that was uneven or too thick, or fine material migrating up through the joints.
- Joint washout and weeds point to polymeric sand that was installed wet, installed in the wrong temperature, or simply never locked up properly.
- White haze on the surface is efflorescence, and where it sits tells you whether moisture is moving through the system or just sitting on top.
That last point is worth repeating: the same pile of loose, shifting pavers can have three completely different root causes depending on where they sit. Get the diagnosis right and the repair holds. Get it wrong and you’ll be back out there with a broom and a bag of sand every few months for the life of the driveway. If you’re also dealing with a perimeter that’s failing to contain those pavers, that can be a Driveway & Pavers in Burbank project that touches both the hardscape and the border.
Edge Creep: Why Pavers Walk Away From the Border
Edge creep is the most misdiagnosed paver problem because it looks like a paver issue when it’s actually a containment issue. The pavers along the driveway’s outer edge start spreading, the joints widen, and eventually they tilt outward like a row of dominoes about to fall. Homeowners often re-sand the joints and tap the pavers back in, only to watch the same edge drift out over the next season. Re-sanding does nothing for edge creep because the pavers aren’t bound – they’re being pushed by traffic forces with no edge restraint holding them back.
Paver driveways rely on an edge restraint – typically a plastic edge, an aluminum edge, or a concrete curb – to lock the field in place. Without it, or with one that’s broken, heaved, or buried too deep, the outer course has nothing to push against. In Burbank, we see this constantly on driveways where the original install used a thin plastic edge that wasn’t spiked deep enough into compacted base, or where a concrete border has cracked at the apron transition. Once that restraint fails, the entire outer field slowly loosens.
Fixing edge creep correctly means:
- Removing the loosened outer pavers and inspecting the restraint – if it’s cracked, bent, or not spiked into solid base, it comes out.
- Re-excavating down enough to set a new edge restraint, whether that’s a spiked aluminum edge or a poured concrete curb.
- Re-compacting the base under the edge and reinstalling the pavers tight to the new restraint.
- Re-sanding the joints and compacting the field again to lock everything together.
Skip step one and you’ll be back to drifting edges within a year. The restraint is the anchor of the entire driveway – a paver field with no restraint is a pile of loose bricks waiting to happen.
Center Sinking: The Deep Base Failure
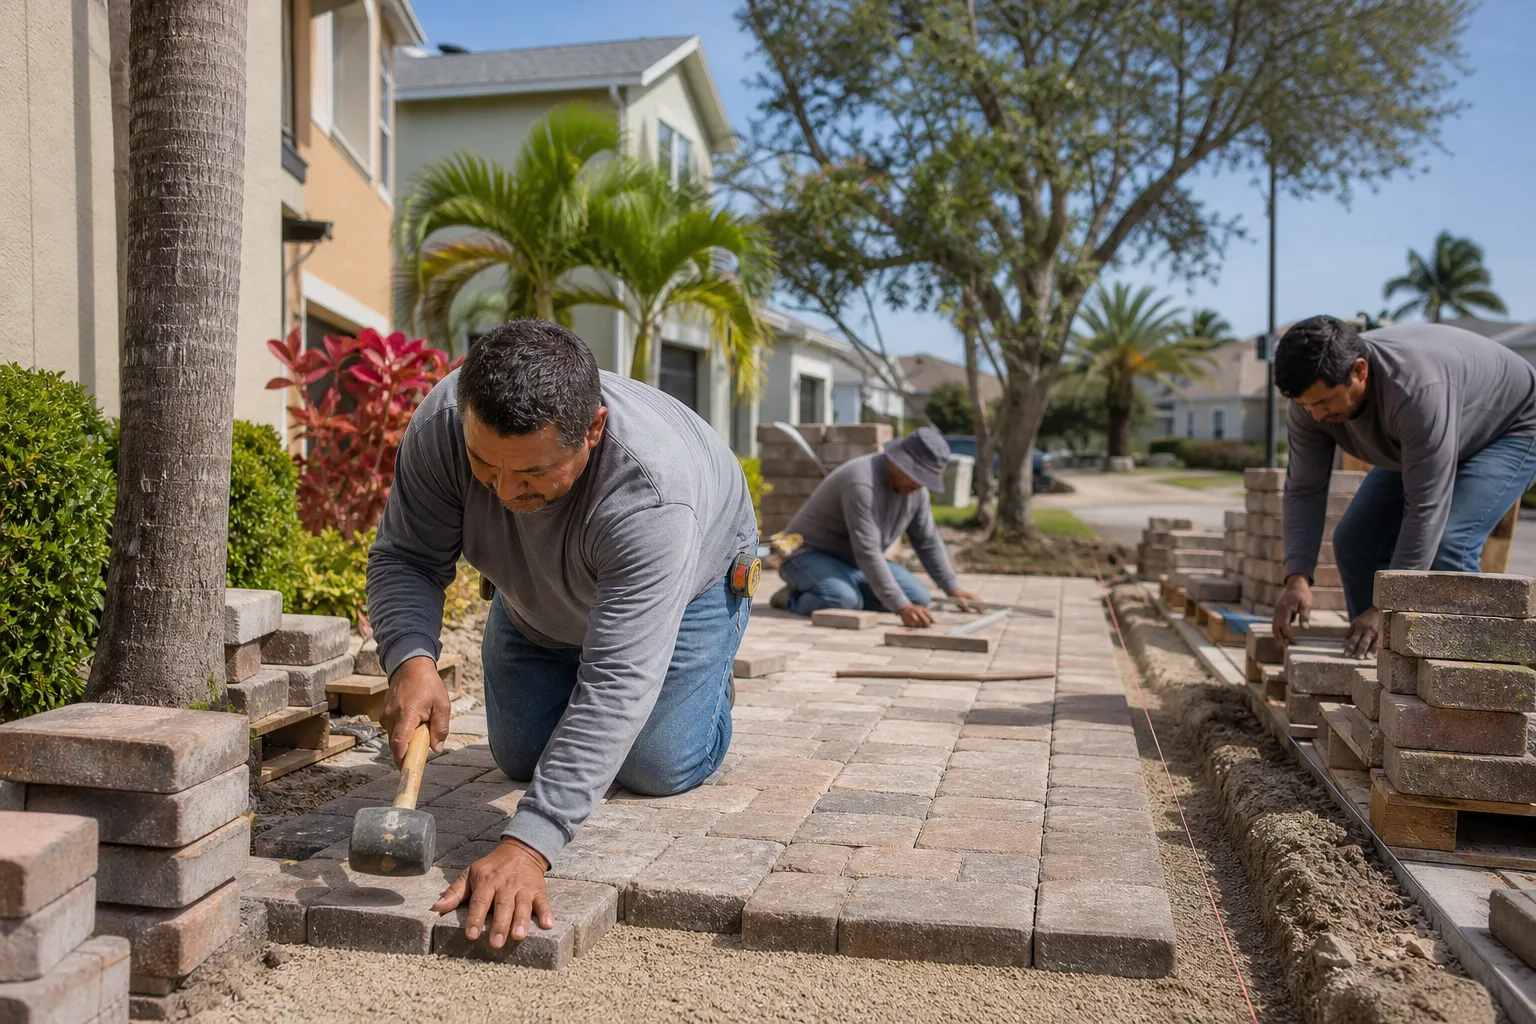
Here’s the situation the opening line of this guide was about. A dip in the middle of a paver driveway, especially one that keeps coming back after every re-sand and re-level, is almost never a bedding sand problem. It’s a base problem. Paver driveways are built in layers: subgrade soil at the bottom, a compacted aggregate base usually 4 to 6 inches thick for a residential driveway, a 1-inch bedding sand course, and then the pavers. When the base layer wasn’t compacted in lifts, or the subgrade soil beneath it was soft, wet, or expansive, the base will settle under repeated traffic loading. The pavers follow. The dip is a footprint of what’s happening 6 inches down.
This matters because the repair is not what most homeowners expect. You can’t fix a base failure from the surface. Lifting the pavers, adding a little bedding sand, and setting them back down is what we call a cosmetic re-level. It buys you a season, maybe two if the traffic is light. The dip comes back because nothing changed underneath.
In Burbank, center sinking tends to show up in two specific situations:
- Driveways where the subgrade was a clay-heavy native soil that got wet during construction and never re-compacted properly before the base went down.
- Driveways that cross an old utility trench or a previous concrete slab that was buried rather than removed. The soil under the trench settles at a different rate than the surrounding base, and the paver field bridges over the void until it can’t.
The correct fix is a full tear-out of the affected area, excavation down to stable subgrade, re-installation of the base in compacted lifts, and reconstruction of the paver field on top. If you’ve already re-leveled a spot twice and the dip is coming back – and it’s the same spot both times – stop patching. The word “same spot” is the tell. Random settling would move around. A recurring dip in the same location is a structural cause under that specific point. When a driveway paver failure sits right at the transition to a garage apron or a Home Additions & ADU in Burbank walkway, that transition joint often needs its own detail so the settling doesn’t compound.
Random Displacement and Rocking Pavers
Random displacement looks messier than center sinking but is often less serious. Individual pavers tilt, rock underfoot, or pop up out of plane while their neighbors stay flat. The pattern is scattered, not localized. In our experience, this almost always traces back to the bedding layer rather than the base. Either the bedding sand was uneven, too thick in spots, or fine material from the base was allowed to migrate upward through the joints when the field was compacted.
There’s a common trap here. A homeowner notices a rocking paver, digs it out, adds a scoop of sand, and sets it back. Then the neighboring paver starts rocking. Then the one next to that. This is not random bad luck. It’s a sign the bedding course has lost its uniformity across the field. When fine soil particles move up through the paver joints and displace the bedding sand, the pavers lose the even plane of support they need. Every repair becomes a chase.
Here’s how to spot the difference between a bedding problem (fixable from the surface) and a base problem (needs excavation):
- Bedding problem: Pavers rock in place but the surrounding field is level. No dip in the overall plane. The joint sand is loose or missing, and fine soil is visible in the joints.
- Base problem: A visible dip or bowl. The rocking pavers sit inside a low pocket. The joints may look fine but the whole field sags at that point.
If your rocking pavers sit inside a dip, that’s a base issue masquerading as a bedding issue. If your rocking pavers sit on an otherwise flat plane, a proper fix means lifting the affected pavers, removing the old bedding sand entirely, re-screening a fresh 1-inch bedding course, re-laying, re-sanding, and re-compacting the whole zone. It’s a controlled operation – but it’s still hard work, and a lot of homeowners discover too late that the affected zone keeps growing because the fine material migration doesn’t stop at the pavers they touched.
Polymeric Sand Failure: The Root of 80% of Weed Complaints
When homeowners call us about weeds pushing through the driveway or ants burrowing along the joints, the conversation almost always lands on the same root cause: the polymeric sand has failed. Polymeric sand is the joint filler that, when properly installed, locks up into a hard, semi-flexible matrix that keeps water out, weeds out, and pavers locked in. When it fails, it reverts to loose, crumbly sand that washes out in the first heavy rain and gives weeds and insects an open door. In our experience, the vast majority of weed and ant intrusion complaints trace back to this – not to any flaw in the pavers themselves.
Polymeric sand fails for a specific list of reasons:
- It was installed while the pavers were wet. Polymeric sand must go onto dry pavers or it bonds poorly and never sets up.
- It was installed in conditions below the manufacturer’s recommended temperature, so the polymer never activated. In Burbank, this can bite in winter mornings when the pavers are still cool from overnight.
- It was over-watered during the activation step, flushing the polymer binder out of the joints before it could set.
- It was under-watered, so the binder never activated at all and the sand stayed crumbly.
- The joint width was too narrow or too wide for that specific product, or the joints weren’t fully filled before compaction.
Fixing failed polymeric sand correctly is not a sweep-and-forget job. It requires:
- Removing the old, failed sand entirely from the joints – not just adding new sand over the top. The new sand has to bond to the paver edges, not to a layer of dead sand.
- Cleaning out any weeds, roots, or debris that have moved into the joint.
- Making sure the pavers are completely dry before installation – usually a full dry day, often two in cooler weather.
- Filling the joints fully, sweeping off excess, compacting the field, and re-filling low joints before activation.
- Activating with a controlled water application, per the manufacturer’s instructions, without flooding the field.
One more honest point: polymeric sand is a joint seal, not a structural fix. If the joints are opening up because the edge restraint has failed or the base is settling, re-sanding is temporary. Fix the movement first, then re-sand. Otherwise you’re sweeping new sand into a joint that’s still going to widen.
Efflorescence: Cosmetic Haze or Structural Warning?
Efflorescence shows up as a white, powdery haze on the paver surface – sometimes a light dusting, sometimes a thick bloom concentrated in one area. It’s the deposit left behind when water moves through concrete or masonry, dissolves salts, and then evaporates at the surface, leaving the salts behind. On paver driveways, it’s usually cosmetic, and a proper efflorescence cleaner plus a dry stretch of weather will clear most of it.
The diagnostic question is about recurrence. A driveway that blooms once after construction or after a wet winter and then clears? Cosmetic. That’s normal and doesn’t mean anything is wrong. A driveway that keeps blooming in the same zone, especially around a low spot or near a downspout, is telling you something different: moisture is moving through the system from somewhere it shouldn’t. That could be water trapped under the base because the site drainage doesn’t shed it, a sprinkler line leak saturating the subgrade, or a downspout discharging right at the paver edge. The efflorescence itself isn’t damaging the pavers, but the moisture source underneath it can eventually cause the base to soften or swell.
In Burbank, efflorescence tends to concentrate in two spots:
- Near the base of downspouts that discharge onto the driveway without an extension or a drainage catch.
- Around driveways adjacent to a lawn where irrigation overspray hits the pavers on a daily schedule.
If you see recurring efflorescence in the same zone, look at the water source before you re-clean the surface. Cleaning off the white haze is like wiping the mirror – the water behind it is still there. Fixing the drainage or the discharge point is what stops the bloom from coming back. If your driveway sits against a perimeter where water is pooling, a properly built Fence Installation in Burbank project can also integrate drainage and grading so the footprint of the property handles water the right way.
The DIY Repairs That Make the Professional Fix Cost More
We’re not going to tell you every repair is a professional job – plenty of paver maintenance is straightforward work you can do yourself. But there are specific DIY mistakes we see over and over in Burbank that turn a moderate fix into a much larger one. The problem isn’t that a homeowner tried to help. It’s that the wrong help moves the failure and adds cost to the eventual real repair.
The most common mistakes:
- Adding bedding sand over a base failure. This is the big one. Topping up the sand layer under a dip hides the problem for one season and lets traffic work the pavers further out of plane. When you eventually excavate, you’re now pulling up an even thicker layer of loose material.
- Re-sanding without cleaning out the old polymeric sand. Sweeping new sand over a dead layer means the new sand has nothing to bond to. It fails within months, and the field now has two layers of loose material to remove later.
- Lifting pavers with a pry bar or shovel tip. This chips the paver edges and cracks the surface, especially on the thinner pavers that show up in older driveway installs. Chipped pavers mean replacements, not just re-lays.
- Pouring concrete patch over a paver joint. We see this on driveways where a homeowner got tired of a rocking paver and cemented it in place. The patch cracks, the joint can’t flex, and now the repair involves breaking out cured concrete.
- Pressure-washing polymeric sand joints at full blast. A high-pressure wand will strip the polymer out of the joint in a matter of seconds. This is the fastest way to destroy a healthy joint field.
- Sealing a wet driveway. A paver sealer on a damp surface traps moisture inside and can cause the sealer to flake or cloud. It’s expensive to strip off.
None of these are catastrophic individually. Together, they can turn a $1,500 targeted repair into a $4,000-plus reconstruction because the surface now needs to be stripped before any of the structural work can start. If you’ve already tried one of these and the driveway is still failing, that’s the moment to stop adding to the layer and get an assessment.
Burbank Climate and Soil: Why Local Driveways Fail Differently
Burbank has a specific combination of conditions that shapes how paver driveways age here. The area gets hot, dry summers that bake moisture out of the surface, and a rainy season that comes in concentrated bursts. The soil in many parts of the city – especially in pockets of the valley going toward the Verdugo foothills – has enough clay content that it holds water and swells when saturated. That cycle of drying and re-wetting pushes on the base layer from underneath, even on driveways that were built correctly. On driveways where the base wasn’t compacted in lifts, the cycle accelerates the settling.
The pattern we see most often in Burbank:
- Summer heat and traffic loading cause pavers to expand slightly and joint sand to settle. Driveways that start the summer tight end it with hairline joints.
- First heavy rain of the season finds any weak spot in the base, seeps into failed joints, and softens the subgrade under the affected zone.
- Winter freezes are rare but cold snaps matter – the overnight cold in the valley can activate polymeric sand issues if the sand was installed in marginal conditions.
- Local runoff patterns matter a lot on hillside properties toward the Burbank hills, where water runs off the upper property and flows across driveway pavers rather than off them.
This is also where the compacted base spec matters most. A driveway built with 4 inches of base on a hot, dry, sandy subgrade might outlast one built with 6 inches of base on Burbank clay that got wet during construction. The base thickness and compaction have to match the soil, not just a generic spec. That’s the kind of judgment call that comes from working the same soil, the same climate, and the same streets, and it’s why local knowledge of the valley matters when you’re choosing who to fix a failing driveway.
Common Mistakes to Avoid
- Diagnosing the paver instead of the system. A sinking paver isn’t the problem – the base, restraint, or drainage underneath it is. Look at the pattern of failure before you touch the pavers.
- Re-sanding before fixing the movement. If the joints are opening because the edge is failing or the base is settling, new polymeric sand will just crack and wash out. Fix the movement first.
- Assuming every white haze needs aggressive cleaning. Repeated efflorescence means water is moving through the system. Chase the source before you re-clean the surface.
- Pressure-washing full-blast on polymeric joints. This strips the polymer out of the joint in seconds and is the fastest way to create a weed problem that didn’t exist.
- Leveling by adding sand under the dip. Adding to the sand layer under a low spot buys one season and makes the eventual excavation deeper and more expensive.
- Ignoring water drainage at the property edge. In Burbank, runoff from a slope or a downspout that discharges onto the driveway sees a paver field as a free path. Fix the discharge first or the base will keep failing.
- Choosing a paver brand by price alone before checking the base spec. A premium paver installed on an under-compacted base will fail sooner than a mid-grade paver installed on 6 inches of properly compacted base. The base is the product; the paver is the finish.
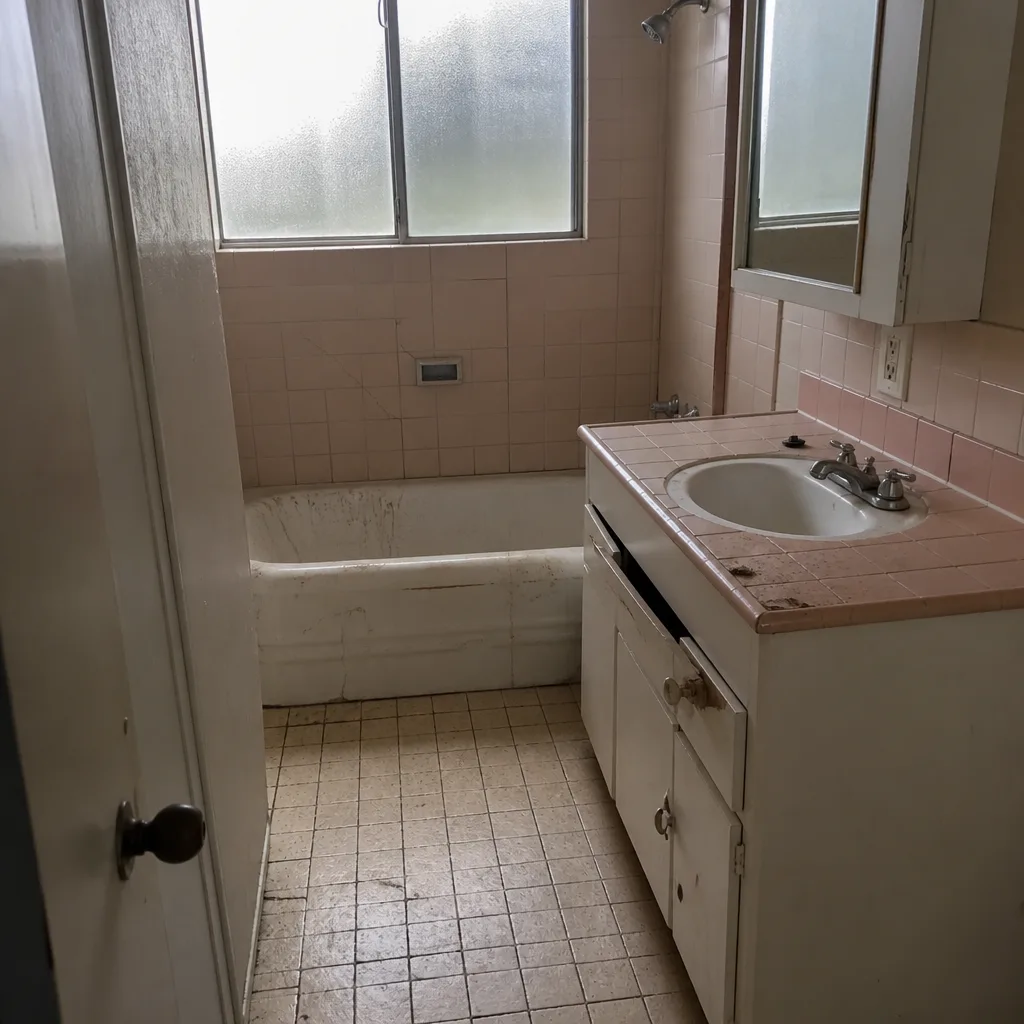
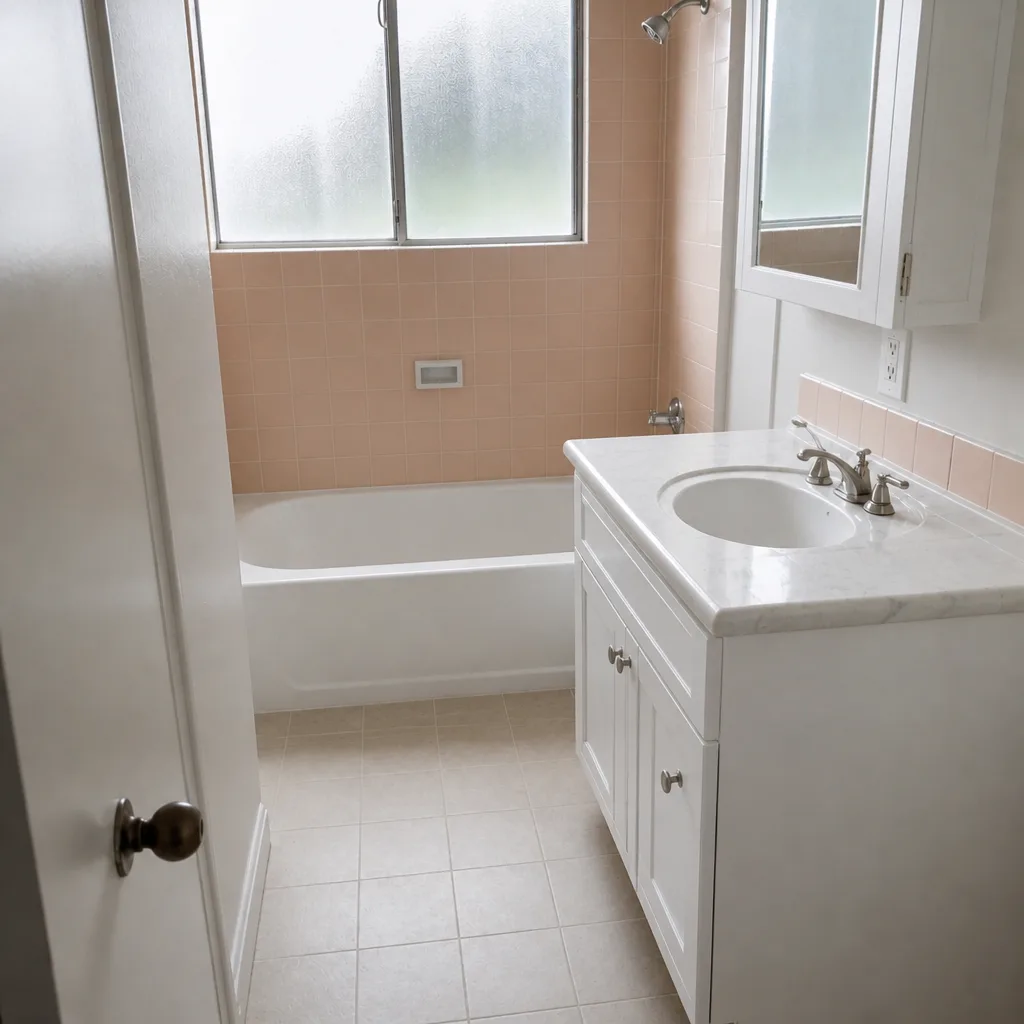
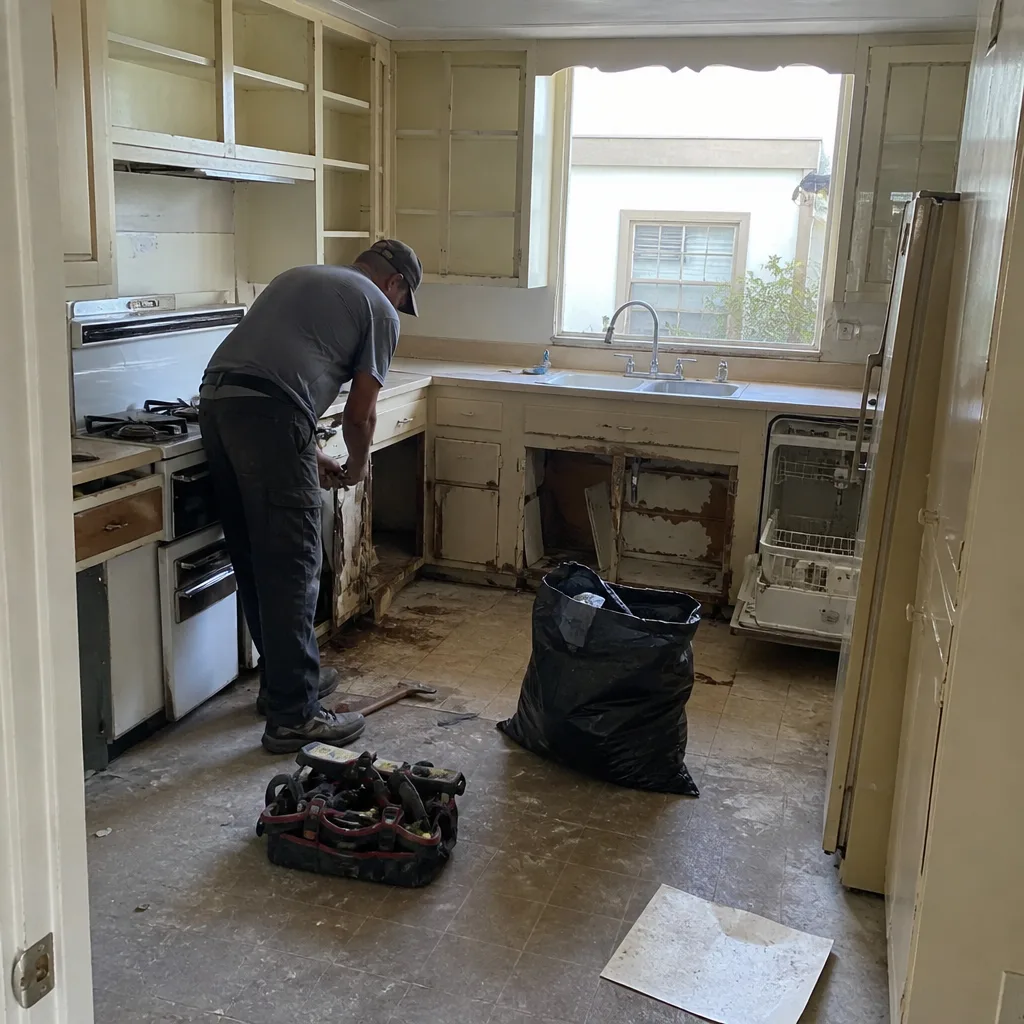
See the difference
 Before
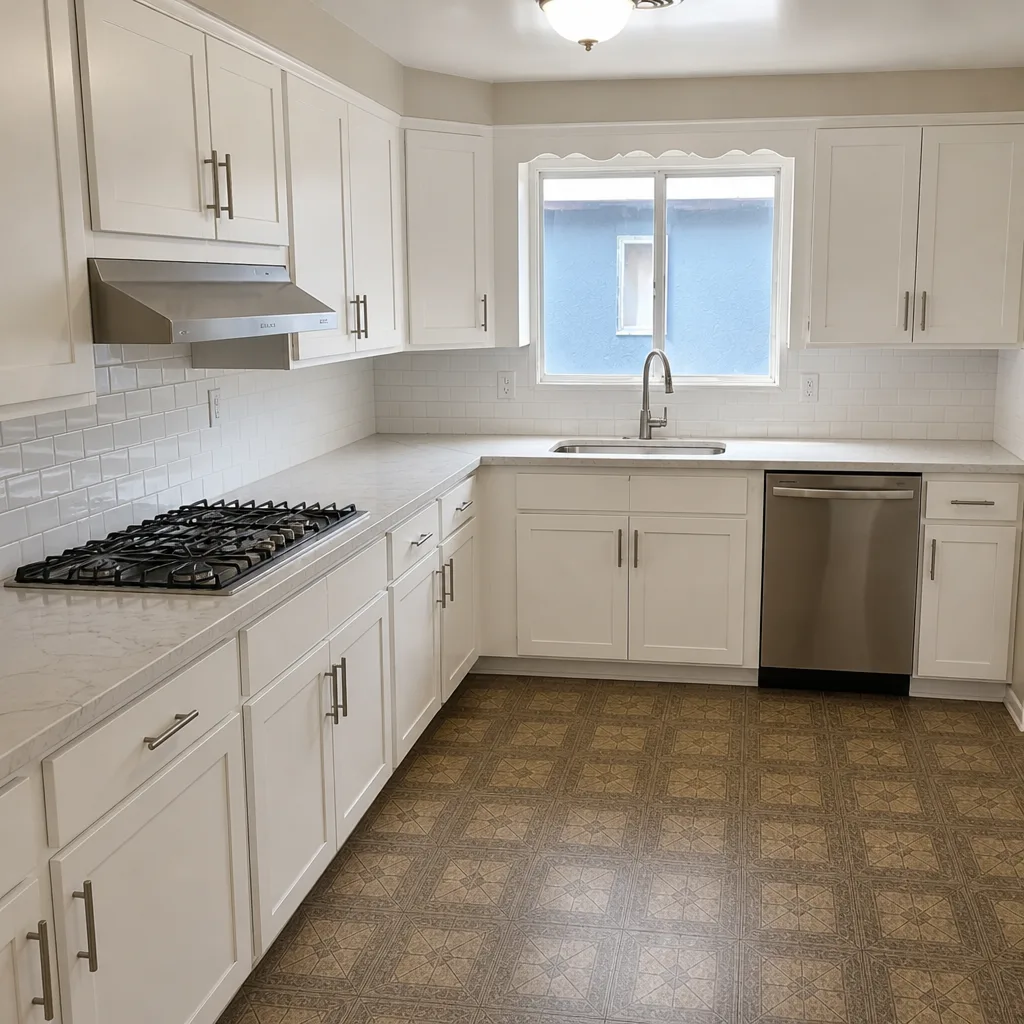 After
 Before
 After
 Before
 After
When to Call a Professional
Most driveway paver maintenance – sweeping joints, spot-cleaning efflorescence, addressing a single rocking paver – is work you can handle on your own. But some symptoms are signals that the fix needs to go deeper than the surface, and calling before you start saves money. Call a professional when: a dip returns to the same spot after a re-level, the edge restraint is visibly broken or failing, a low spot is holding standing water after a rain, pavers are lifting or rocking across a wide zone rather than one or two pieces, or re-sanding fails within the same year. Those are the cases where excavation, compaction, and re-lay are the answer, and where patching from the surface will cost more overall. Groundwork Construction Co. of Burbank offers free estimates in Burbank and can diagnose the failure and write a real plan – call (844) 797-7958.
Frequently Asked Questions
A dip that returns to the same spot after every repair is a base problem, not a paver problem. The aggregate base under the pavers settled in that specific zone, usually because it wasn’t compacted in lifts or the subgrade soil beneath it is soft or wet. Re-sanding and re-leveling from the surface only buys a season because nothing underneath has changed. The fix is excavation to stable subgrade, re-installation of the base in compacted lifts, and reconstruction of the paver field on top. Call (844) 797-7958 for a free estimate on the diagnosis.
Cost depends on the size of the failing zone. A targeted repair across a few square feet typically runs in the low thousands of dollars once excavation, base replacement, and re-lay are included; a full-depth reconstruction across a larger section runs higher. Because Burbank soils vary block by block, the honest answer requires an on-site look at the base depth and subgrade. Groundwork Construction Co. of Burbank offers a free estimate with upfront pricing, no surprises, plus 0% financing for 18 months and $1,000 off projects over $10,000. Call (844) 797-7958 for a specific number.
Only if you fully remove the old failed polymeric sand first. Sweeping new sand over a dead layer means the polymer can’t bond to the paver edges, so it fails again within months. Correct re-sanding means cleaning out the joints entirely, ensuring the pavers are completely dry, filling the joints, compacting the field, and re-filling low joints before activation. And if the joints keep opening because the edge restraint is failing, re-sanding won’t hold. Call (844) 797-7958 to have the joints and restraint assessed together.
That’s efflorescence, and it’s the salt left behind when water moves through the pavers and concrete and then evaporates at the surface. A single bloom after construction or a wet winter is cosmetic and clears with an efflorescence cleaner. Recurring bloom in the same zone is a signal that moisture is traveling through the base or the site drainage – look at downspouts, irrigation overspray, and grading next to the pavers. Fix the water source and the bloom stops returning. Call (844) 797-7958 if the source isn’t obvious.
Not when the diagnosis is done properly up front. The failure point of most paver repairs is that the initial bid was written against the visible symptom instead of the underlying base condition. We open a test area, verify what’s actually failing, and write the scope around that. The number on the written estimate is the number you pay – no change orders for discoveries made after the work begins. Call (844) 797-7958 for a free estimate consult and a written scope.
The line is usually about what’s under the pavers. Surface-level issues – a single rocking paver on an otherwise flat plane, cosmetic efflorescence, light joint maintenance – are safe DIY territory. Anything where the failure is a dip, a wandering edge, water pooling after a rain, or multiple rocking pavers inside a low pocket, needs excavation and re-compaction that most homeowners don’t have the tools or the compaction equipment to do correctly. Call (844) 797-7958 and we’ll tell you honestly which category your driveway is in.
The Bottom Line
Paver problems aren’t random, and they aren’t solved by the first sand-and-sweep repair that comes to mind. The symptom tells you the cause: edge creep means a failed restraint, center sinking means a base failure, random displacement usually means uneven bedding, and most weed problems are failed polymeric sand. Efflorescence is cosmetic when it’s a one-time bloom and a moisture warning when it keeps returning in the same spot. The repairs you do yourself should fix the cause, not hide it – because resanding a moving joint or topping up bedding sand over a soft base makes the eventual professional fix more expensive, not less. If your driveway keeps failing in the same place, that’s your signal. Start with our Groundwork Construction Co. of Burbank home to see how we approach full-scope exterior work, then call (844) 797-7958 to schedule your free estimate. Estimates are free, pricing is upfront, and every project we complete is backed by our 730-Day Done Right Promise – if it’s not done right, we make it right.
Written by the team at Groundwork Construction Co. of Burbank.