Last updated November 18, 2026


Free written scope consultation - allowances, timeline, and change-order rules on paper before a single trade is scheduled
Driveway & Pavers Warning Signs Every Homeowner Should Know
That single paver wobbling under your shoe isn’t a one-paver problem. In our experience across Burbank driveways, a rocker almost always points to a bedding layer that’s already lost integrity under a much larger section – sometimes ten or fifteen square feet of it. The surface tells you last. By the time you see a true failure, the base has usually been telling the story for a year or more. This guide is about catching that story early, when the repair runs a few hundred dollars instead of a full tear-out. You’ll learn the five surface signs of base failure, how to tell cosmetic aging from structural decay with tests you can run in ten minutes, why drainage changes matter more than cracks, what tree roots look like before they heave, and the first-90-day red flags that mean an install was rushed. Burbank’s hot inland summers and winter rain events make all of this more urgent.
Quick Answer
The main driveway paver warning signs are differential settling, edge separation, recurring low spots that hold water, cracking that keeps reopening at the same joint, and lateral creep where pavers slide out of line. Cosmetic aging – slight color fade, a loose grain of sand, minor surface staining – is normal. Anything that changes the flat plane of the driveway, holds water, or repeats in the same spot is structural and worth a free professional look before it worsens.
Styles & brands we work with
- Kitchen remodeling
- Bathroom remodeling
- Home additions & ADU
- Roofing
- Windows & doors
- Driveway & pavers
- Fence
Table of Contents
- The Five Physical Signs of Base Failure You Can See at the Surface
- Cosmetic Aging vs. Structural Deterioration: A 10-Minute Homeowner Test
- Why Drainage Pattern Changes Are the First Warning Sign
- Tree Root Proximity: Early Heave vs. Late-Stage Damage
- The First 90 Days: Post-Installation Red Flags
- Burbank Climate, Soil, and What It Does to Pavers
- When It’s Still a Cheap Fix vs. When It’s Replacement
- Preventive Maintenance That Actually Extends Paver Life
The Five Physical Signs of Base Failure You Can See at the Surface
A paver driveway is a layered system. The pavers are the visible cap. Below them sits the bedding sand, and below that sits the compacted aggregate base that carries the load. When the base shifts, the surface telegraphs it in patterns that are surprisingly consistent. Here are the five we look for first on any Burbank driveway.
1. Differential Settling
Look down the length of the driveway with the sun at a low angle – early morning is best. You’re looking for a wave pattern, where sections settle at different rates. A driveway that was dead flat two summers ago and now has a rhythm to it has a base that’s compacting unevenly. On Burbank’s clay-heavy soils, this often shows up near the garage apron first, where vehicle loads are heaviest.
2. Edge Separation
Walk the perimeter with a screwdriver or a key. If the pavers at the edge have pulled away from the border course or the concrete collar by more than a quarter inch, the lateral restraint is failing. Edges do the hardest work in a paver system – they hold everything else in compression. A separated edge lets the whole field loosen.
3. Recurring Low Spots
After a rain, note where puddles sit. If the same spot puddles every time – even a shallow one – and it’s not at a designed drain point, that’s the bedding layer washing out from below. On flat or nearly flat Burbank driveways (which is most of them, thanks to grading requirements), this is the single most diagnostic sign.
4. Cracking That Reopens at the Same Joint
A paver doesn’t crack. But it can chip, and if the same joint between the same two pavers keeps chipping or the joint sand keeps washing out, the pavers are moving against each other. That movement comes from below. Filling the joint a third time without fixing the bedding is a waste of a Saturday.
5. Lateral Creep
Stand at the bottom of the driveway and sight along the horizontal joint lines. If the lines that should be perfectly straight now have a curve to them – anywhere – the field is creeping sideways. Creep is the most serious of the five. It means the restraint has failed somewhere, and once pavers are sliding, they only slide further with each load cycle and each rain.
Cosmetic Aging vs. Structural Deterioration: A 10-Minute Homeowner Test
Most driveway alarm turns out to be nothing. That’s fine. What matters is that you can separate the “nothing” from the “call someone this week” without a professional on site. Here’s the sequence we recommend, and it takes about ten minutes start to finish.
- Walk the doorway line. Step from the garage apron to the street along the center of the driveway. Count wobbling pavers and note their locations. One rocker in a traffic path = watch it. Three or more in a cluster = structural.
- Pour a cup of water. Find a low spot. Pour a cup of water at the low point on a dry day. If it drains in under a minute, the slope is intact and the puddle was a fluke of the last storm. If it pools for five minutes or more, the low spot is real.
- Sight the plane. Kneel at the street end, close one eye, and look along the surface. Waves, dips, or a visible low pocket confirm settling. A flat plane with some color variation is cosmetic.
- Fingertip test at the joints. Run your fingertip along three or four joint lines between pavers. Packed, firm joint sand is healthy. A joint where sand has washed out and you can feel the edges of the pavers means erosion from below. Loose sand on the surface everywhere is normal for the first year.
- Check the edges. Look at the border course along grass, mulch, or concrete. Any gap, any paver visibly slipped, any sand you can push a finger into at the base of the border – all signals the restraint system needs attention.
Anything that fails tests one, two, or three warrants an estimate. Tests four and five alone are single-repair items – fixable without tearing out the driveway. On Burbank driveways specifically, we see the watering test pay off most often in late summer, when soil shrinkage exaggerates real low spots and flatters harmless ones.
Why Drainage Pattern Changes Are the First Warning Sign
Long before you see a crack, the water is already telling you something. Drainage pattern changes are the earliest warning sign we see on Burbank paver driveways, and they’re the cheapest to fix because the base hasn’t yet failed – it’s just eroding.
Watch for three things:
- Water running where it used to sit. If a spot that used to hold a puddle and drain now sends sheets of water sideways – toward the house, toward the neighbor’s yard, toward the garage – the slope has changed. That change comes from settling.
- Water sitting where it used to run. The opposite case. A new puddle in a spot that used to be dry means a low point has formed, usually from a bedding cavity under the surface.
- Wet patches on the street side. After a rain, if the water is exiting the driveway through the sand joints instead of the surface, the base is sponging rainwater. That’s erosion inside the base layer, and it only worsens with each storm.
Before Burbank’s next rain season, run the cup test at five points along the driveway. Note the slow-draining spots in a phone note with photos. If two or more spots have worsened since last winter, get an estimated look. Catching this before the rainy window usually means a spot repair – lifting a small section, re-grading, re-compacting, and re-setting. Waiting until visible subsidence shows up often means a larger tear-out.
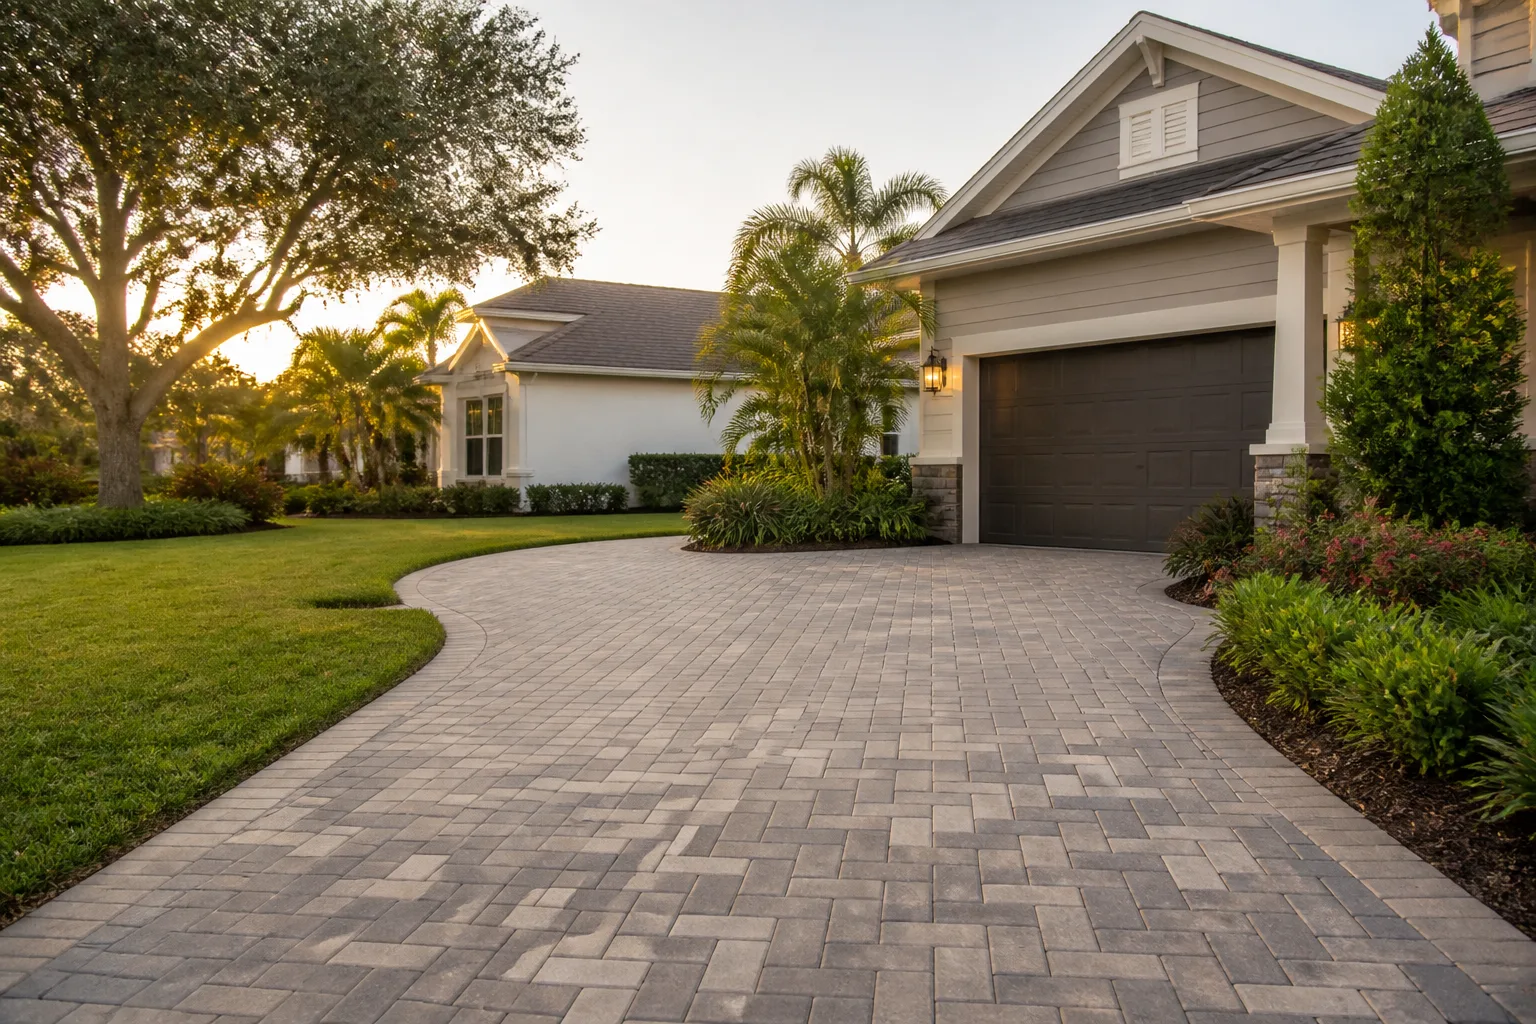
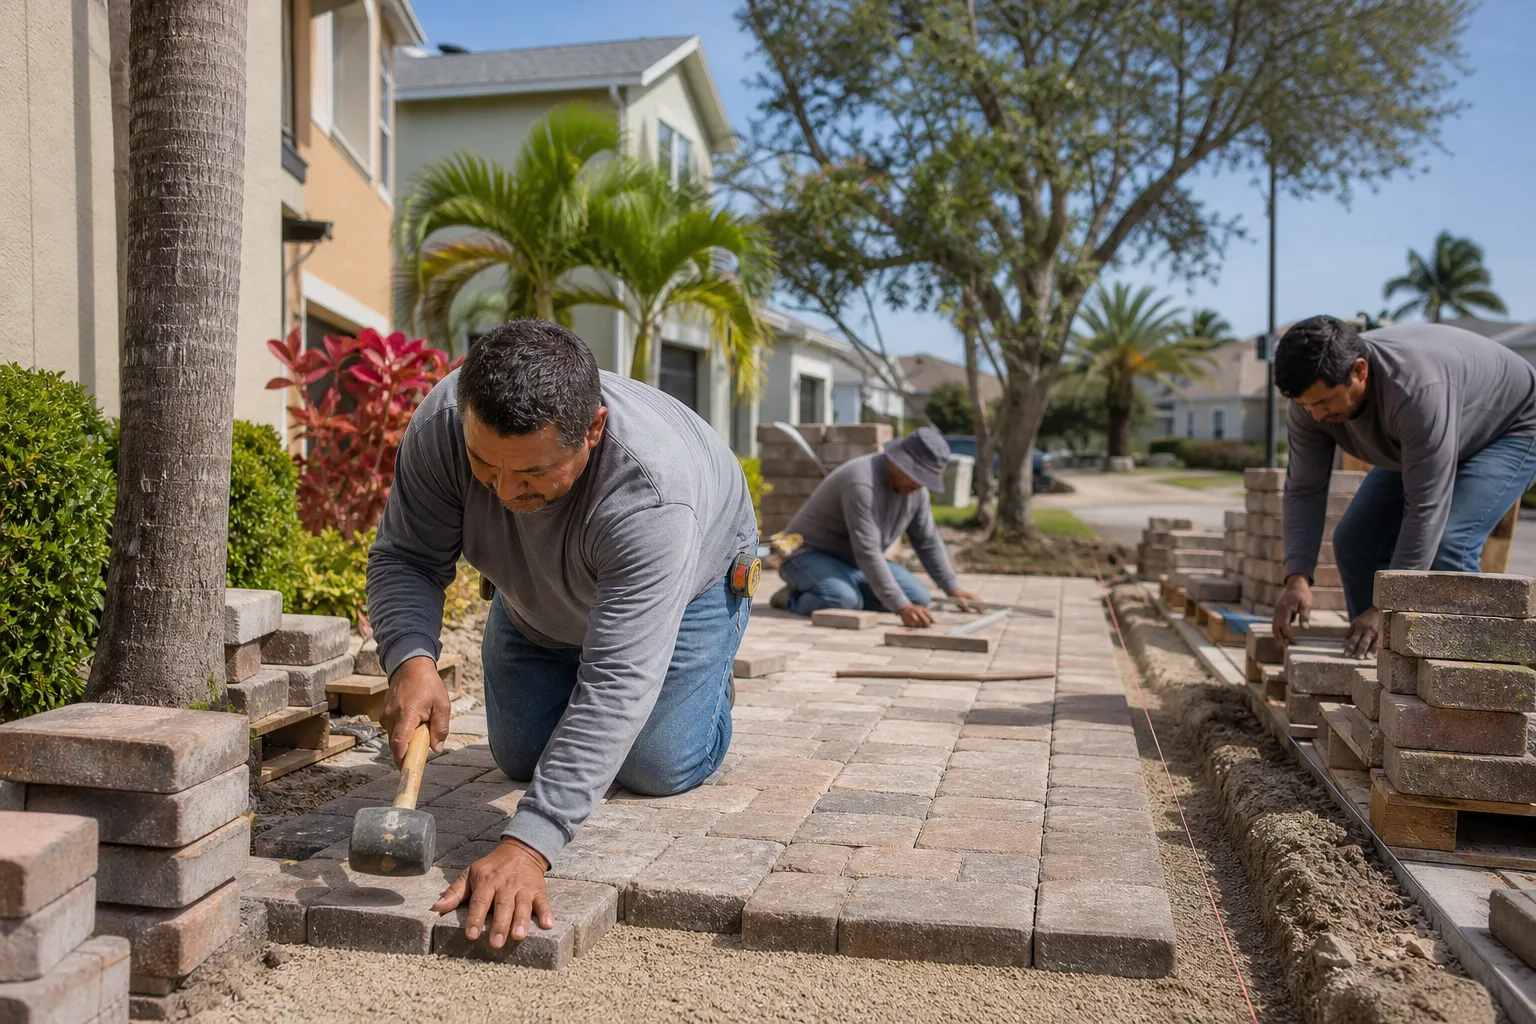
If you’re at the stage where you’re planning a full driveway refresh rather than chasing repairs, our team’s Driveway & Pavers in Burbank service covers the whole system – excavation, base, drainage integration, and paver selection with Belgard and comparable brands.
Tree Root Proximity: Early Heave vs. Late-Stage Damage
Tree roots are patient. They take years to reach the bedding layer, and by the time a paver is visibly heaved, the root is typically three or four inches in diameter and no longer movable without either removing the tree or a major repair. The window to intervene cheaply runs from about eighteen months to four years after the tree first starts pressing on the subgrade.
Here’s how to tell where you are:
- Early stage (cheap to fix): One or two pavers rise slightly above the plane – under a quarter inch – near a tree with a trunk within about fifteen feet of the driveway edge. You can feel the rise with your hand, barely see it with your eye. Joint sand may be pushed out at those pavers. Fix: lift and re-bed those pavers with a root barrier, usually a same-day job.
- Mid stage (fixable, larger scope): A fan of three to six pavers is visibly humped, and the crown of the hump has grown over the last two seasons. Cracks or chipping at the joint edges. Root barrier now requires lifting a wider section – still manageable.
- Late stage (tree decision time): Pavers heaved over half an inch, multiple branches of the pattern humped, or the driveway edge visibly lifted at the tree. At this stage, the choice is usually between root pruning (if the species tolerates it – not all do) or removing the tree, plus repairing the lift. Cost climbs steeply.
In Burbank, ficus and sycamore roots are the most common contributors to driveway heave. Both species put roots far out laterally, and both grow vigorously in the local climate. If you have either tree within fifteen feet of the driveway edge, note the location and check that edge twice a year – once in early spring and once in early fall.
The First 90 Days: Post-Installation Red Flags
Most installer-attributable failures show up in the first ninety days. That window matters because it’s when a reputable contractor’s workmanship warranty covers the problem, and it’s also when the small signs are most telling. If you’ve recently had a driveway installed, here’s what to watch for.
- Joint sand washing out during the first rain. A small amount of sand will wash off during the first rain – that’s normal, and it re-settles. If water visibly funnels between pavers and a joint is bare to the base within two weeks of a rain, the install used a poor stabilizer or the pitch is wrong.
- Wobbling pavers in the first month. Pavers should set firm within 48 hours of install. Any paver that rocks underfoot after the first two weeks is a base problem, not a “settling in” problem.
- Inconsistent joint widths. Joints should be uniform (typically 2-4 millimeters on the pattern, wider at designated expansion joints). If some joints are hairline and others are 8 or 9 millimeters wide, the pavers were laid to a poor line.
- Border/fixer failure. The border course should be firm. A border paver that comes loose in the first 90 days usually means the concrete collar or edge restraint was set too short.
- Low spots at the garage apron. If a puddle forms at the apron in the first month, the slope away from the garage is insufficient. This is a code and water-management issue, not aesthetic.
- Color variation that doesn’t match samples. All paver color lines have natural variation. But if the delivered field looks nothing like the sample under Burbank’s daytime light, that’s a supply substitution issue, and it’s cheaper to address in the first 30 days before the driveway is fully seated.
Take dated photos during the first 90 days. Called-back crews respond faster to “here’s the joint on install day, here’s the joint thirty days later, here’s the joint at sixty days.” A reputable contractor will come back. A contractor who doesn’t answer that call within the warranty period is a signal about everything else.
Burbank Climate, Soil, and What It Does to Pavers
Burbank sits in a climate that stresses a driveway in a particular way. Hot, dry summers with weeks of 95-plus degree days shrink the clay soils that underlie many local properties. Then a winter storm drops two inches of rain in a day, and those same soils swell. Pavers that were perfectly set in April can develop a low spot by the following March just from the soil cycling underneath.
Add the region’s specific soil issue: many Burbank properties sit on expansive clay, particularly toward the hillside neighborhoods and older tracts east of downtown. Expansive clay is fine for a paver system when the base is deep enough – typically 4 to 6 inches of compacted class II aggregate depending on load – and the drainage is managed. It’s brutal when either is missing.
Two local patterns worth knowing:
- Late-summer shrinkage cracks. If a driveway developed fine surface cracks in the pavers (or in the concrete apron) after a hot August, and those cracks close up after the first winter rain, the base is moving with soil moisture. That movement is the warning sign, and it’s worth a look before another hot cycle widens it.
- Winter rain intrusion at the street apron. Storm runoff from the street pushes water at the lowest edge of the paver field. On Burbank properties where the driveway meets the sidewalk with a modest grade drop, the street edge sees more water pressure than anywhere else on the property. That edge is where base erosion usually starts, and it’s why the retention course at the apron deserves specific attention every autumn.
If you’re looking at a driveway project from scratch rather than a repair, and you’re in the middle of a larger remodel plan, our team’s Home Additions & ADU in Burbank work is commonly paired with driveway replacement so the grading is coordinated in one permit cycle.
When It’s Still a Cheap Fix vs. When It’s Replacement
The whole point of early detection is keeping repairs in the cheap column. Here’s roughly where that line sits, in terms of observable symptoms rather than specific bid numbers – final pricing depends on size, accessibility, and material choice, so we quote those on a free estimate.
| Observable symptom | Typical fix scope | When to call |
|---|---|---|
| One to three wobbling pavers near a tree or edge | Spot repair – lift, re-bed, re-set | Week of noticing |
| Recurring low spot holding water that wasn’t there last year | Small tear-out and re-grade, possibly adding a drain point | Before next rain season |
| Edge separation of ¼ inch or more along one side | Re-set border course, restore edge restraint | Within a month |
| Lateral creep of pattern lines | Larger tear-out, restore restraints | Prompt – don’t wait for a storm |
| Differential settling across large areas | Significant tear-out and re-base | Prompt – cost climbs with the size of the failed plane |
| Base erosion confirmed under multiple areas | Full replacement | Once diagnosed, plan in the shoulder season |
Notice a pattern in that table: the fix scope grows faster than the visible symptom does. A wobbling paver costs almost nothing to fix. That same wobbling paver, unmanaged for two years with a tree root growing beneath it and one winter’s rain washing the bedding, can become a full-section re-build. Same paver, same driveway, wildly different price.
Preventive Maintenance That Actually Extends Paver Life
Once your driveway is healthy, the annual routine that keeps it there is short. Pavers, done right, will outlast most other hardscape surfaces. What they need is a corner of attention each year.
Twice a year
- Walk the entire edge – all four sides – with a key or screwdriver. Any looseness at the border, note it.
- Pour the cup of water at the low point of the driveway after the first rain of the season. Record drain time. Compare to last year.
- Check tree proximity lines. If a tree has grown toward the driveway, evaluate now.
Once a year
- Top up joint sand if it’s noticeably eroded, particularly after winter. A polymeric joint sand goes in more slowly than plain sand but holds longer in wind and rain.
- Check the apron at the street and the transition at the garage. These are the two points where water management between the driveway and adjacent surfaces is most sensitive.
- Clean with a low-pressure rinse and a paver-safe cleaner if you’re doing a full spring clean. Avoid pressure washing directly into the joints – it strips the sand and stresses the joint edges.
None of that is glamorous. All of it works. In Burbank, we see driveways that get these three touchpoints live a decade or more past the ones that don’t – the base simply doesn’t have the time to fail.
Common Mistakes to Avoid
- Confusing “fill the joint with sand” with “fix the problem.” Filling a joint repeatedly without addressing the movement under it is treating the symptom. If a joint empties three times in a year, the base under those pavers is failing.
- Ignoring a low spot because “it dries eventually.” Standing water in coastal Burbank is a mild nuisance. Standing water in the inland heat and clay soils is erosion, and it compounds with each rain. Dry by the next storm is the right standard, not dry by the following summer.
- Treating the tree as someone else’s problem. If the tree is on your neighbor’s property but its roots are lifting your driveway, the tree is still your driveway’s problem. Most municipalities apply the “self-help” doctrine – you can address encroaching roots on your side of the property line within limits. Get the arborist opinion before you touch the tree.
- Sealing too soon after install. Fresh pavers should cure a full season – typically six months to a year – before a sealer goes on. Sealing too soon traps moisture in the bedding layer, and in Burbank’s summer heat, that’s a slow bake.
- Not documenting the first 90 days. The best time to hold an installer accountable is inside the warranty window, and the best evidence is dated photos. Take them.
- Assuming all color variation is manufacturing defect. Paver color varies by batch and by design. Read the sample against the delivered lot in real daylight before deciding it’s wrong. If the delivered lot truly doesn’t match, address it in the first 30 days – not after the driveway is fully seated.
- Letting the driveway outvote the drainage plan. Adding planters, borders, and fencing without adjusting the drainage means water finds a new path. On a Burbank lot with modest grade, a new planter can put stormwater against the paver field that wasn’t there before. Plan drainage alongside any landscape change.
See the difference
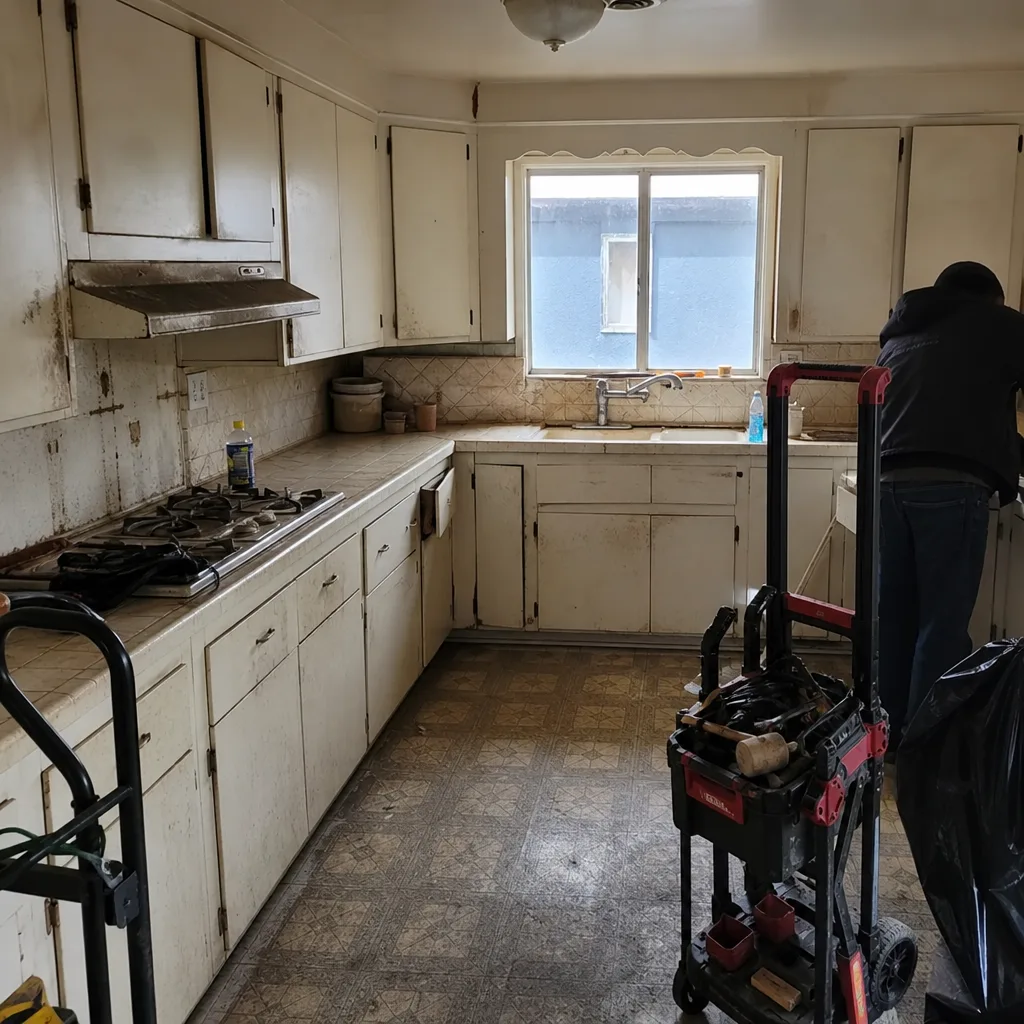 Before
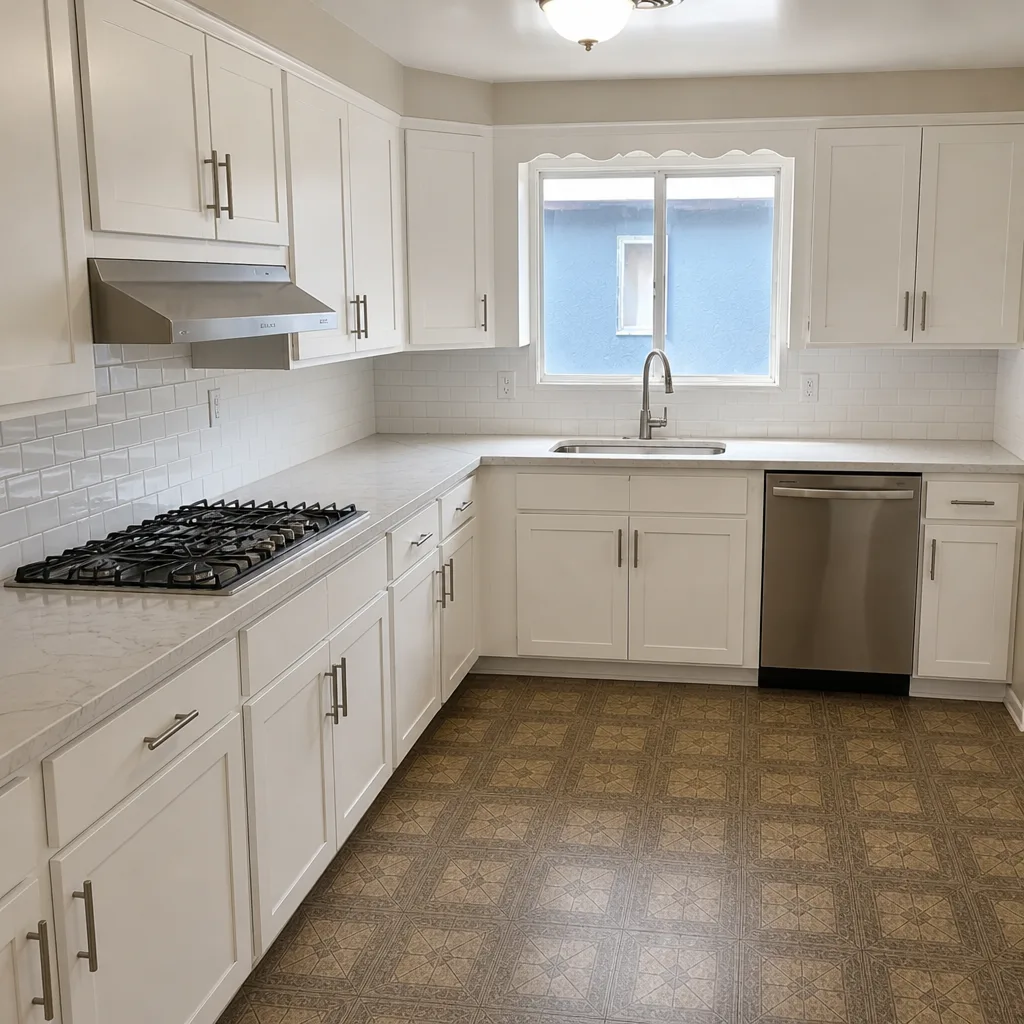 After
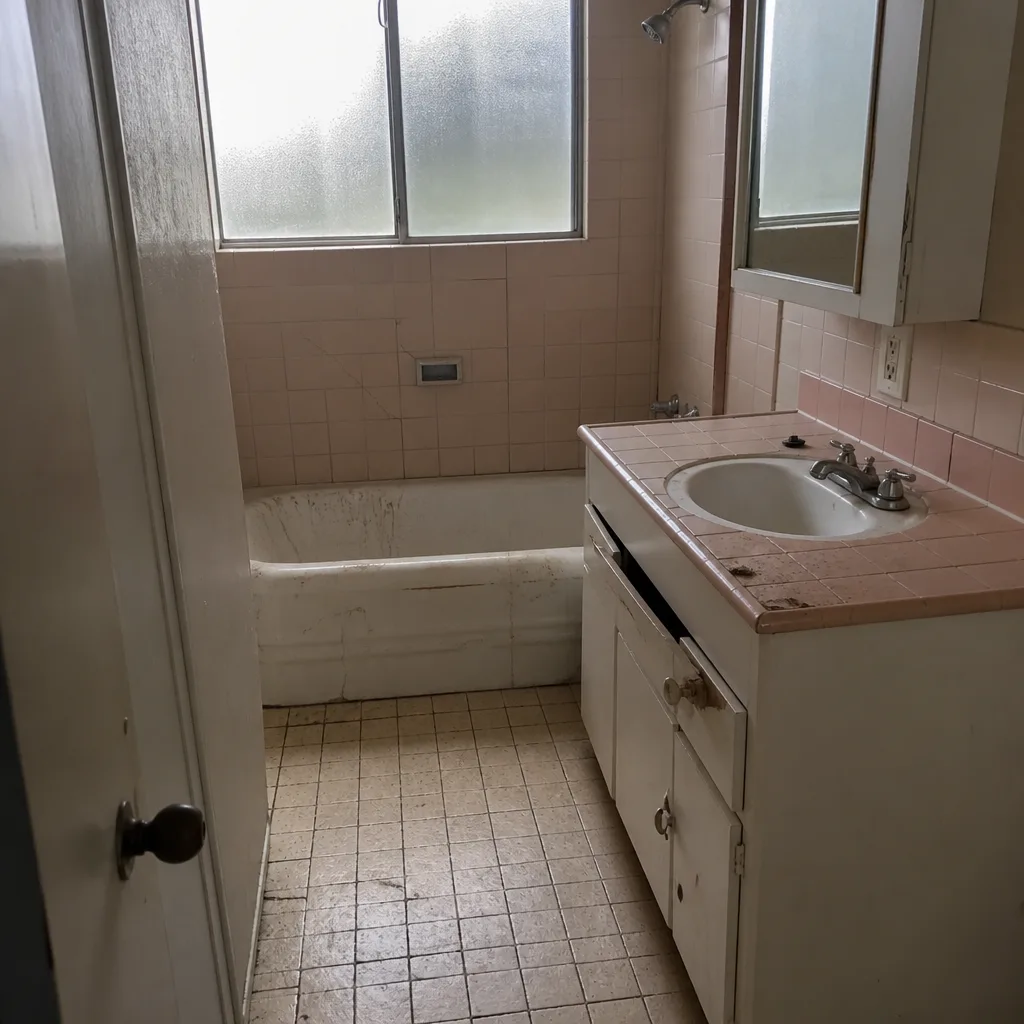 Before
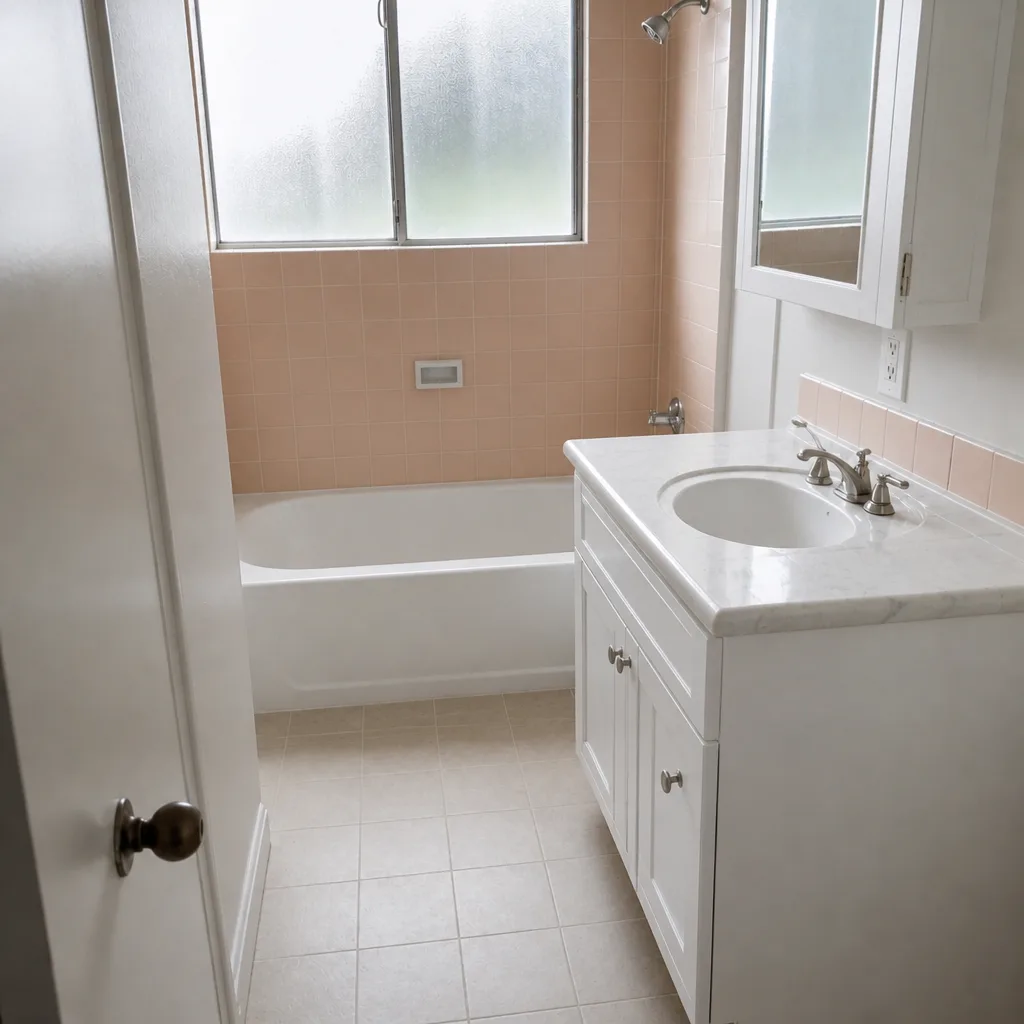 After
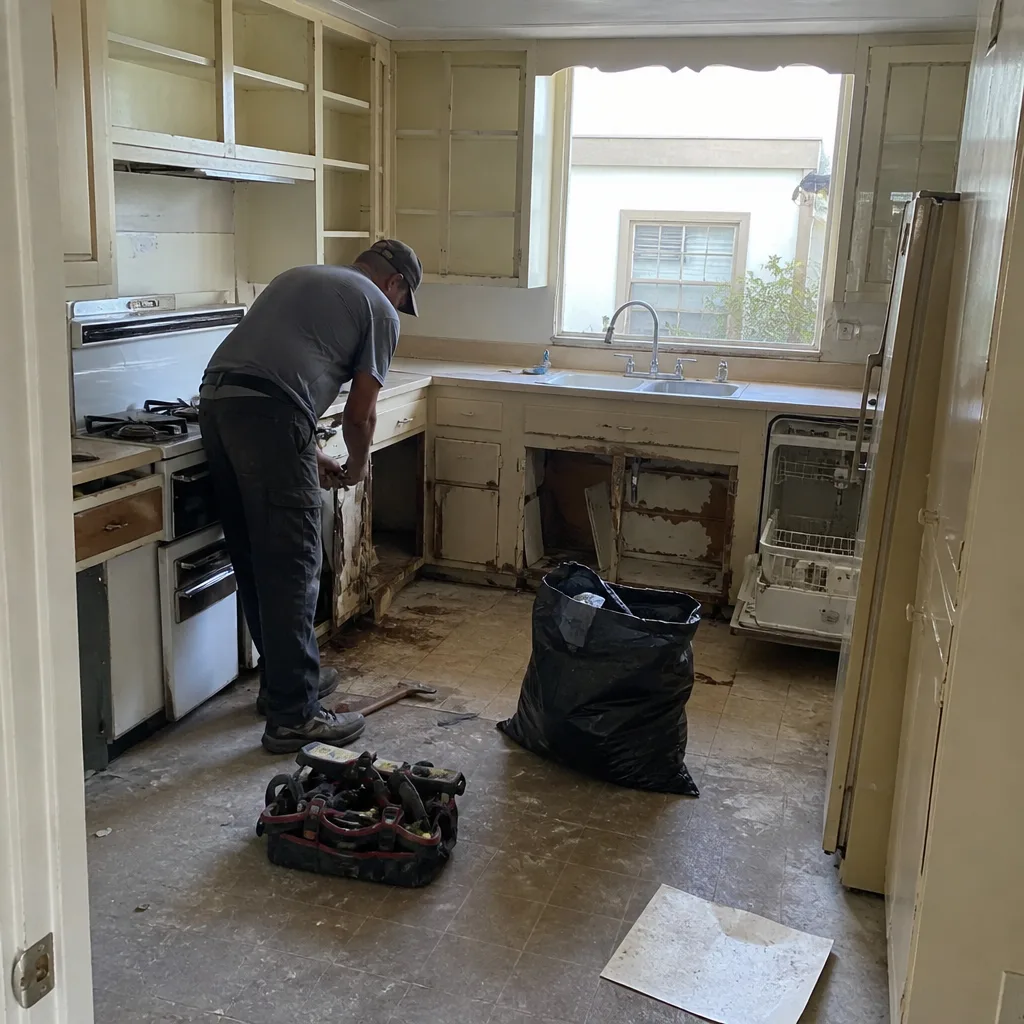 Before
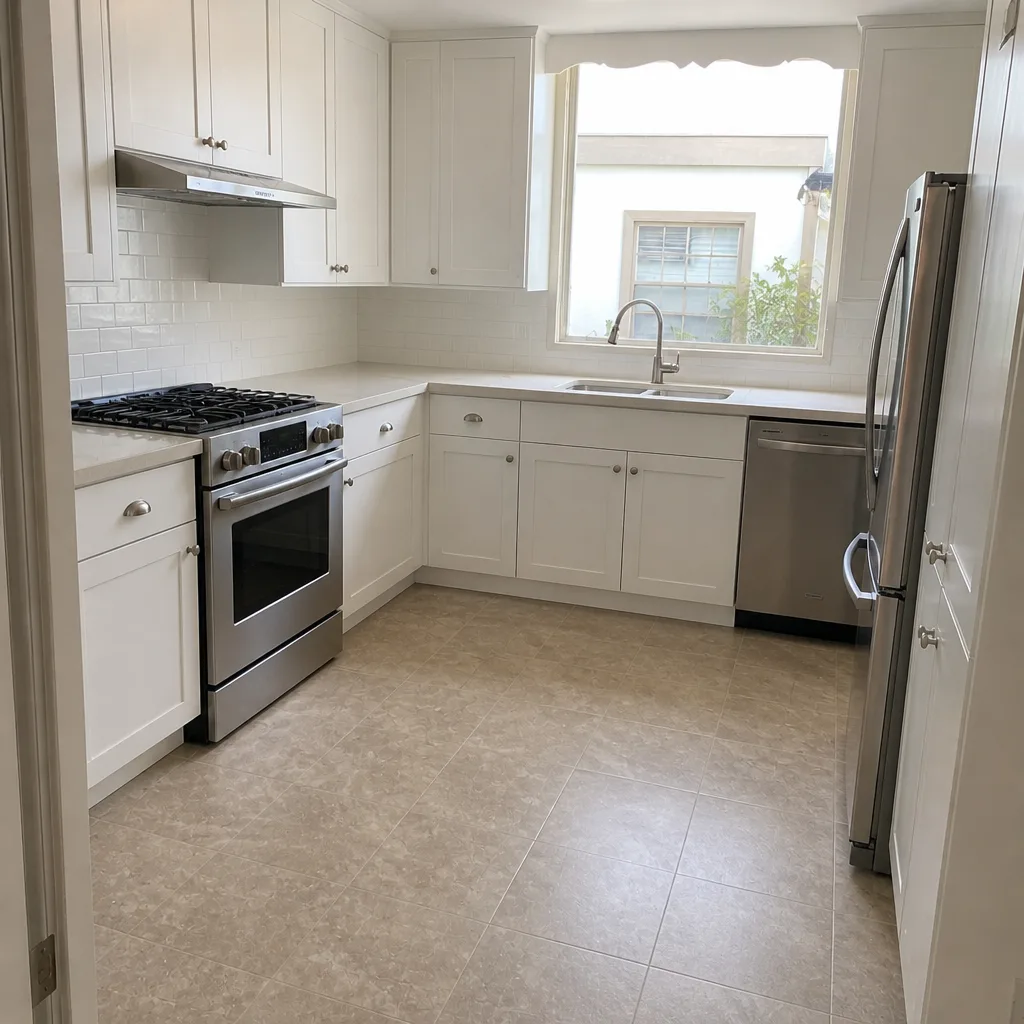 After
When to Call a Professional
Call a professional the moment any of these are true: lateral creep of the pattern lines, differential settling across an area larger than a few pavers, water pooling against the house or garage for more than a day after rain, an edge that has separated more than a quarter inch, or a tree-driven heave that’s visible from standing height. Each of these is a base or restraint problem, and each will cost more the longer it waits. For driveway and paver work, the local pro is licensed and insured as California requires, and any reputable pro should give you a free estimate in writing before any work starts.
Groundwork Construction Co. of Burbank offers free estimates in Burbank – call (844) 797-7958 for a look before the next rain season. Every project we take on is covered by our 730-Day Done Right Promise, so if it’s not done right, we make it right.
Frequently Asked Questions
Look for five signs at the surface: differential settling, edge separation, low spots that hold water after rain, cracking or joint loss that repeats at the same spot, and pavers creeping out of the pattern lines. Any one of these is worth a professional look on a Burbank driveway, and two or more together warrant prompt attention. The earlier you catch it, the smaller the fix.
Not always, but usually. A single paver that rocks slightly at the edge of a border course can be a small re-set. A wobbling paver in the middle of a traffic path is almost always a sign that the bedding layer under a broader area has lost integrity. It’s worth checking before the next rain. Call (844) 797-7958 for an exact quote – estimates are free.
Repair costs in Burbank depend on the scope – spot repairs are the cheapest, base re-grades sit in the middle, and full-system replacement is of course the largest investment. For an exact number on your driveway, a free estimate is the right first step. Call (844) 797-7958 and we’ll walk the driveway with you and put the options in writing, no obligation.
It shouldn’t. A reputable contractor gives you an upfront written quote covering the scope, materials, and labor, and sticks to it – change orders only happen if the scope genuinely changes and you sign off in advance. If a contractor can’t or won’t put their number in writing before the job, that’s the warning sign. Groundwork’s pricing is upfront with no surprises.
A properly installed paver driveway with a correctly compacted base, appropriate edge restraint, and managed drainage will typically last twenty-five to thirty years or more before needing major restoration. Even at the long end, individual pavers can be lifted and reset as needed. The variable that matters most isn’t the pavers – it’s whether the base under them was done right.
Repair if the failure is confined to a small area, the surrounding plane is still flat, and the drainage still works. Replace if the base erosion is broad, if pavers are creeping, or if the same area has failed more than once. The right answer comes from lifting one or two pavers and looking at what’s underneath – a step our team takes on every estimate call before quoting anything.
The Bottom Line
Paver driveways fail from the base up, and the base failure shows up on the surface months or years before a real failure does. That lag is your entire opportunity. Learn the five surface signs, run the ten-minute test, watch the drainage patterns every rain, keep a closer eye on any tree within fifteen feet of the edge, and document the first 90 days of any new install. Do that, and you’ll catch the problem when it’s a spot repair instead of a full tear-out. In Burbank’s climate and clay soils, that discipline pays for itself several times over the life of the driveway – and it’s the same discipline we apply on every paver project we quote. If you’re looking at a full system refresh rather than a repair, our team also handles Fence Installation in Burbank to coordinate driveway and perimeter work in one visit. You can find the full range of what our team handles at the Groundwork Construction Co. of Burbank home page.
Contact Us

If any warning sign in this guide has you looking twice at your driveway, call (844) 797-7958 for a free estimate. Our team walks the driveway with you, lifts a paver if needed to see what’s happening underneath, and puts the options in writing – no pressure, no surprises. Groundwork Construction Co. of Burbank answers with a live person 24/7, backs every project with the 730-Day Done Right Promise, and finances projects at 0% for 18 months. You can also take $1,000 off any project over $10,000. When your driveway needs more than a touch-up, call the number above and let’s look at it together.
Written by the team at Groundwork Construction Co. of Burbank.