Last updated November 18, 2026





Free written scope consultation - allowances, timeline, and change-order rules on paper before a single trade is scheduled
DIY vs Professional Windows & Doors: What’s Safe to Do Yourself
Both of these jobs get called “window installation”: dropping a replacement sash into an existing frame, and cutting a brand-new opening through a wall. One is a weekend project a careful homeowner can finish with a pry bar and a tube of sealant. The other is a structural modification that needs permits, engineering review, and a licensed contractor – and if it’s done without them, it can sit quietly in your Burbank home for years until an appraiser or buyer’s inspector finds it during a sale. This guide breaks window and door work into five honest scopes, tells you which ones are genuinely safe to take on yourself, and shows you exactly where the line is.
Quick Answer
Hardware, weatherstripping, and like-for-like replacement of a same-size window in an existing frame are reasonable DIY projects for a careful homeowner. Swapping a door slab is doable if the opening stays untouched. Cutting a new opening in any wall – bearing or not – is professional work that requires a permit, and in Burbank that means a licensed contractor and often an engineer’s sign-off. When in doubt, the flashing and water-management details are where DIY installs fail first.
Styles & brands we work with
- Kitchen remodeling
- Bathroom remodeling
- Home additions & ADU
- Roofing
- Windows & doors
- Driveway & pavers
- Fence
Table of Contents
- The Five Scopes of Window and Door Work
- What’s Genuinely Safe to DIY
- Like-for-Like Window Replacement: The Honest Difficulty
- Door Slab Swaps and What Can Go Wrong
- New Openings, Load-Bearing Walls, and California Code
- What Unpermitted Work Means When You Sell Your Burbank Home
- Flashing and Water Management: Where DIY Installs Fail
- Warranty Voiding and Certified Installer Requirements
- Common Mistakes to Avoid
- When to Call a Professional
- Frequently Asked Questions
The Five Scopes of Window and Door Work
Most guides treat “windows and doors” as a single category. It isn’t. It’s five different scopes of work with wildly different skill floors, permit requirements, and risk profiles. Understanding which category your project falls into is the first and most important decision you’ll make. Here’s how we sort them:
- Hardware and weatherstripping. Replacing a door sweep, a threshold seal, window gaskets, locks, cranks, and sash balances. Low risk, no permit, no structural implications. A homeowner with basic tools can handle this in an afternoon.
- Like-for-like window replacement. Pulling an existing window and installing a new unit of the same size into the same rough opening, without altering the wall framing. Moderate difficulty. No structural change, but the waterproofing details are unforgiving.
- Door slab swap. Replacing only the door panel while keeping the existing jamb and frame. Moderate difficulty. The opening stays put – what changes is the fit, the hinge alignment, and the seal.
- New opening in a non-bearing wall. Cutting a window or door where none existed, in a wall that carries no structural load above it. Requires a permit and a licensed contractor. Interior non-bearing walls can be simpler; exterior walls almost always involve structural review.
- New opening in a bearing wall. Adding a window or door through a wall that carries the weight of the structure above it. Requires a permit, engineered plans, and a header sized to carry the load. This is not a DIY category under any circumstance.
Here in Burbank, the mix skews heavily toward scopes two and three – the city’s housing stock is full of mid-century homes where homeowners want to upgrade single-pane aluminum to insulated units without changing the footprint. But the calls we get about scope four and five are rising as people add openings for light and access. Those two categories are where the real caution lives.
What’s Genuinely Safe to DIY
We’re not in the business of talking homeowners out of work they can do. A homeowner who replaces a worn door sweep or re-seals a drafty window is saving money and doing real good for their home’s energy performance. Here’s where the line sits, honestly:
- Door sweeps and thresholds. A failing sweep lets in air, water, and the occasional determined ant. Replacing it is a screwdriver job.
- Weatherstripping and gaskets. Foam, felt, and vinyl seals around windows and doors. Cheap, quick, and the single highest-return DIY energy improvement you can make.
- Window locks and hardware. Sash locks, casement cranks, and tilt latches are all replaceable with a screwdriver and the right part number.
- Caulking exterior joints. Re-caulking around window and door trim prevents water intrusion. This is a genuine DIY win, and in Burbank’s dry climate, keeping exterior seals intact matters year-round.
- Painting and finishing trim. Cosmetic, low-risk, high-impact.
What doesn’t belong on this list: anything that requires opening the wall, altering the rough opening, or touching the structural envelope. If your project involves a pry bar and a saw, it’s moved into a different category. For a broader look at how envelope upgrades fit into whole-home projects, see our Groundwork Construction Co. of Burbank home page.
Tools and skills a competent DIYer actually needs to assess
Before you commit to like-for-like replacement or a door slab swap, take an honest inventory. This isn’t a discouragement list – it’s a checklist. If you can answer yes to most of it, the project is within reach.
- Do you own or can you borrow a 4-foot level, a tape measure, a pry bar, a utility knife, a caulk gun, and a drill with a driver bit?
- Can you read a tape to the sixteenth of an inch and measure the same opening three times without getting three different answers?
- Do you understand how a sill pan and flashing tape work, and can you install them so water sheds outward?
- Do you have a helper? Windows and door slabs are awkward and heavy – most are a two-person job.
- Can you shim a unit so it sits plumb, level, and square, and check it with a level at every step?
- Do you know how to insulate the gap between the unit and the rough opening without over-stuffing it?
- Are you comfortable returning a unit if the measurement was wrong? Because sometimes it is.
If you’re shaky on two or three of these, the job isn’t impossible – it’s just slower and riskier. That’s the honest read. A window that’s out of level by a quarter inch will leak, stick, and eventually fail, and the failure won’t show up for a season or two.
Like-for-Like Window Replacement: The Honest Difficulty
This is the category that looks easy and isn’t as easy as it looks. In a true like-for-like replacement, the new window goes into the same rough opening as the old one, and the wall framing doesn’t change. That part is genuinely simpler than a new opening. But the hardest part of any window installation isn’t setting the unit – it’s managing water.
In Burbank, we see this play out every rainy season. The San Fernando Valley gets a handful of concentrated storms each winter, and windows that looked fine in July start showing water at the interior sill in January. The culprit is almost always the same: skipped or improperly lapped flashing. Water follows the path of least resistance, and a window is a hole in the wall with a frame around it – if the flashing doesn’t shed water outward correctly, the water finds the sheathing.
The details that separate a good install from a leaky one:
- Sill pan or sill flashing. The bottom of the rough opening needs a sloped, water-shedding surface before the window goes in. Skip it and water pools at the sill.
- Flashing lapped in the right order. Housewrap and flashing tape overlap shingle-style: bottom first, then sides, then top. Get the order wrong and water gets behind the layers.
- Backer rod and sealant at the right joints. Sealant alone, without backer rod, cracks as the joint moves with temperature swings.
- Insulation not over-stuffed. Packed fiberglass insulation compresses and loses R-value. Low-expansion foam in the right amount is better.
- Interior air sealing. The inside edge needs its own seal to stop air movement that carries moisture into the wall cavity.
None of these steps is exotic. But each one is a place where a DIY install can quietly fail. In our experience, most homeowner-installed windows that leak do so at the sill or the corners, and the leak surfaces a year or more after installation. For a related project where envelope and outdoor surfaces overlap, our Fence Installation in Burbank page covers exterior work that pairs well with window upgrades.
Andersen and Marvin are the window brands we work with when homeowners want a unit that will hold up to Burbank’s sun and temperature swings – both require specific installation practices to keep their warranties intact, which we’ll cover below.
Door Slab Swaps and What Can Go Wrong
A door slab swap – replacing only the door panel, keeping the existing jamb and frame – is the most homeowner-friendly replacement category. The opening doesn’t change. The frame stays. You’re hanging a new panel in an existing space.
It’s still not trivial. The three things that trip people up:
- Measuring the slab wrong. You need the width, height, and thickness of the existing slab, plus the hinge positions and the backset for the lockset. A slab that’s an eighth inch too wide won’t fit; one that’s an eighth too narrow leaves a gap you can’t seal.
- Mortising hinges and the lockset. Pre-hung slabs with pre-machined hinge positions make this easy. A blank slab requires a router, a jig, and patience. This is where most DIY door swaps turn into a second trip to the hardware store.
- Striking the weather seal. Exterior doors need a continuous seal between slab and jamb. If the new slab is slightly thinner than the old one, the existing weatherstripping won’t make contact and the door will leak air and water.
In Burbank, the most common door slab swap we see is an entry door upgrade – homeowners replacing a builder-grade hollow-core slab with something solid. That’s a reasonable DIY project for a careful homeowner with a router and a weekend. What’s not reasonable is changing the rough opening size, which pushes the project into new-opening territory.
New Openings, Load-Bearing Walls, and California Code
Here’s where the DIY conversation ends and the licensed contractor conversation begins. Cutting a new opening through any wall – interior or exterior – requires a building permit in Burbank. Cutting through a load-bearing wall requires an engineered header sized by a structural engineer to carry the load above it. This is California code, not an option.
The California contractor license requirement for this work is real. Any project over $500 in labor and materials in California requires a licensed contractor under Business and Professions Code section 7048. Window and door work that alters the structure falls squarely in that range. A handyman can’t legally pull the permit; an unlicensed crew doing the work is exposing you to liability that doesn’t go away when they leave the driveway.
What the permit and inspection process actually involves
- Plans submitted to the City of Burbank building department, including structural calculations if a load-bearing wall is involved.
- Permit issued with an inspection schedule.
- Framing inspection before the wall is closed up – the inspector verifies the header size, the king and jack studs, and the cripple studs.
- Rough-in inspection if electrical or mechanical work is involved (rare for a window, common for a new exterior door).
- Final inspection after flashing, insulation, and finish work are complete.
If you’ve ever watched a contractor frame a new opening, you know the header is the star of the show – it’s the beam that carries the load above the opening down to the king studs on either side. Undersize it and the wall sags; skip the permit and it’s a structural modification that isn’t documented anywhere. If you’re adding a door as part of a larger project, the load path matters even more – see our Home Additions & ADU in Burbank page for how openings get engineered into additions.
New driveways and hardscape are a different scope entirely, but they follow the same permit logic. Our Driveway & Pavers in Burbank page covers that side of exterior work.
What Unpermitted Work Means When You Sell Your Burbank Home
This is the part homeowners don’t think about until they’re sitting at a closing table. Unpermitted structural work doesn’t disappear. It sits in your walls until someone looks.
When you sell a home in California, you disclose known unpermitted work on the Transfer Disclosure Statement. If the buyer’s inspector finds a window or door opening that wasn’t permitted, the sale can stall, the price can get renegotiated downward, or the buyer can walk. Lenders can refuse to fund a loan on a home with undocumented structural modifications. And if the work was done recently, the city can require it to be removed or retroactively permitted – which means opening the wall back up and paying for the inspection you skipped.
In Burbank, the housing stock includes a lot of mid-century homes that have been remodeled and re-remodeled over the decades. Unpermitted work from previous owners is common, and buyers’ agents have gotten savvy about looking for it. A door where there wasn’t one on the original plans is a red flag. So is a window that doesn’t line up with the surrounding framing or doesn’t match the property’s permit history.
The remedy when unpermitted work is found is usually a retroactive permit process with the city, which can mean opening walls, exposing framing, and paying for inspections after the fact. That’s expensive and disruptive. Doing it right the first time costs a permit fee and a licensed contractor’s time – nothing in comparison.
Flashing and Water Management: Where DIY Installs Fail
If we could teach homeowners one thing about window installation, it’s that the unit itself is rarely the problem. Water management is. A well-flashed window from a budget brand will outperform a premium unit installed with sloppy flashing every time.
The flashing system for a window is layered in a specific order, and the order matters. Picture water running down the wall and trying to find its way inside. Each layer of the system has to shed water onto the layer below it, working from the top of the window opening down and from the outside of the wall toward the inside.
The correct order for an exterior wall with housewrap:
- Housewrap installed, with a cut for the rough opening. The top flap is taped up out of the way for now.
- Sill flashing or a sill pan installed first, sloped slightly toward the exterior so water drains out.
- Sill pan tape or flashing tape applied to the sill, lapping over the face of the housewrap.
- Jamb flashing tape applied next, overlapping the sill tape at the corners.
- Window unit set, shimmed, leveled, and fastened.
- Head flashing tape applied last, lapping over the jamb tape like a shingle.
- The housewrap top flap folded back down over the head flashing and taped.
Every layer sheds water onto the one below it. Reverse any one of those steps and water gets behind a layer it should have run off of. That’s the failure mode – and in Burbank’s seasonal rain pattern, it shows up as a damp interior sill in the first real storm after installation.
Warranty Voiding and Certified Installer Requirements
This is a hidden cost of DIY that most guides skip entirely. Many window and door manufacturers – including the major brands – require installation by a certified or qualified installer for the product warranty to remain valid. If you install the unit yourself, the manufacturer may still warrant the product itself against defects in materials, but the installation-related warranty is typically void.
That matters because most warranty claims filed on windows are about installation problems, not manufacturing defects. Fogged glass from a bad seal, water intrusion at the frame, hardware that fails because the unit wasn’t set level – these are all installation issues, and the manufacturer can decline the claim if they weren’t responsible for the install.
Andersen and Marvin both publish installer requirements and have certified installer programs. If you’re installing their products to preserve the warranty, the installer documentation is part of the deal. When we install these brands, we walk homeowners through the warranty registration and documentation – the paperwork is as much a part of the job as the flashing.
The bottom line on warranty: self-installing can save you labor cost, but it can also void the coverage on the most common failure modes. It’s a trade-off worth understanding before you commit.
Common Mistakes to Avoid
- Measuring the rough opening instead of the unit. These are not the same dimension. Measure the rough opening for a new unit and the existing unit for a replacement. Getting this wrong means a second trip and a restocking fee.
- Skipping the permit to save money. In Burbank, unpermitted structural work can cost more at sale than the permit would have cost upfront. The permit fee is the cheapest part of the project.
- Sealant over flashing instead of under it. You can’t caulk your way out of bad flashing. The flashing sheds water; the sealant seals joints. Reversing that order guarantees a leak.
- Over-stuffing the insulation gap. Packed fiberglass loses R-value. Use the right amount of low-expansion foam or unfaced insulation and give it room to work.
- Setting the unit out of level by “it looks fine.” A window that’s a quarter inch out of level will stick in the frame and eventually break a sash balance. Check with a level at every step.
- Ignoring the warranty fine print. Self-installing a window that requires a certified installer voids the installation warranty. Read the paperwork before you buy.
- Forgetting the interior air seal. The inside edge of the window needs its own seal. Air moving through the cavity carries moisture, and moisture in the wall is a slow-motion problem.
When to Call a Professional
Call a professional when your project involves any of the following: a new opening in any wall, a change to a load-bearing wall, a window or door size change that alters the rough opening, or any work where you’re not confident about the flashing and water-management details. Call a professional if your home is older and you’re not sure how the existing framing is configured – a surprise in the wall cavity is much cheaper to handle when a contractor is already on site. And call a professional if you’re considering the project as part of a larger remodel or addition, where the load path and the permit schedule interact with everything else.
Groundwork Construction Co. of Burbank offers free estimates in Burbank – call (844) 797-7958. We answer live, around the clock, and we’ll tell you honestly whether your project is worth taking on yourself.
Frequently Asked Questions
Yes, in most cases. A true like-for-like replacement – same size, same rough opening, no structural change – typically doesn’t require a permit in Burbank. A new opening or any change to the wall framing does. If you’re unsure which category your project falls into, call the city building department or ask us; getting the classification right before you start saves you a mess later. Call (844) 797-7958 for a free estimate if you’d rather have a professional confirm.
A replacement installs a new window into an existing rough opening without changing the wall; a new opening cuts through a wall where no window existed before. The replacement is a DIY-possible project for a careful homeowner. The new opening requires a permit, a licensed contractor, and often an engineered header. The two get called the same thing, but they’re different categories of work with different risk profiles.
It can. Many window and door manufacturers, including Andersen and Marvin, require installation by a certified or qualified installer for the installation-related warranty to remain valid. The product warranty against manufacturing defects typically survives, but the most common warranty claims – fogged glass, water intrusion, hardware failure – are usually installation issues. Read the manufacturer’s paperwork before you decide.
You have to disclose it on the Transfer Disclosure Statement, and the buyer’s inspection will likely find it. The consequences range from a price renegotiation to a stalled sale to a lender refusing to fund the loan. The city can also require retroactive permits, which means opening the wall and paying for inspections after the fact. It’s a much more expensive path than getting the permit upfront.
A like-for-like replacement of a single window is typically a few hours per unit; multiple windows across a home are usually a day or two. A new opening is a longer project because it involves framing, inspections, and finish work on both sides of the wall. The permit and inspection schedule adds time to any structural project. We’ll give you a realistic timeline in writing with your free estimate.
Yes, if the project is over $500 in labor and materials – which covers most window and door work beyond simple hardware replacement. California Business and Professions Code section 7048 requires a licensed contractor for projects at that threshold. A handyman can’t legally pull permits for structural work. The local pro is licensed and insured as their state requires.
The Bottom Line

Window and door work isn’t one category – it’s five, and the DIY line sits between hardware and weatherstripping on one side, and any work that opens a wall on the other. Weatherstripping, door sweeps, and like-for-like window replacement are reasonable DIY projects for a careful homeowner. A door slab swap is doable with a router and patience. Cutting a new opening – especially through a load-bearing wall – is permit-and-engineer territory, and skipping that step is a problem that follows your home to the closing table. Flashing and water management are where DIY installs fail, and the warranty fine print is where they cost you twice. When the project crosses into structural work, get a licensed contractor and a written scope. Groundwork Construction Co. of Burbank offers free estimates and upfront pricing – call (844) 797-7958 to schedule yours.
Written by the team at Groundwork Construction Co. of Burbank.
See the difference
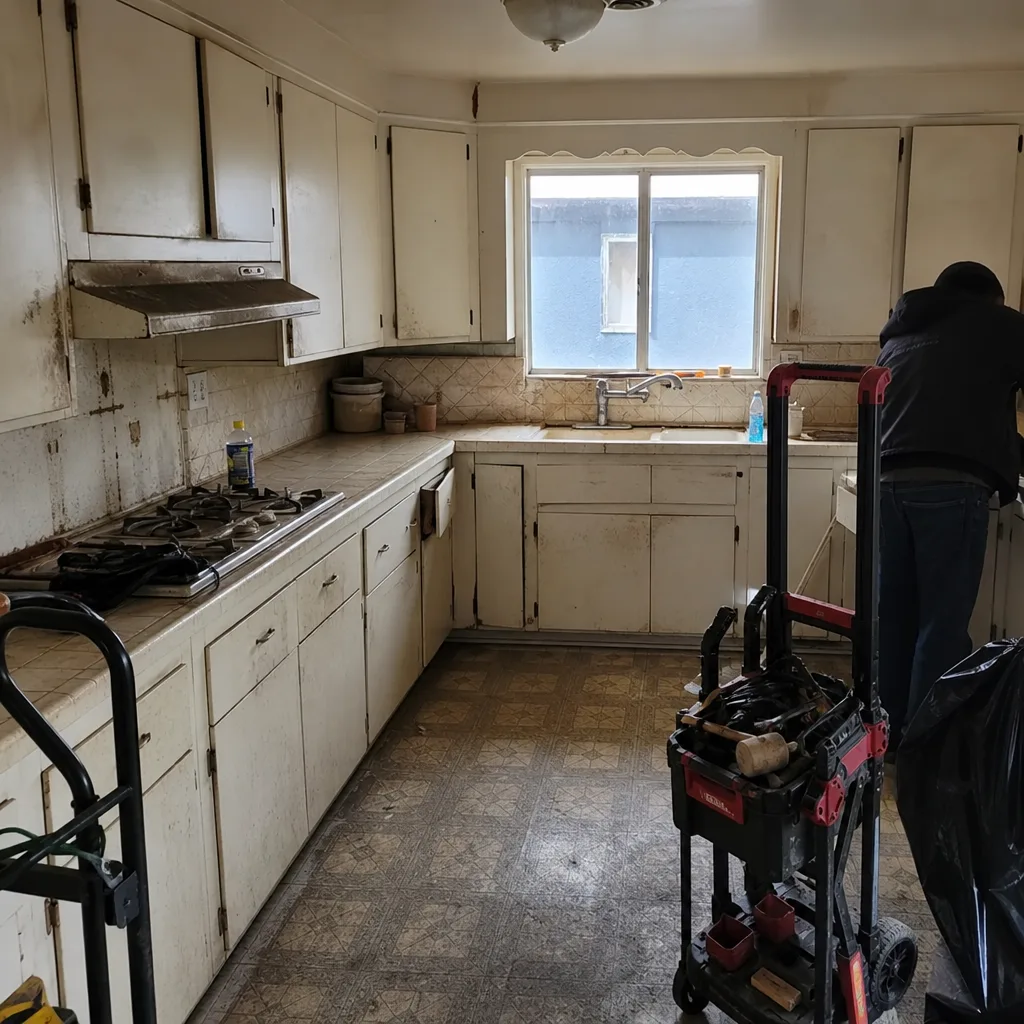 Before
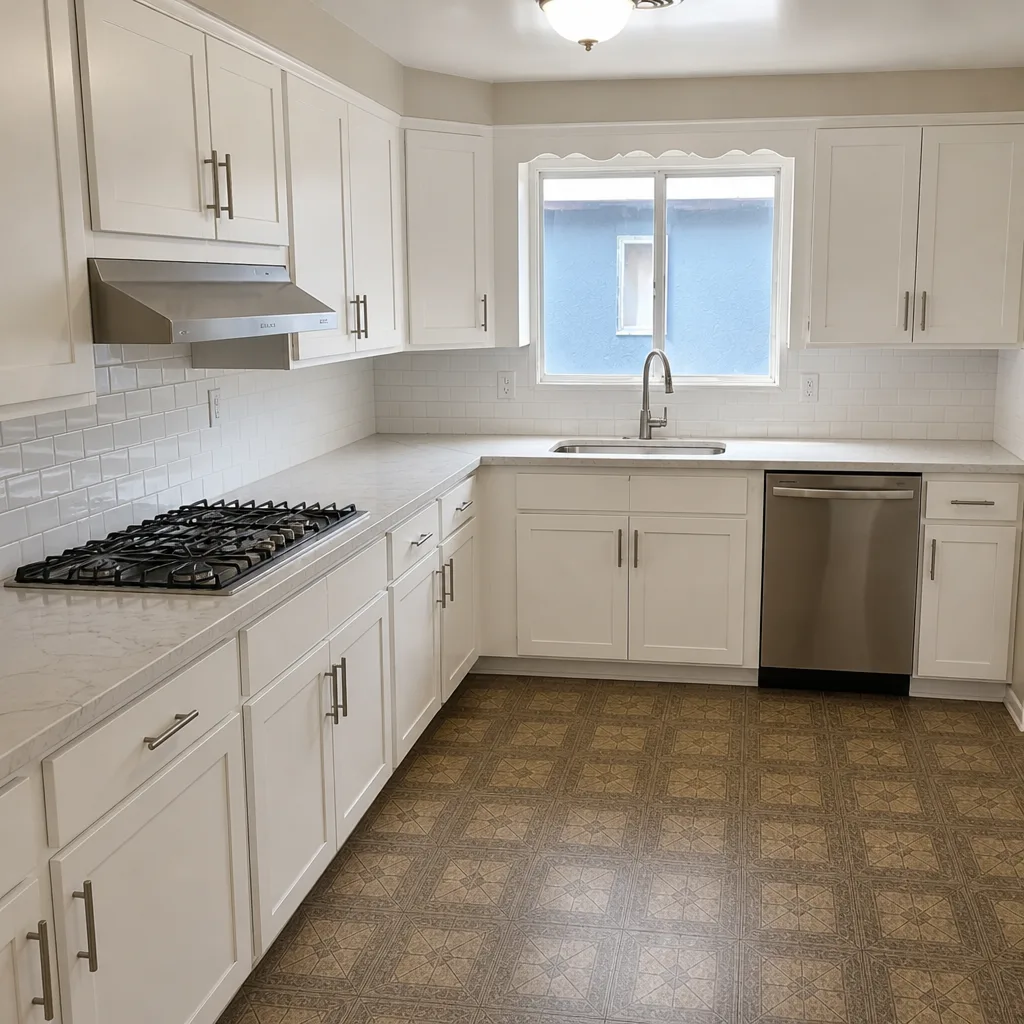 After
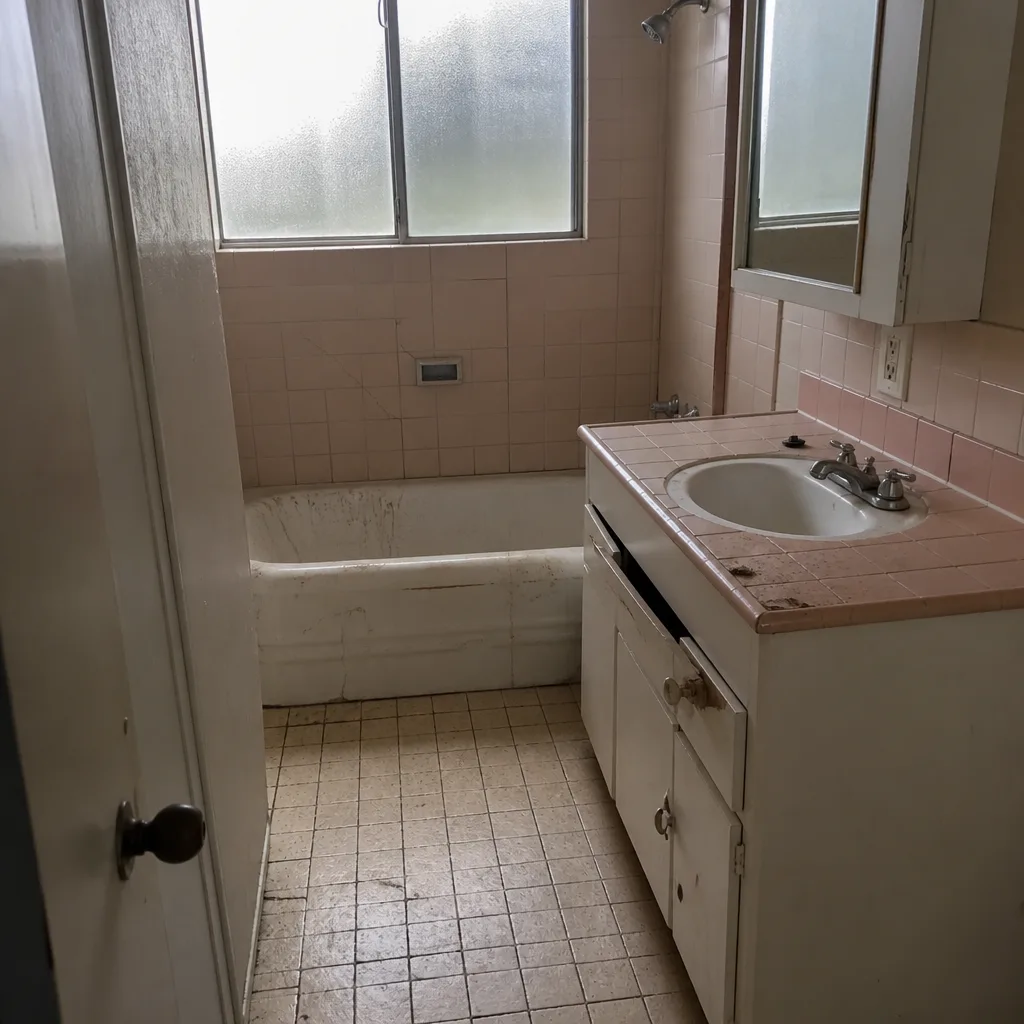 Before
 After
 Before
 After